“Fearful” Jellyfish Light Sculpture
BRIEF
“Create a light sculpture based on an emotion of your choice.” We were required to use a Cricut paper cutter and Adafruit microcontroller to create the light sculpture and we chose one emotion from a list of three that another student provided to us. The emotions I had to choose from were calm, fear, and anger. The emotion of fear felt the most nuanced and complex of the three to me, and so I wanted to see where it would take me.
INSPIRATION
In class, we were shown previous projects, some of which consisted of a simple paper lantern with shapes that were cut out of them. One had firefly silhouettes cut out, another had a wavy design cut out. Initially I considered a monster silhouette cut out of a lantern, but wanted to push my thinking a little further.
As far as the programming for the microcontroller, I was inspired by the way a heart beats faster when it is afraid. I settled on a blinking pattern that would allow the LED lights to pulse slowly at first and then faster and faster. In thinking about the pulsing action of a heart and the way an animal or being would move away and become smaller when afraid, I thought of the movement of the pulsing movement of a jellyfish as an appropriate creature to portray fear. A purple pulsing light inside a jellyfish shaped lantern would be my portrayal of fear.
RESEARCH
I started my research by looking up “paper lanterns” on Pintrest, and saw this octopus lantern. I really liked how the different circle cutouts added variety and also the hexagonal shapes in the form.
I then narrowed my search to “jellyfish lamp” and was inspired by the following pictures.
The lantern in the middle with styrofoam strips folding over a round base caught my eye and I felt that that creating that shape with similar materials would be possible with the Cricut. I would also have to figure out how to make the middle dome sturdy enough to hold the microcontroller and it’s battery pack inside.
SKETCHES
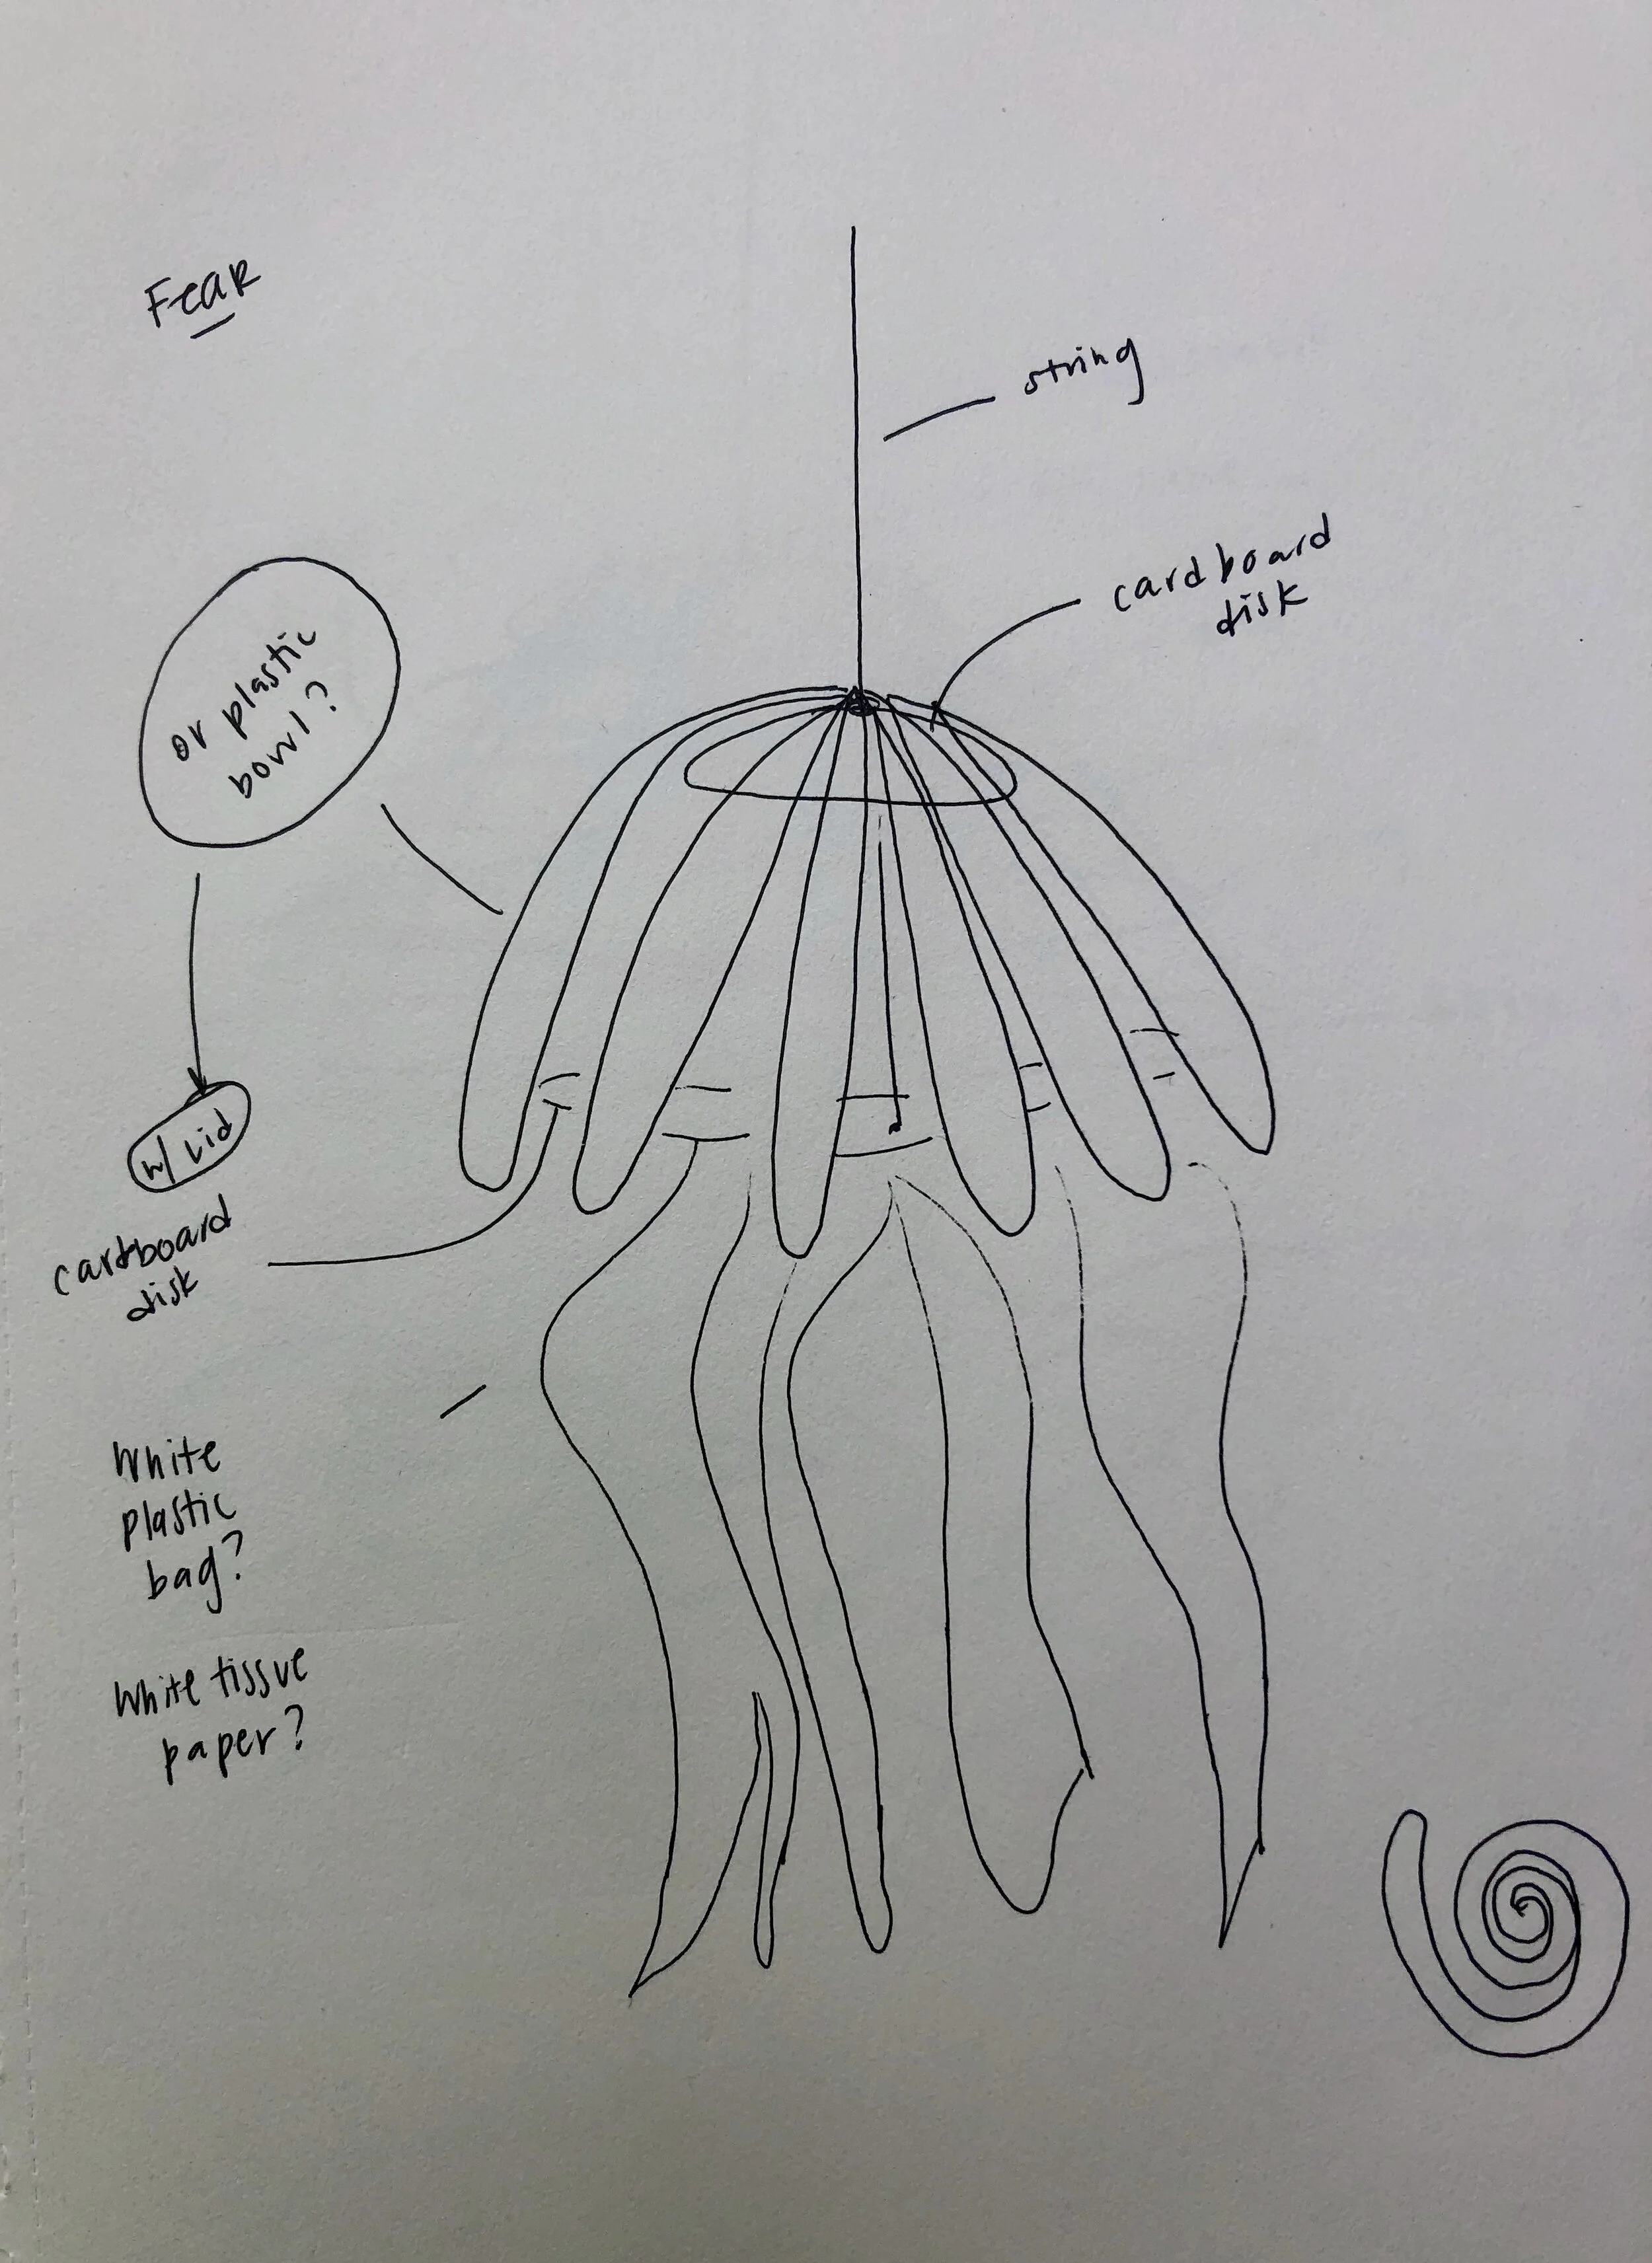
In my first sketch below, I tried to imagine what would be strong enough to hold the shape of the dome and the microcontroller inside. I saw suggestions of using a plastic Tupperware bowl inside and thought that I could use the Cricut to create the overlapping shapes over the dome. I was also wondering materials what would create the best tentacles and oral arms.
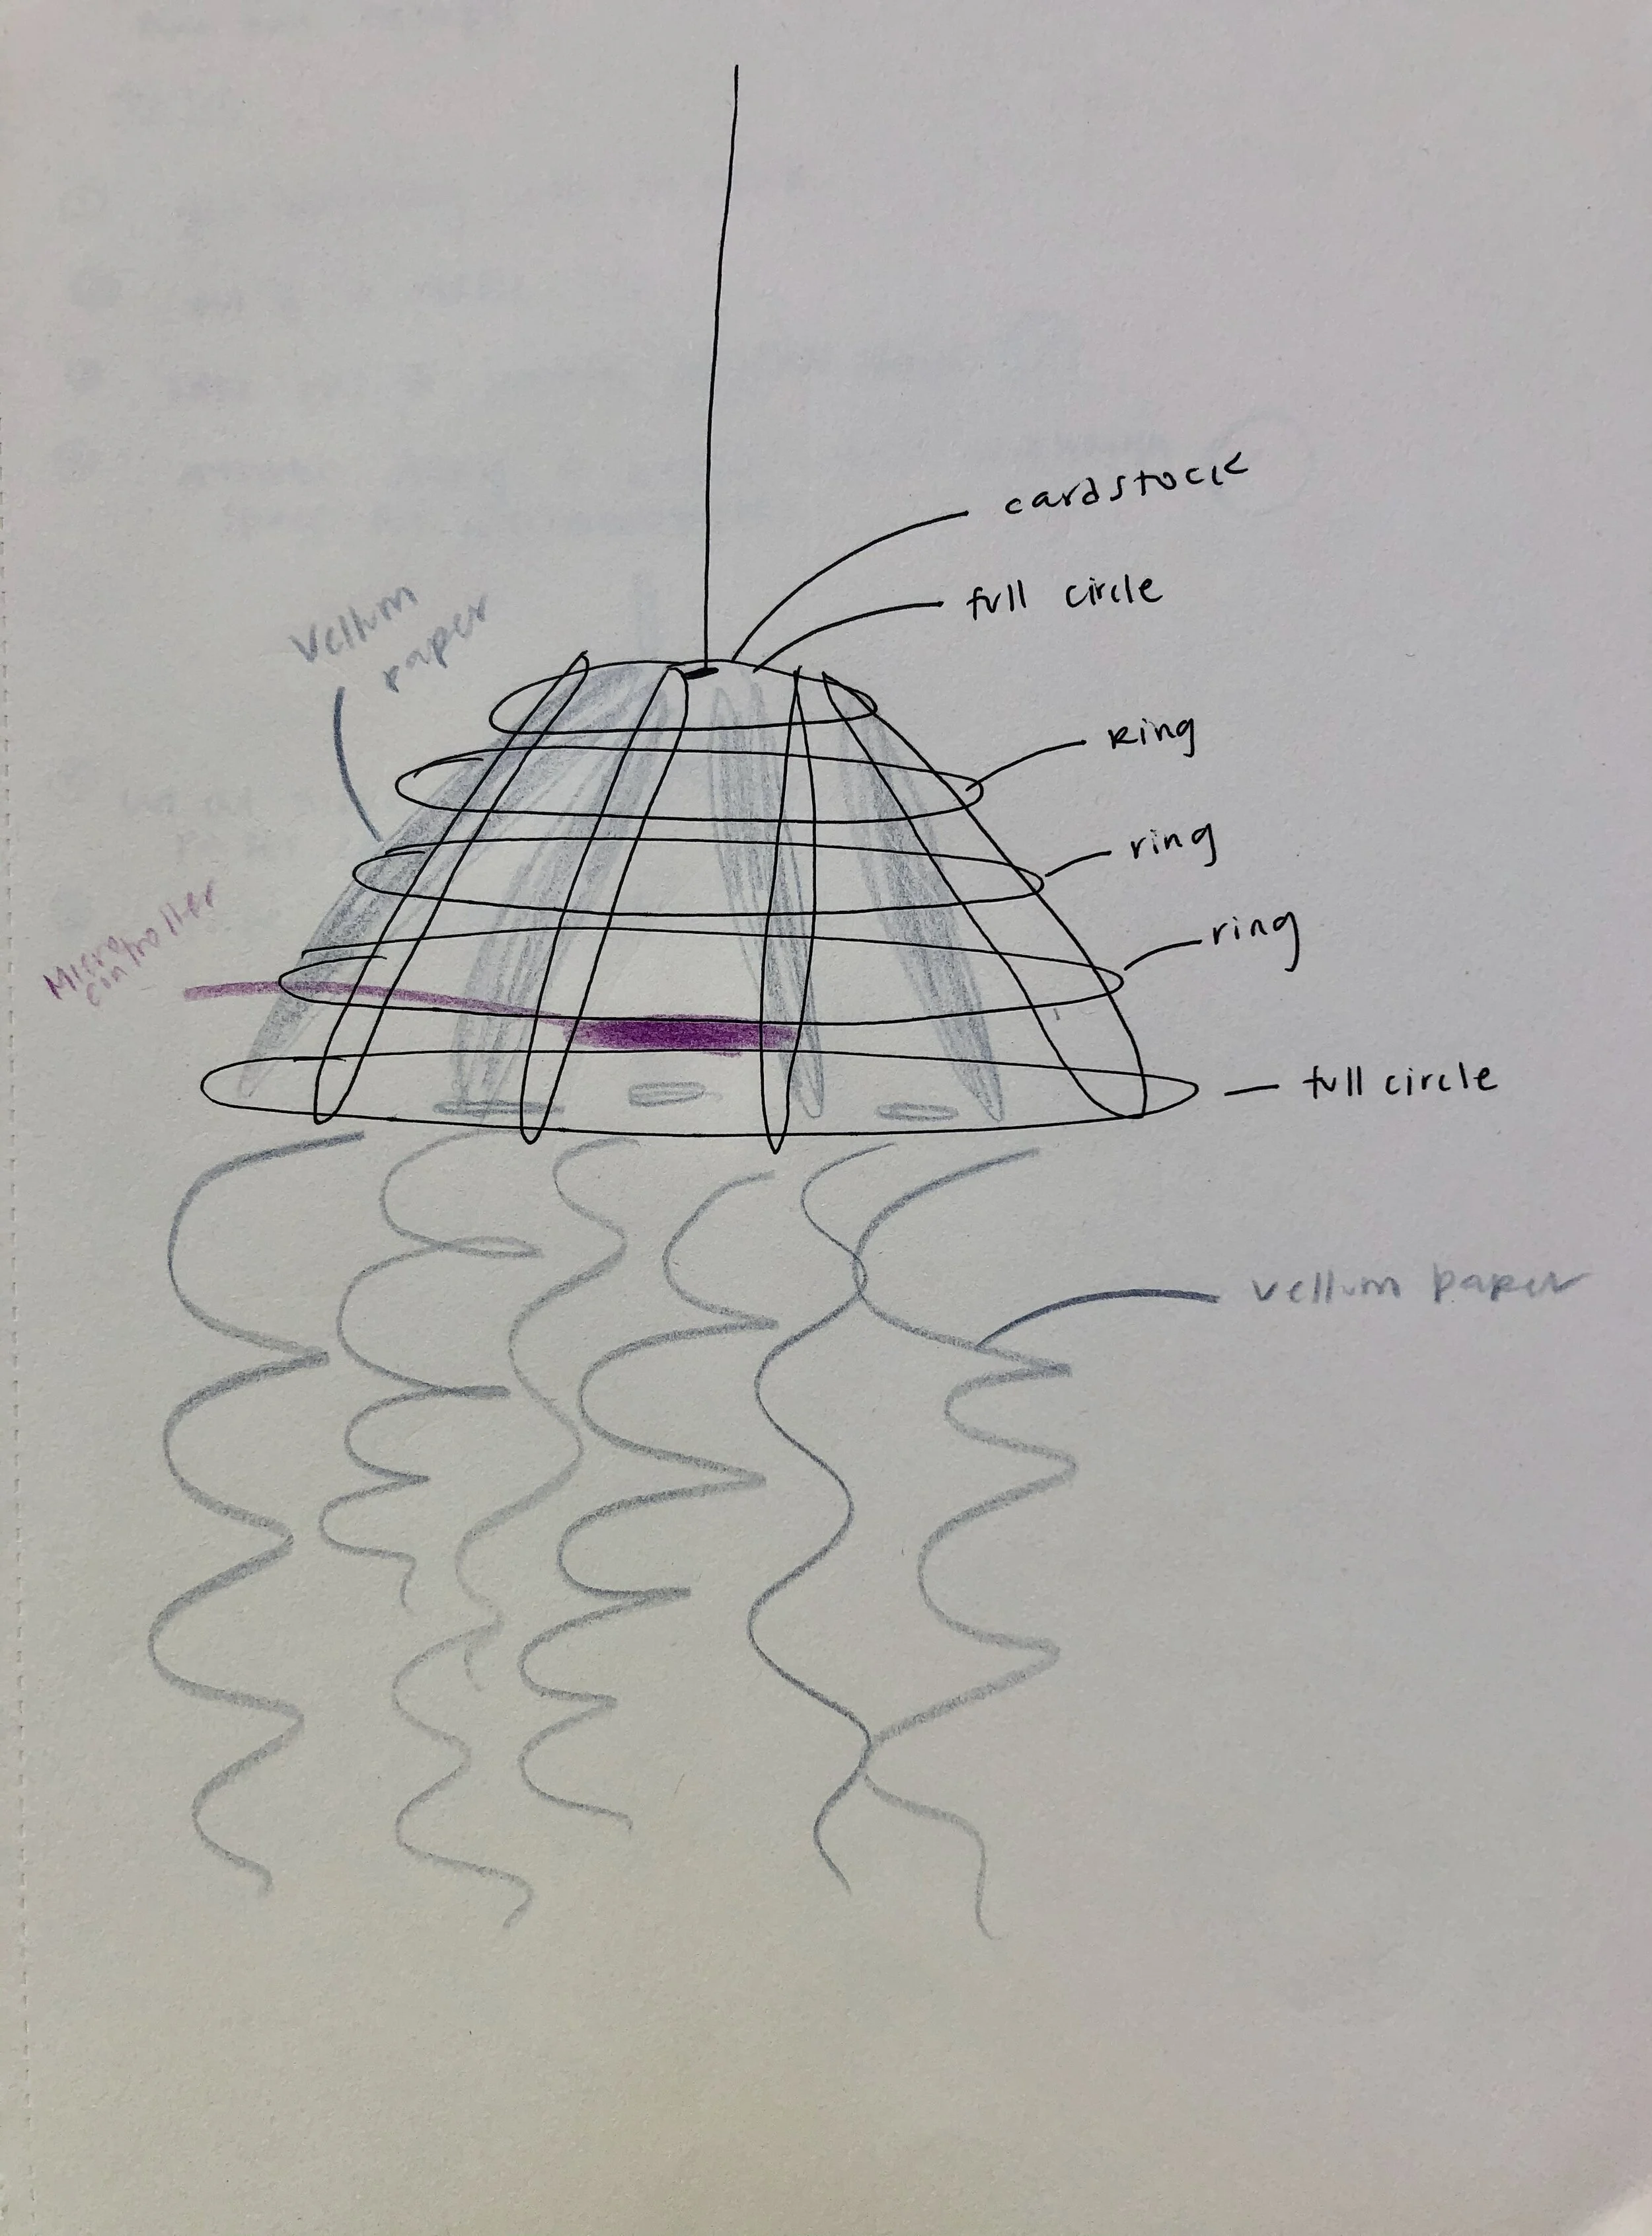
In my second sketch, I tried to image what it could look like to create the dome purely out of paper cut out in the Cricut and imagined a dome created with vellum paper that would be formed by a series of concentric circles that were raised above each other. The microcontroller would sit at on top of the bottom circle.
In sharing these ideas with my professor, he suggested I use a sphere template that would allow me to create a sturdy sphere shape with the Cricut.
The template maker allows the user to input the desired diameter of the shape and download the template as an SVG file, which can then be easily imported into the Cricut design software.
I knew that I wanted to use the sphere template as a base for a dome shape and would have to figure out if I would be able to cut the segments in half to create a dome.
MATERIALS AND CONSTRUCTION
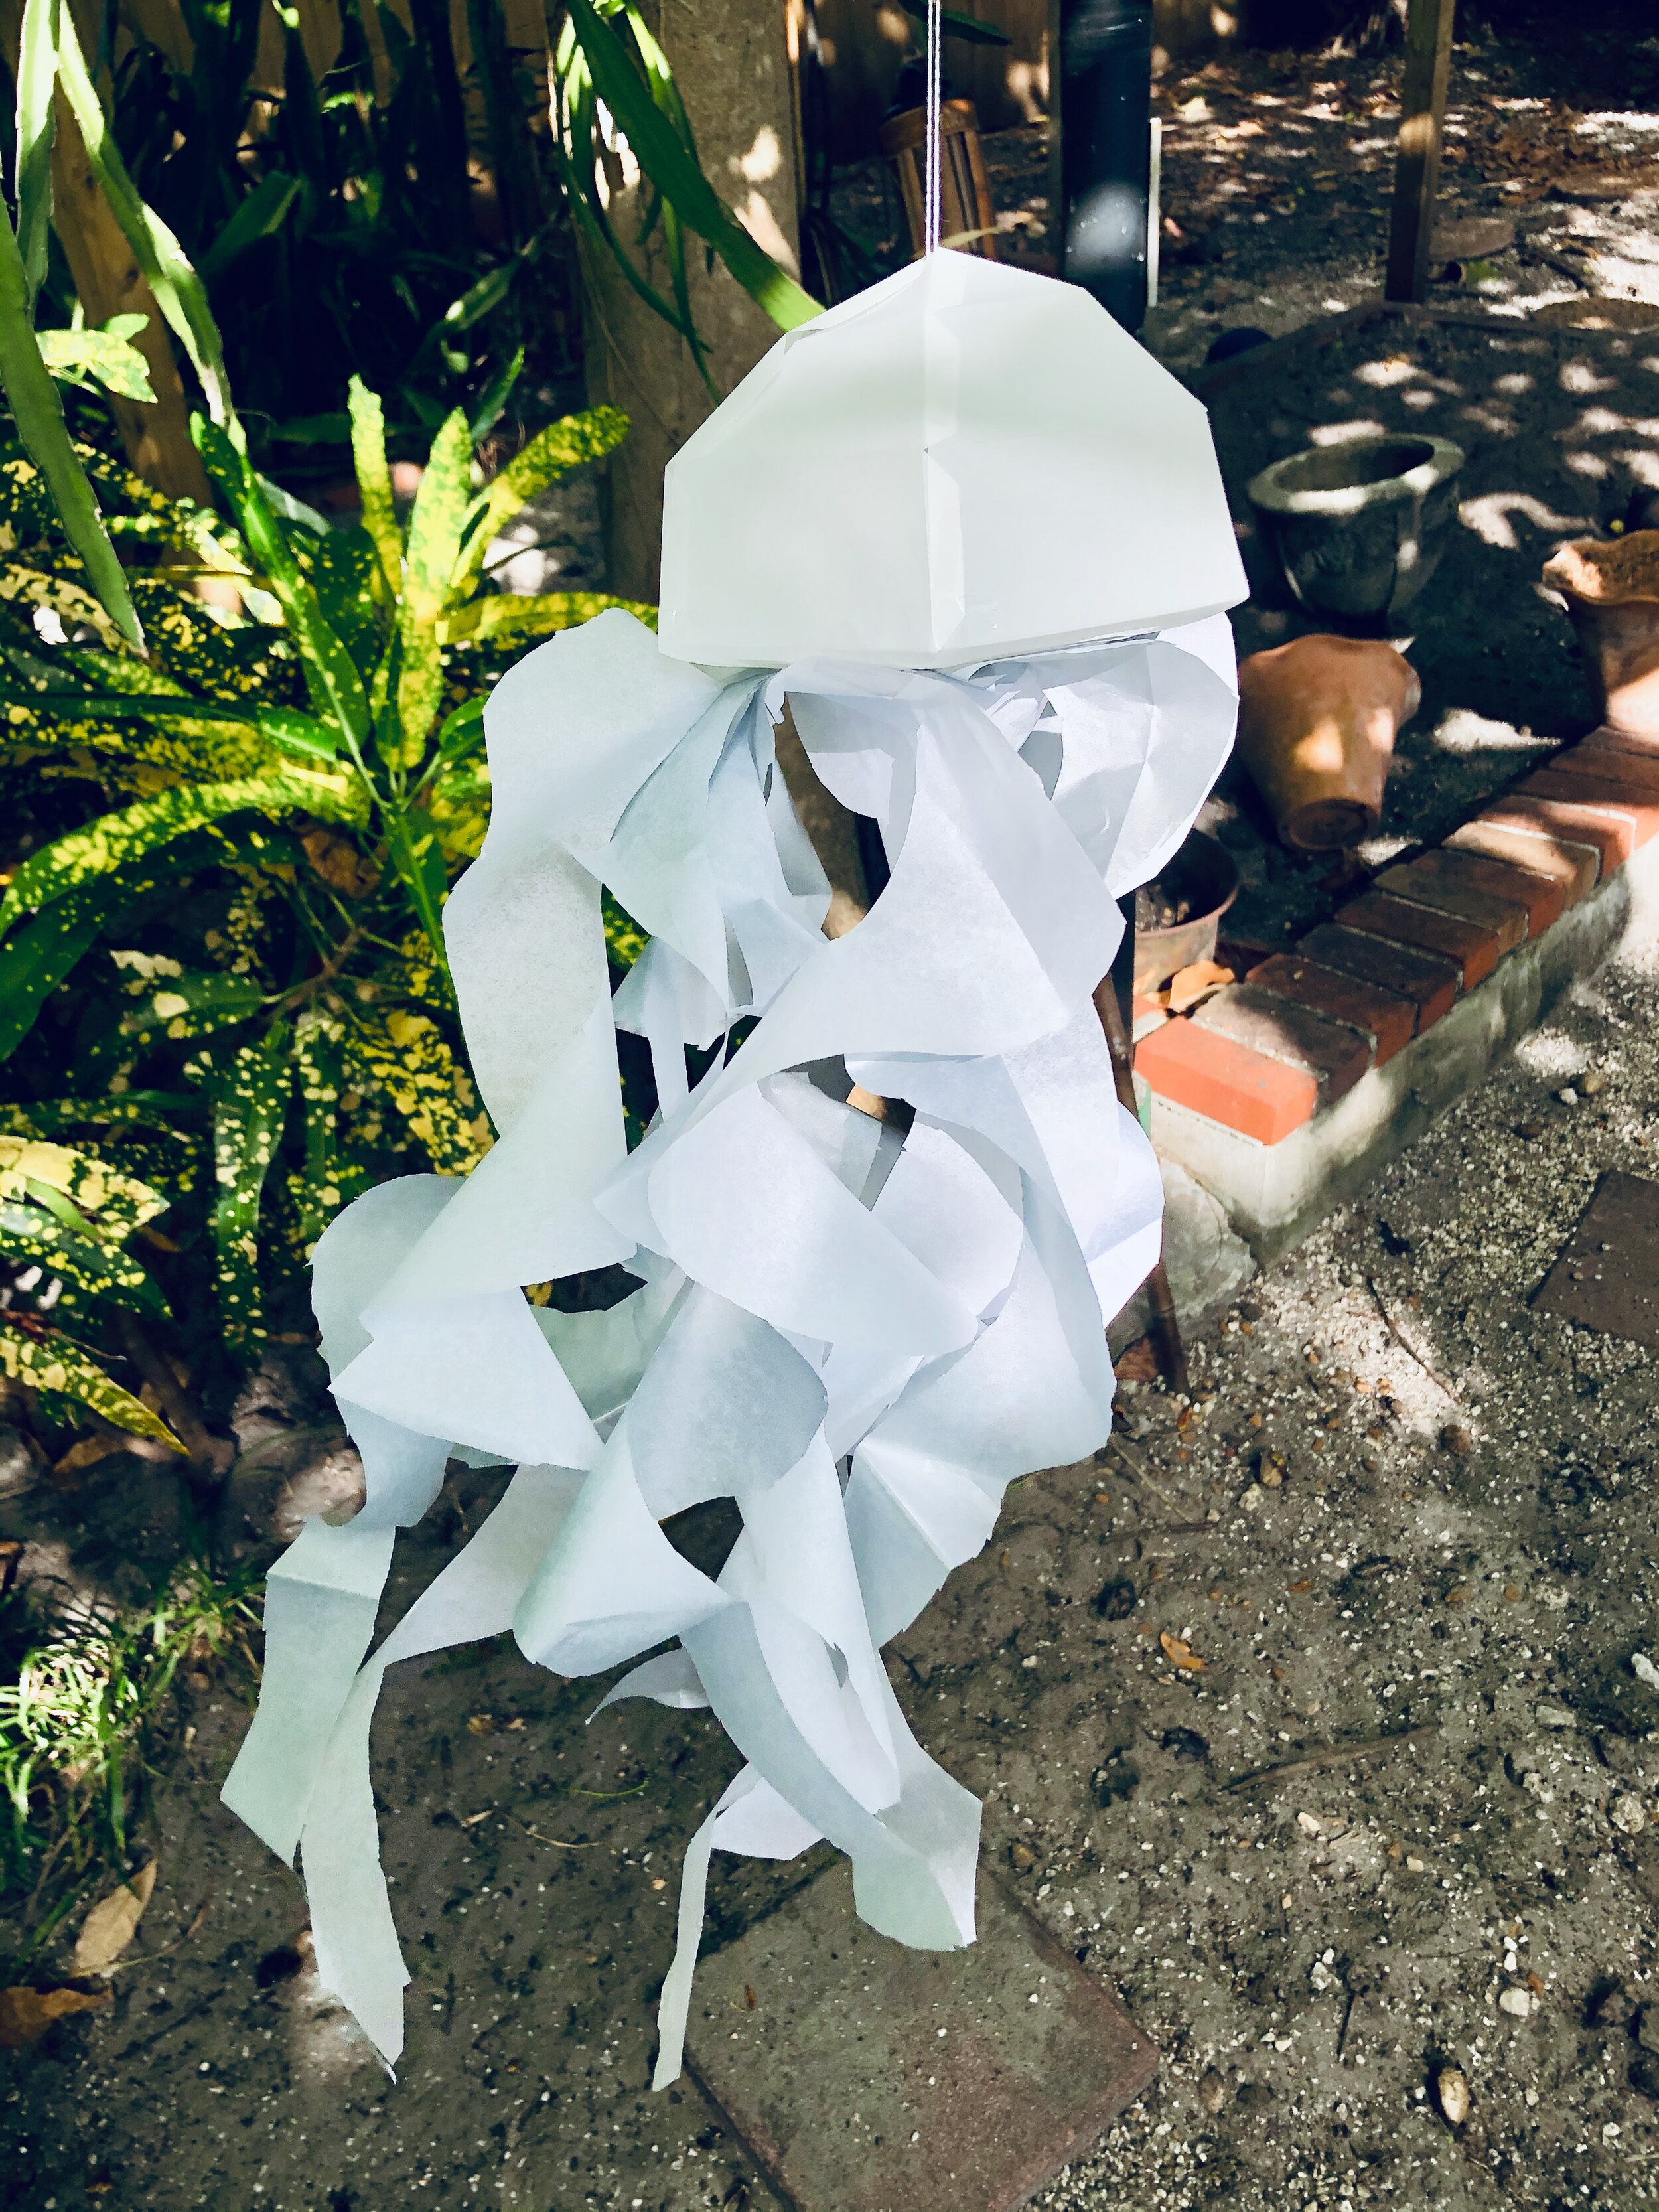
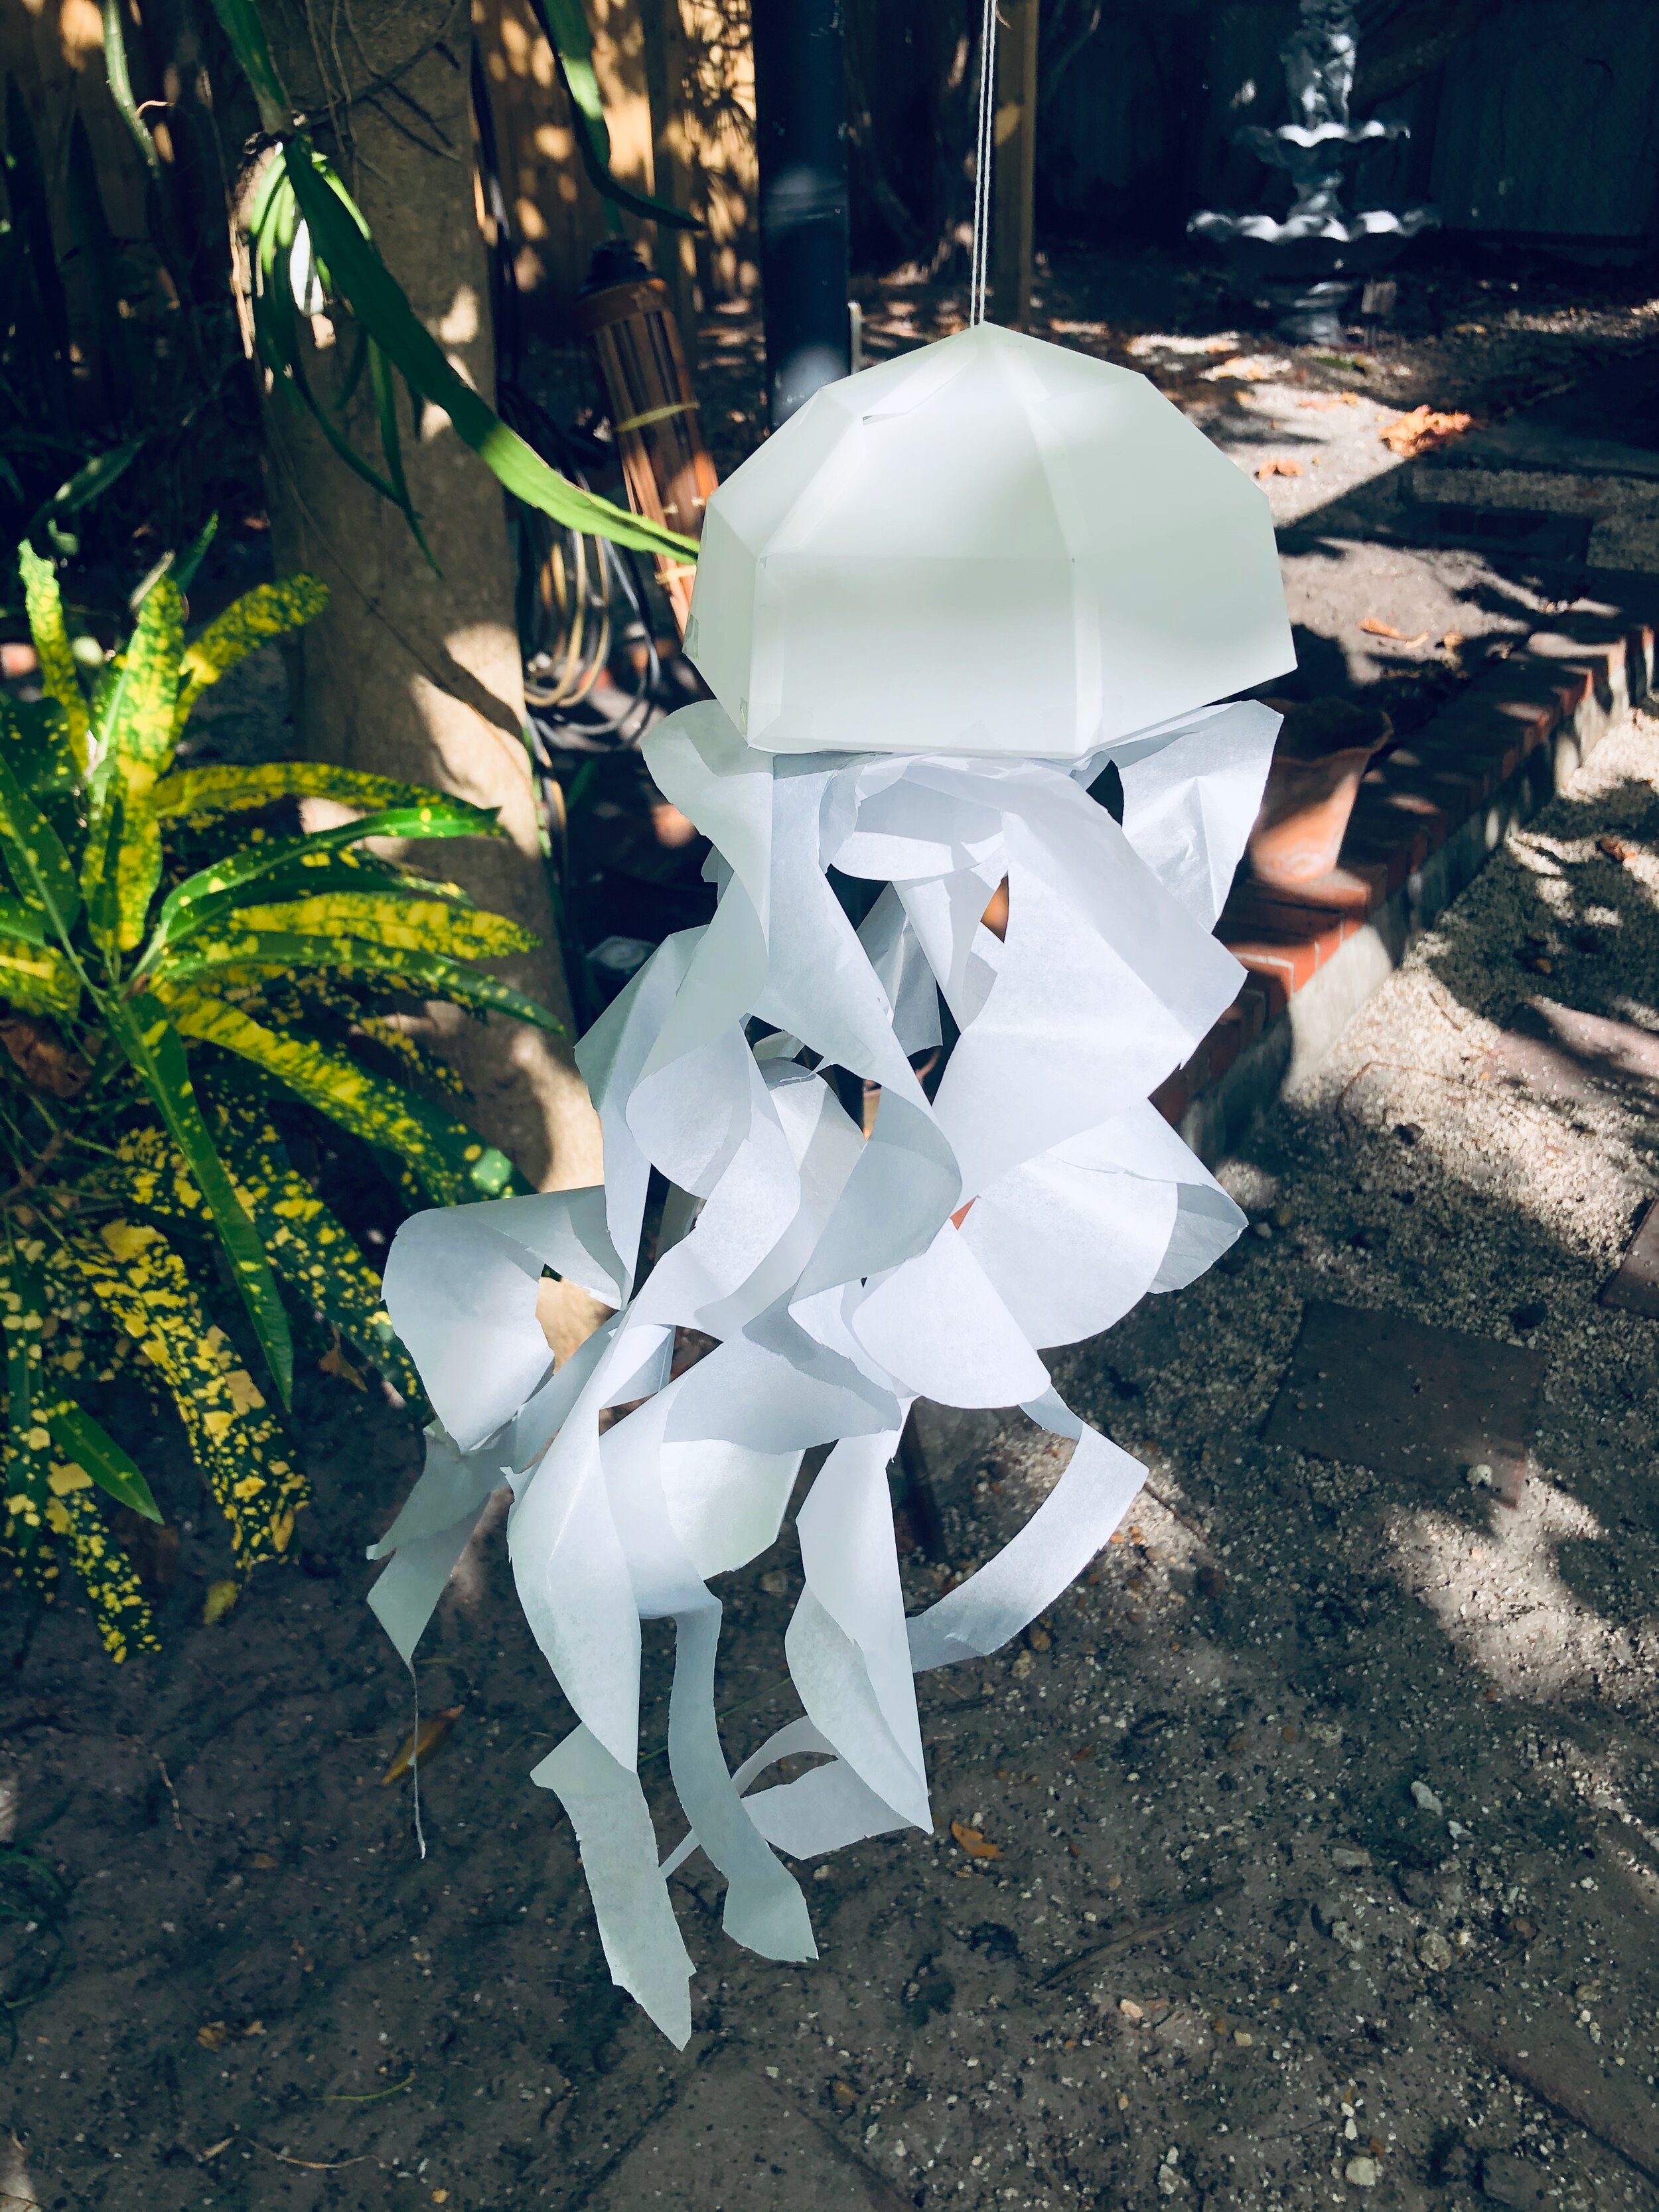
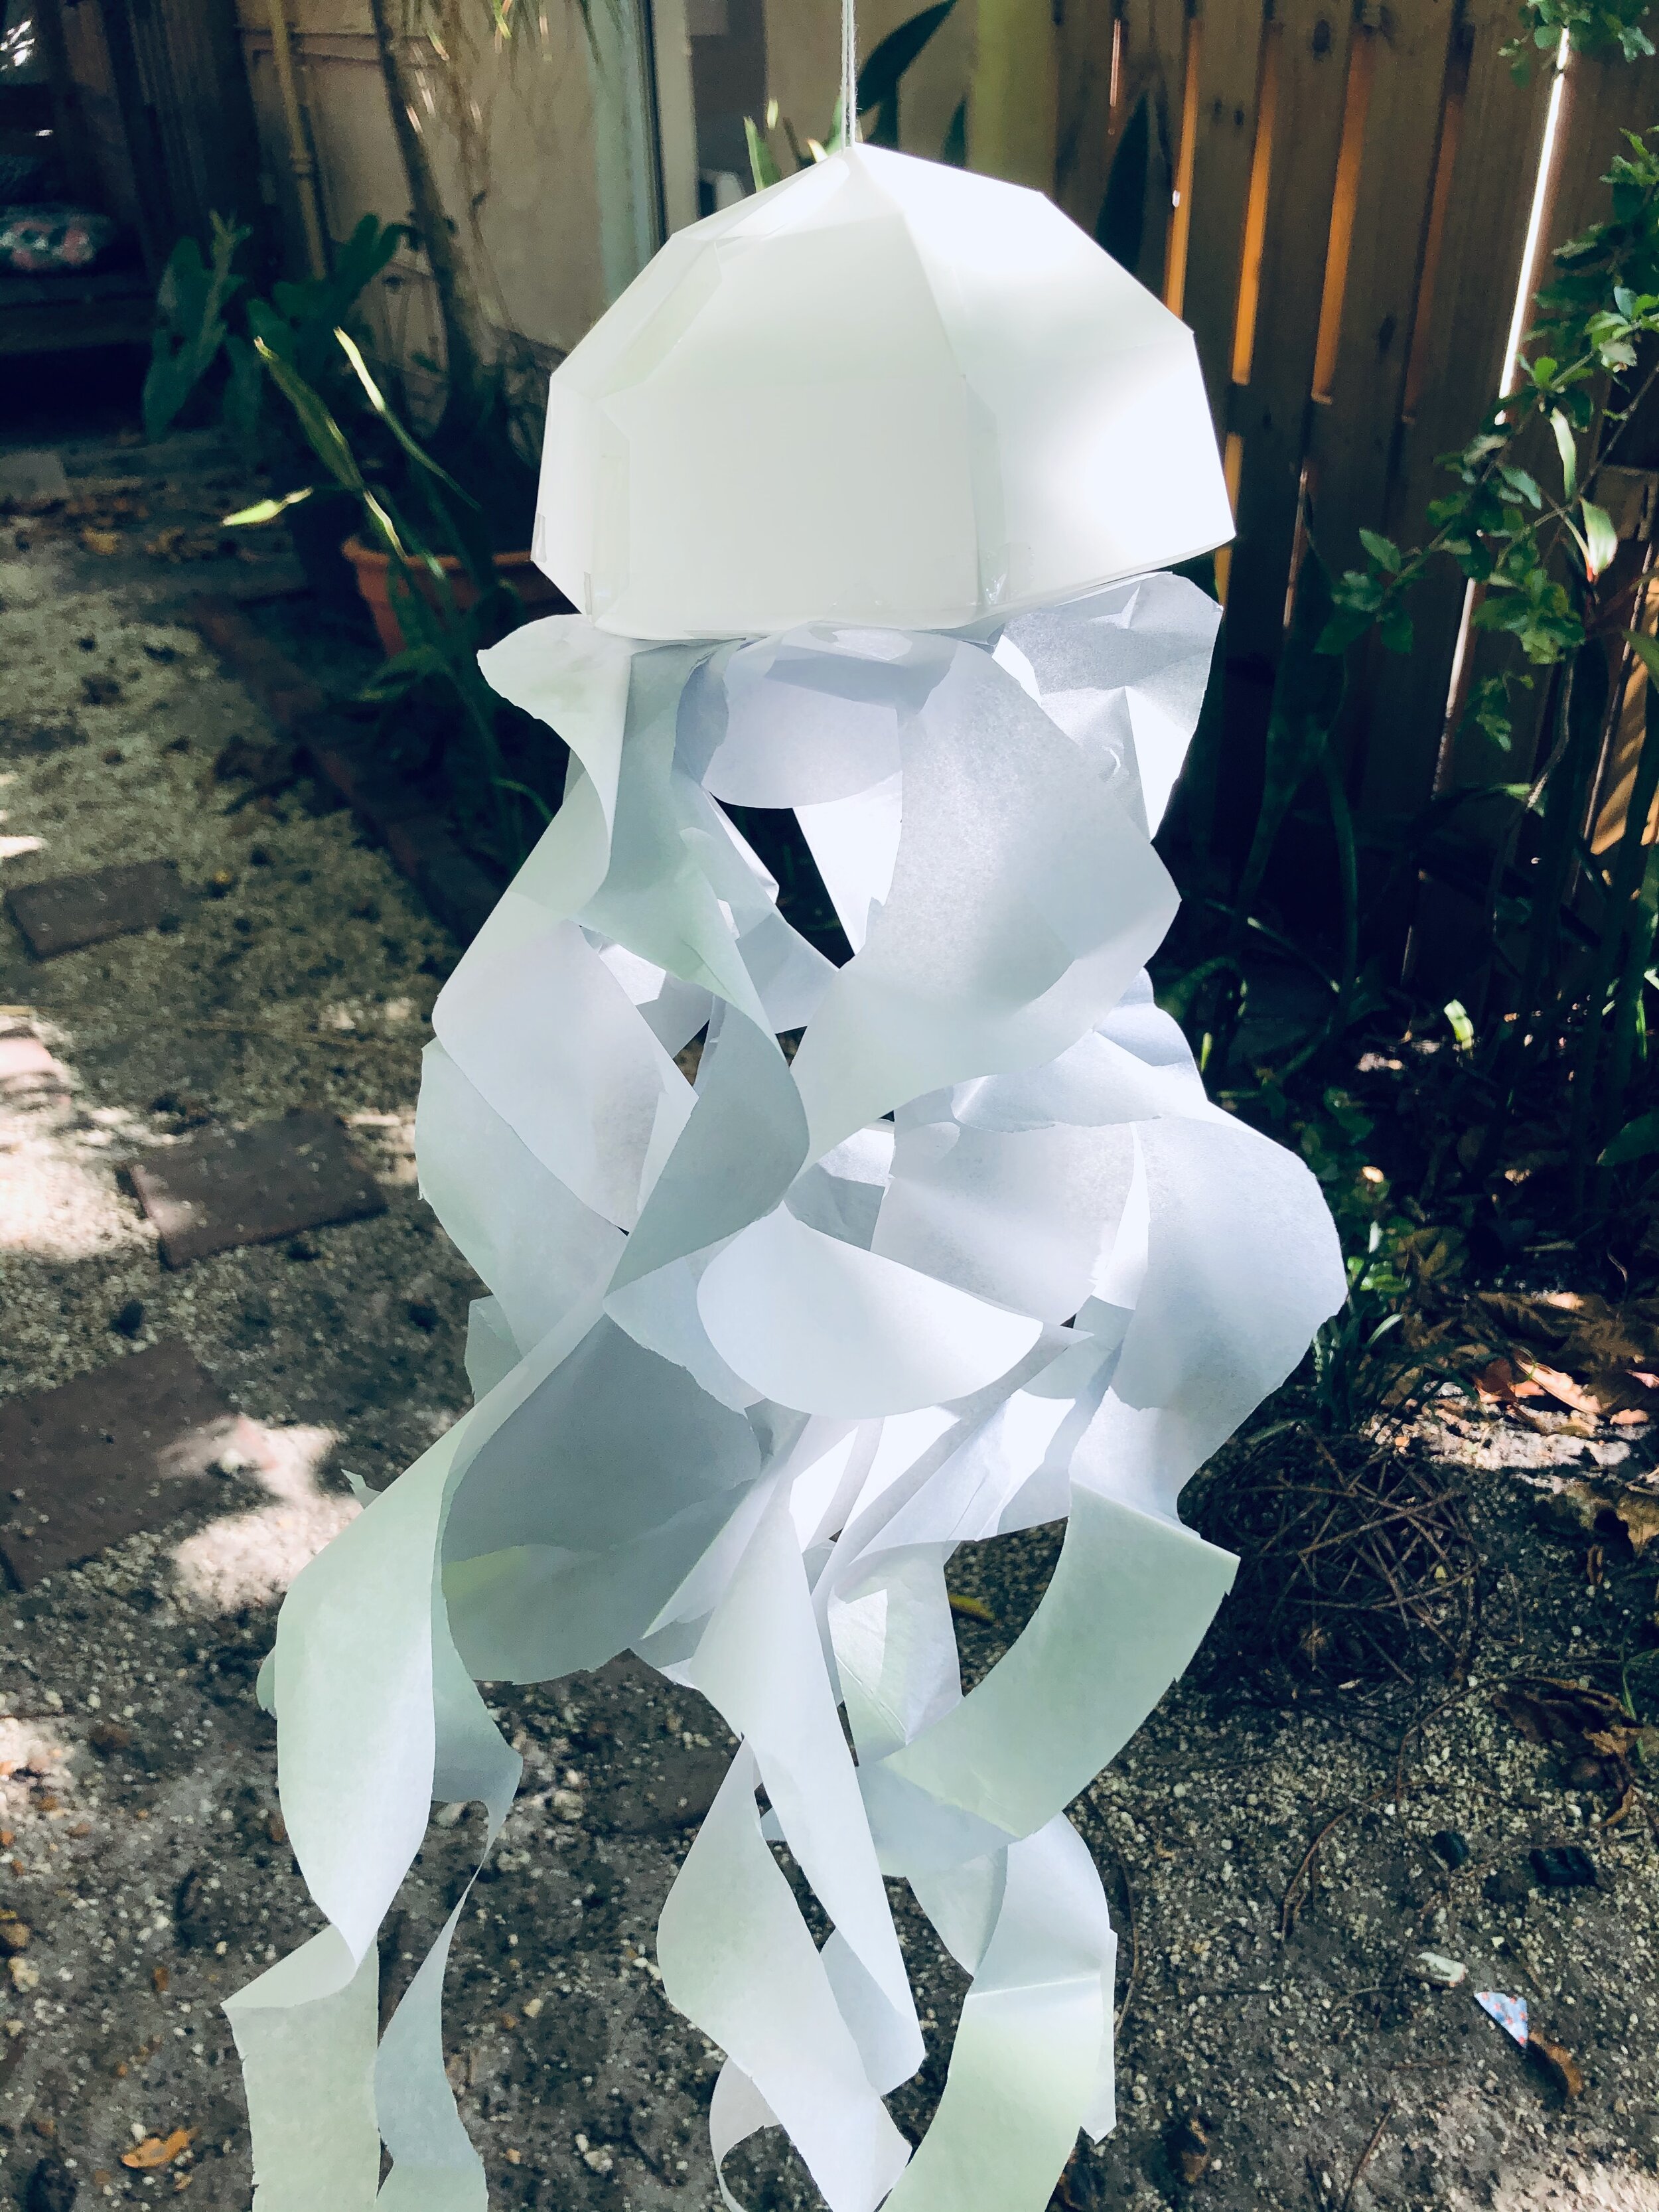
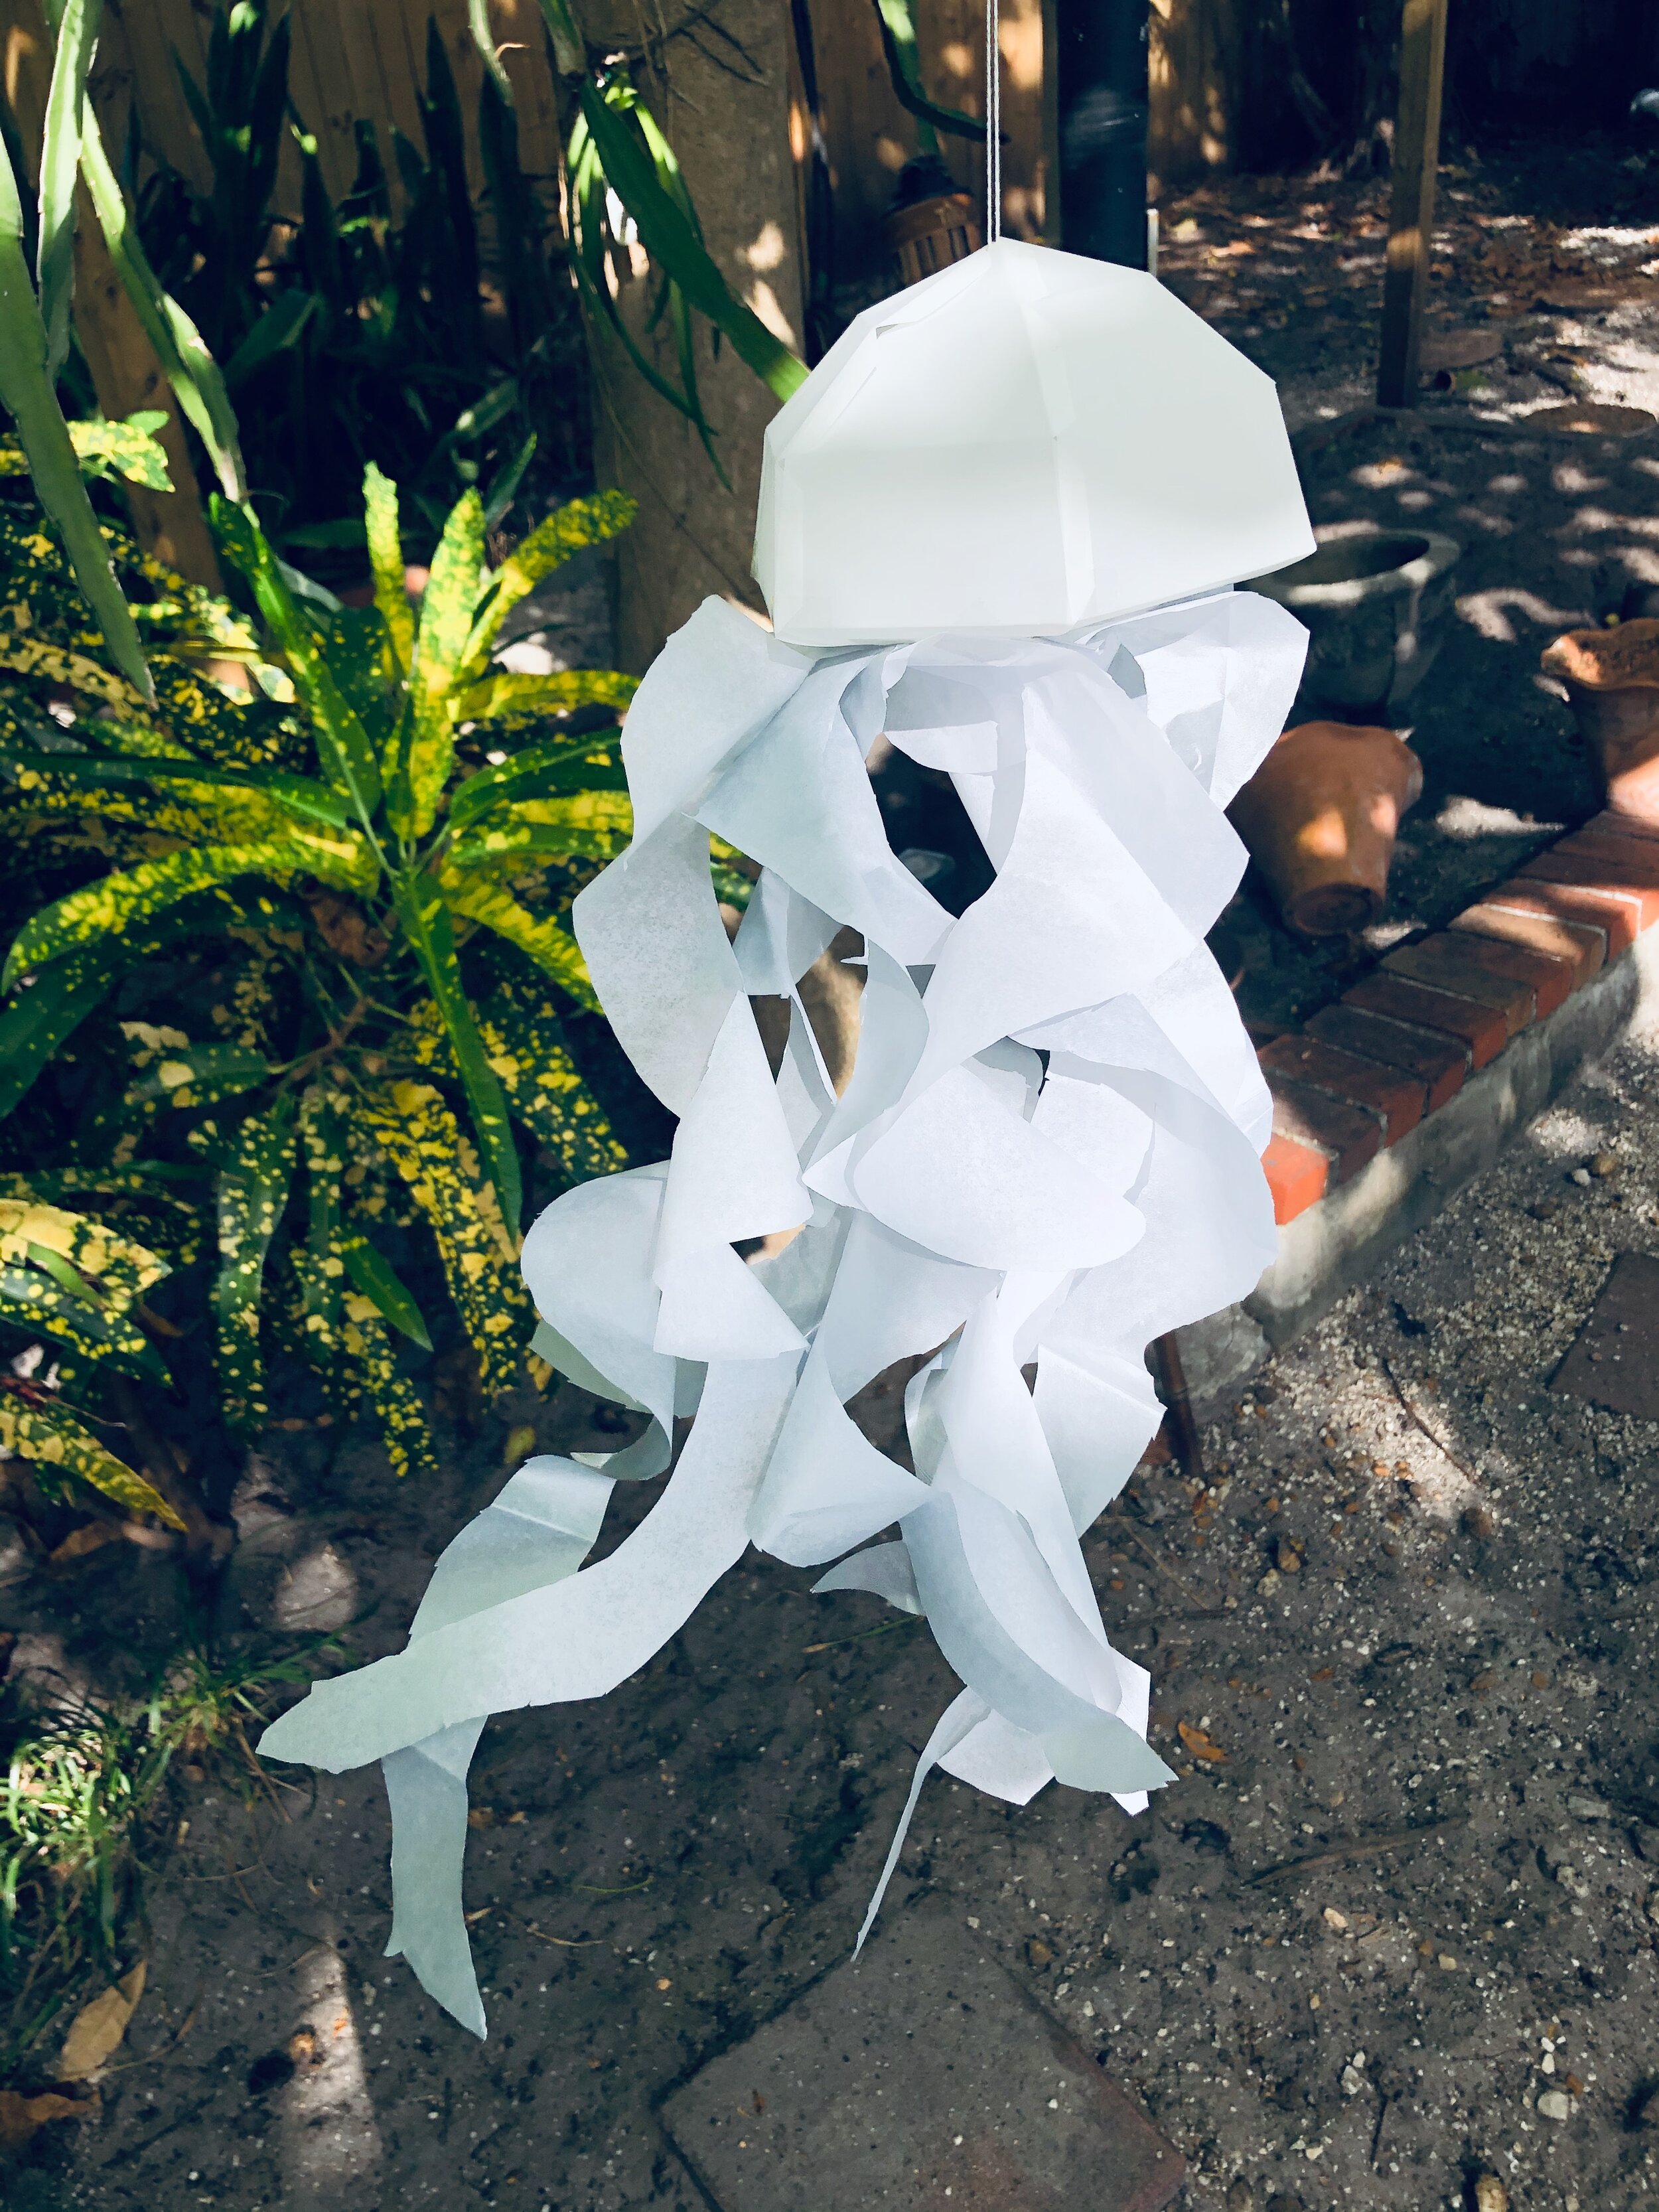
I began prototyping using the Cricut to cut out the segments in light cardstock before moving into a translucent Dura-Lar polyester film. Once I could see how the segments would connect and determined that the polyester film would be a sturdy and appropriate choice for the dome, I used the Cricut to cut out 6 segments. I then strategically cut them in half so that I would be able to create a dome shape. Then, I taped them together using double-sided tape, which proved to be sturdy and non-messy way of connecting the segments.
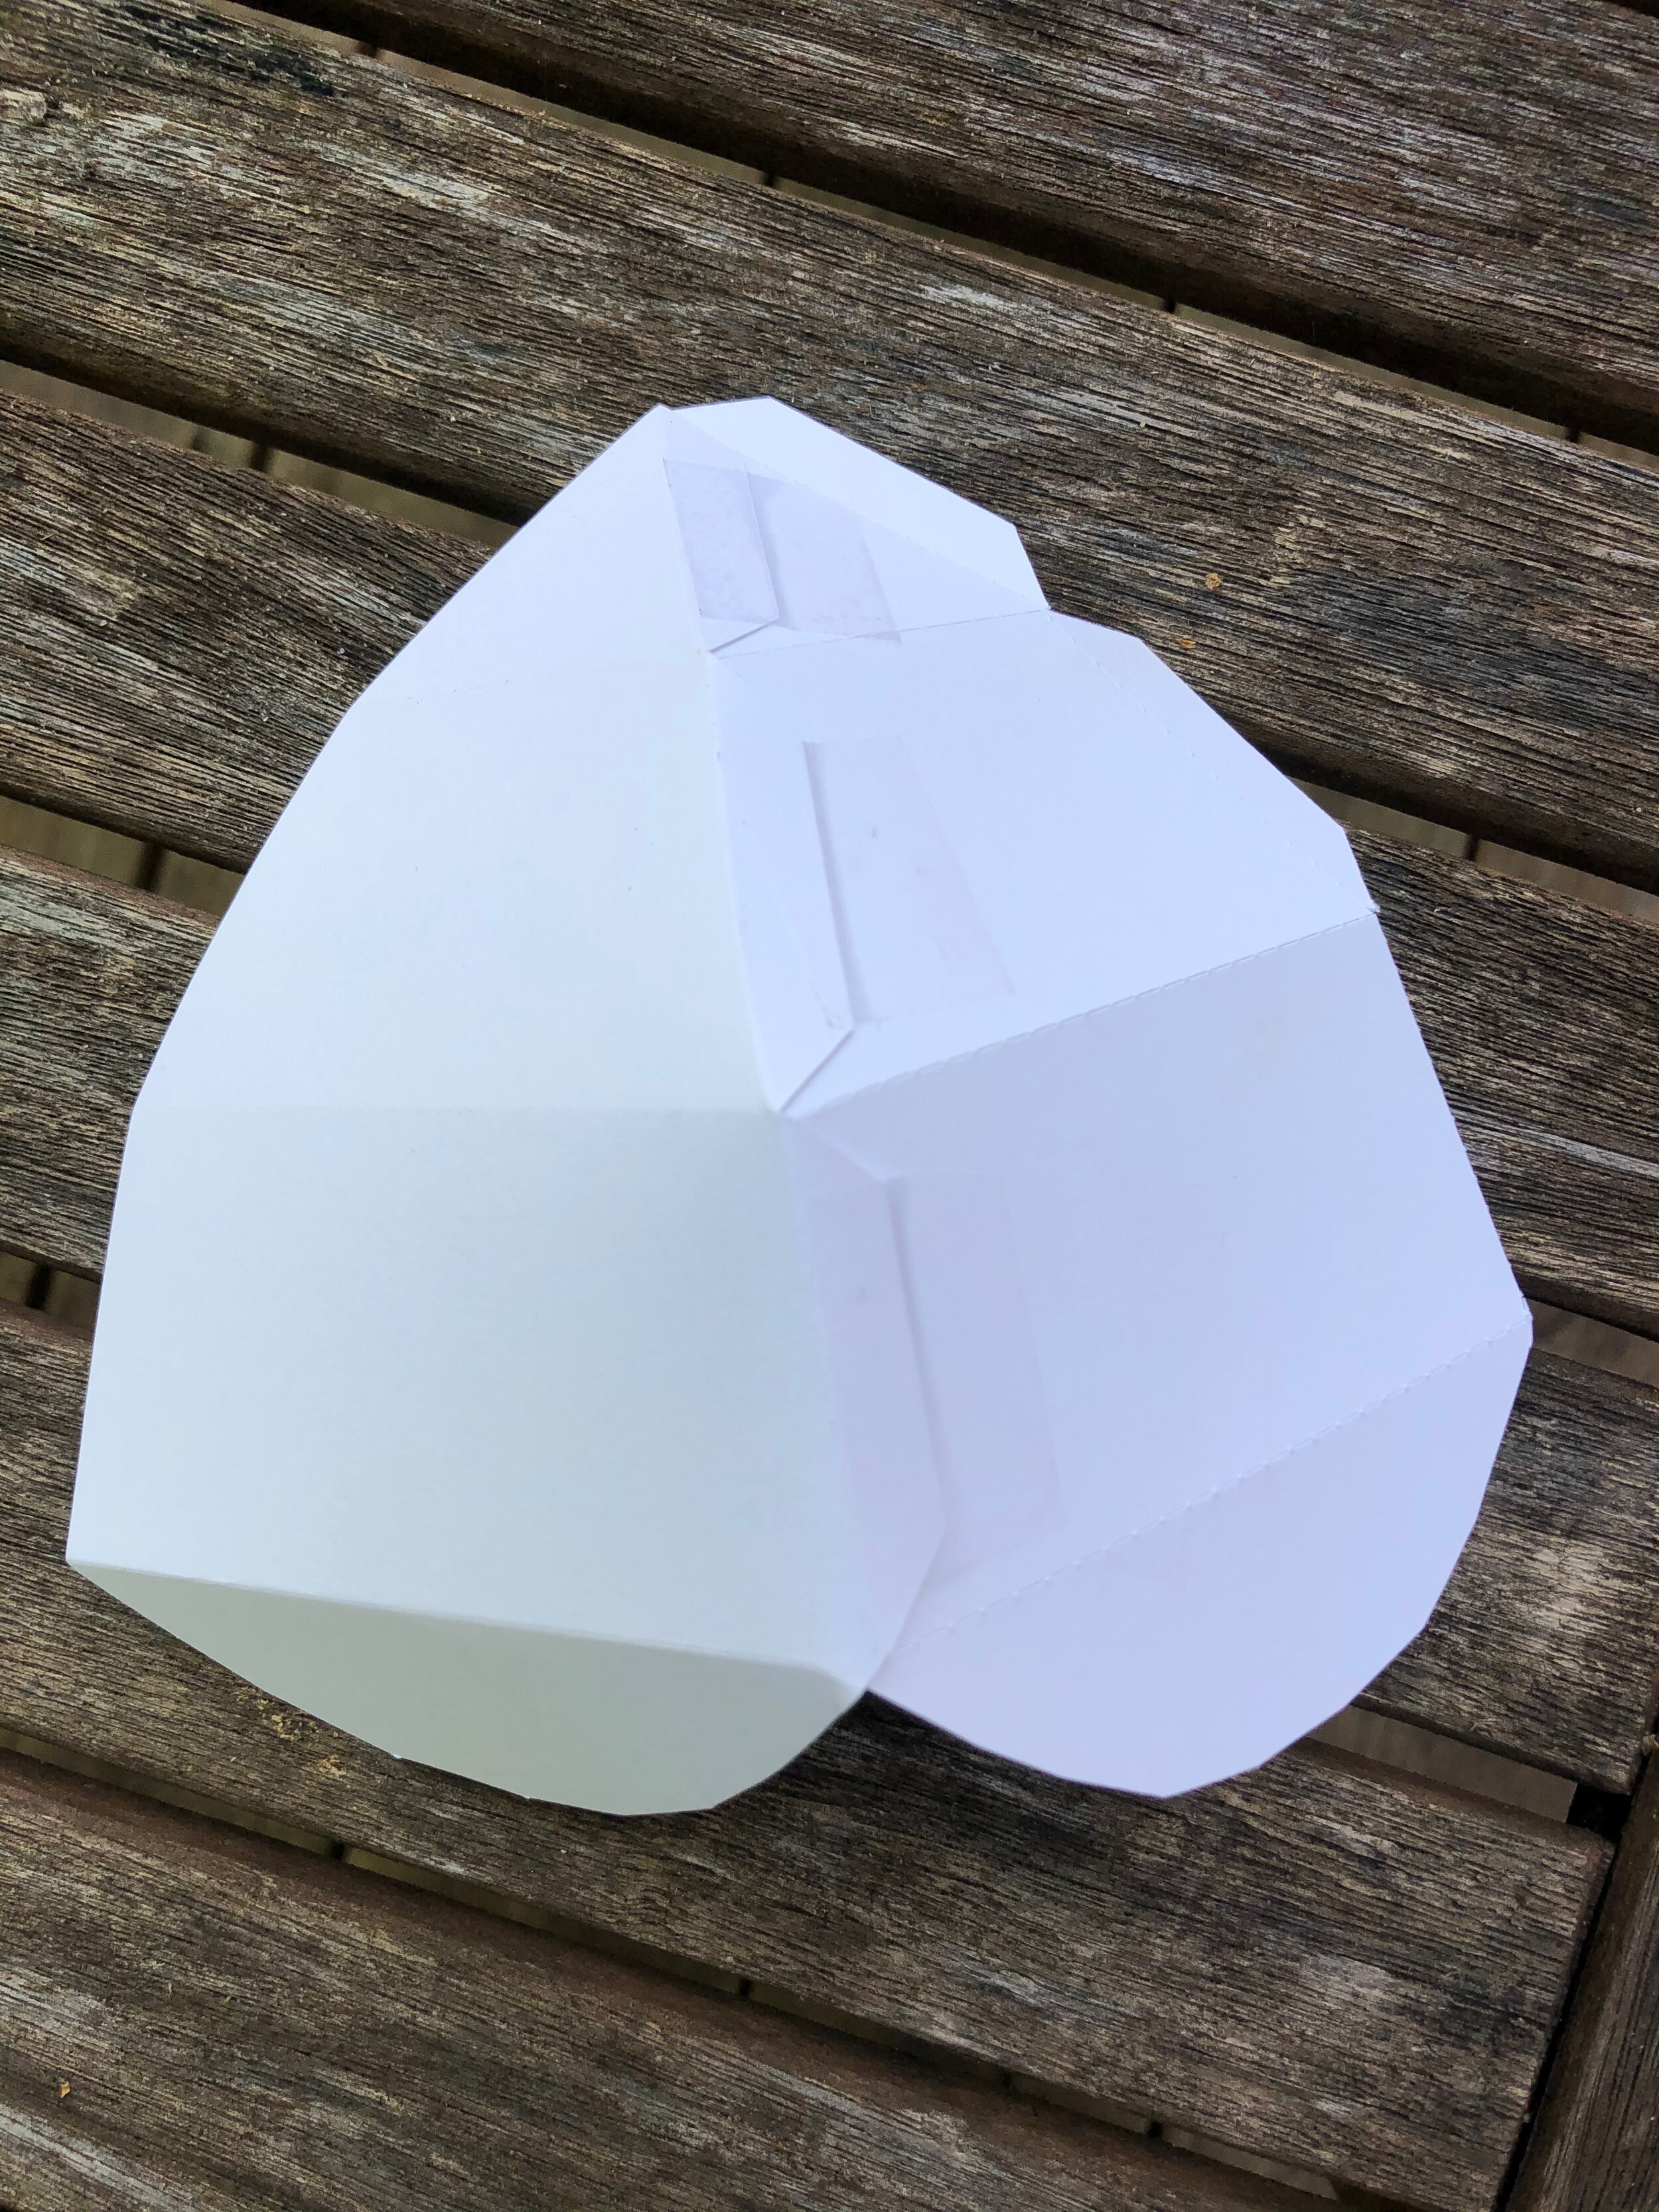
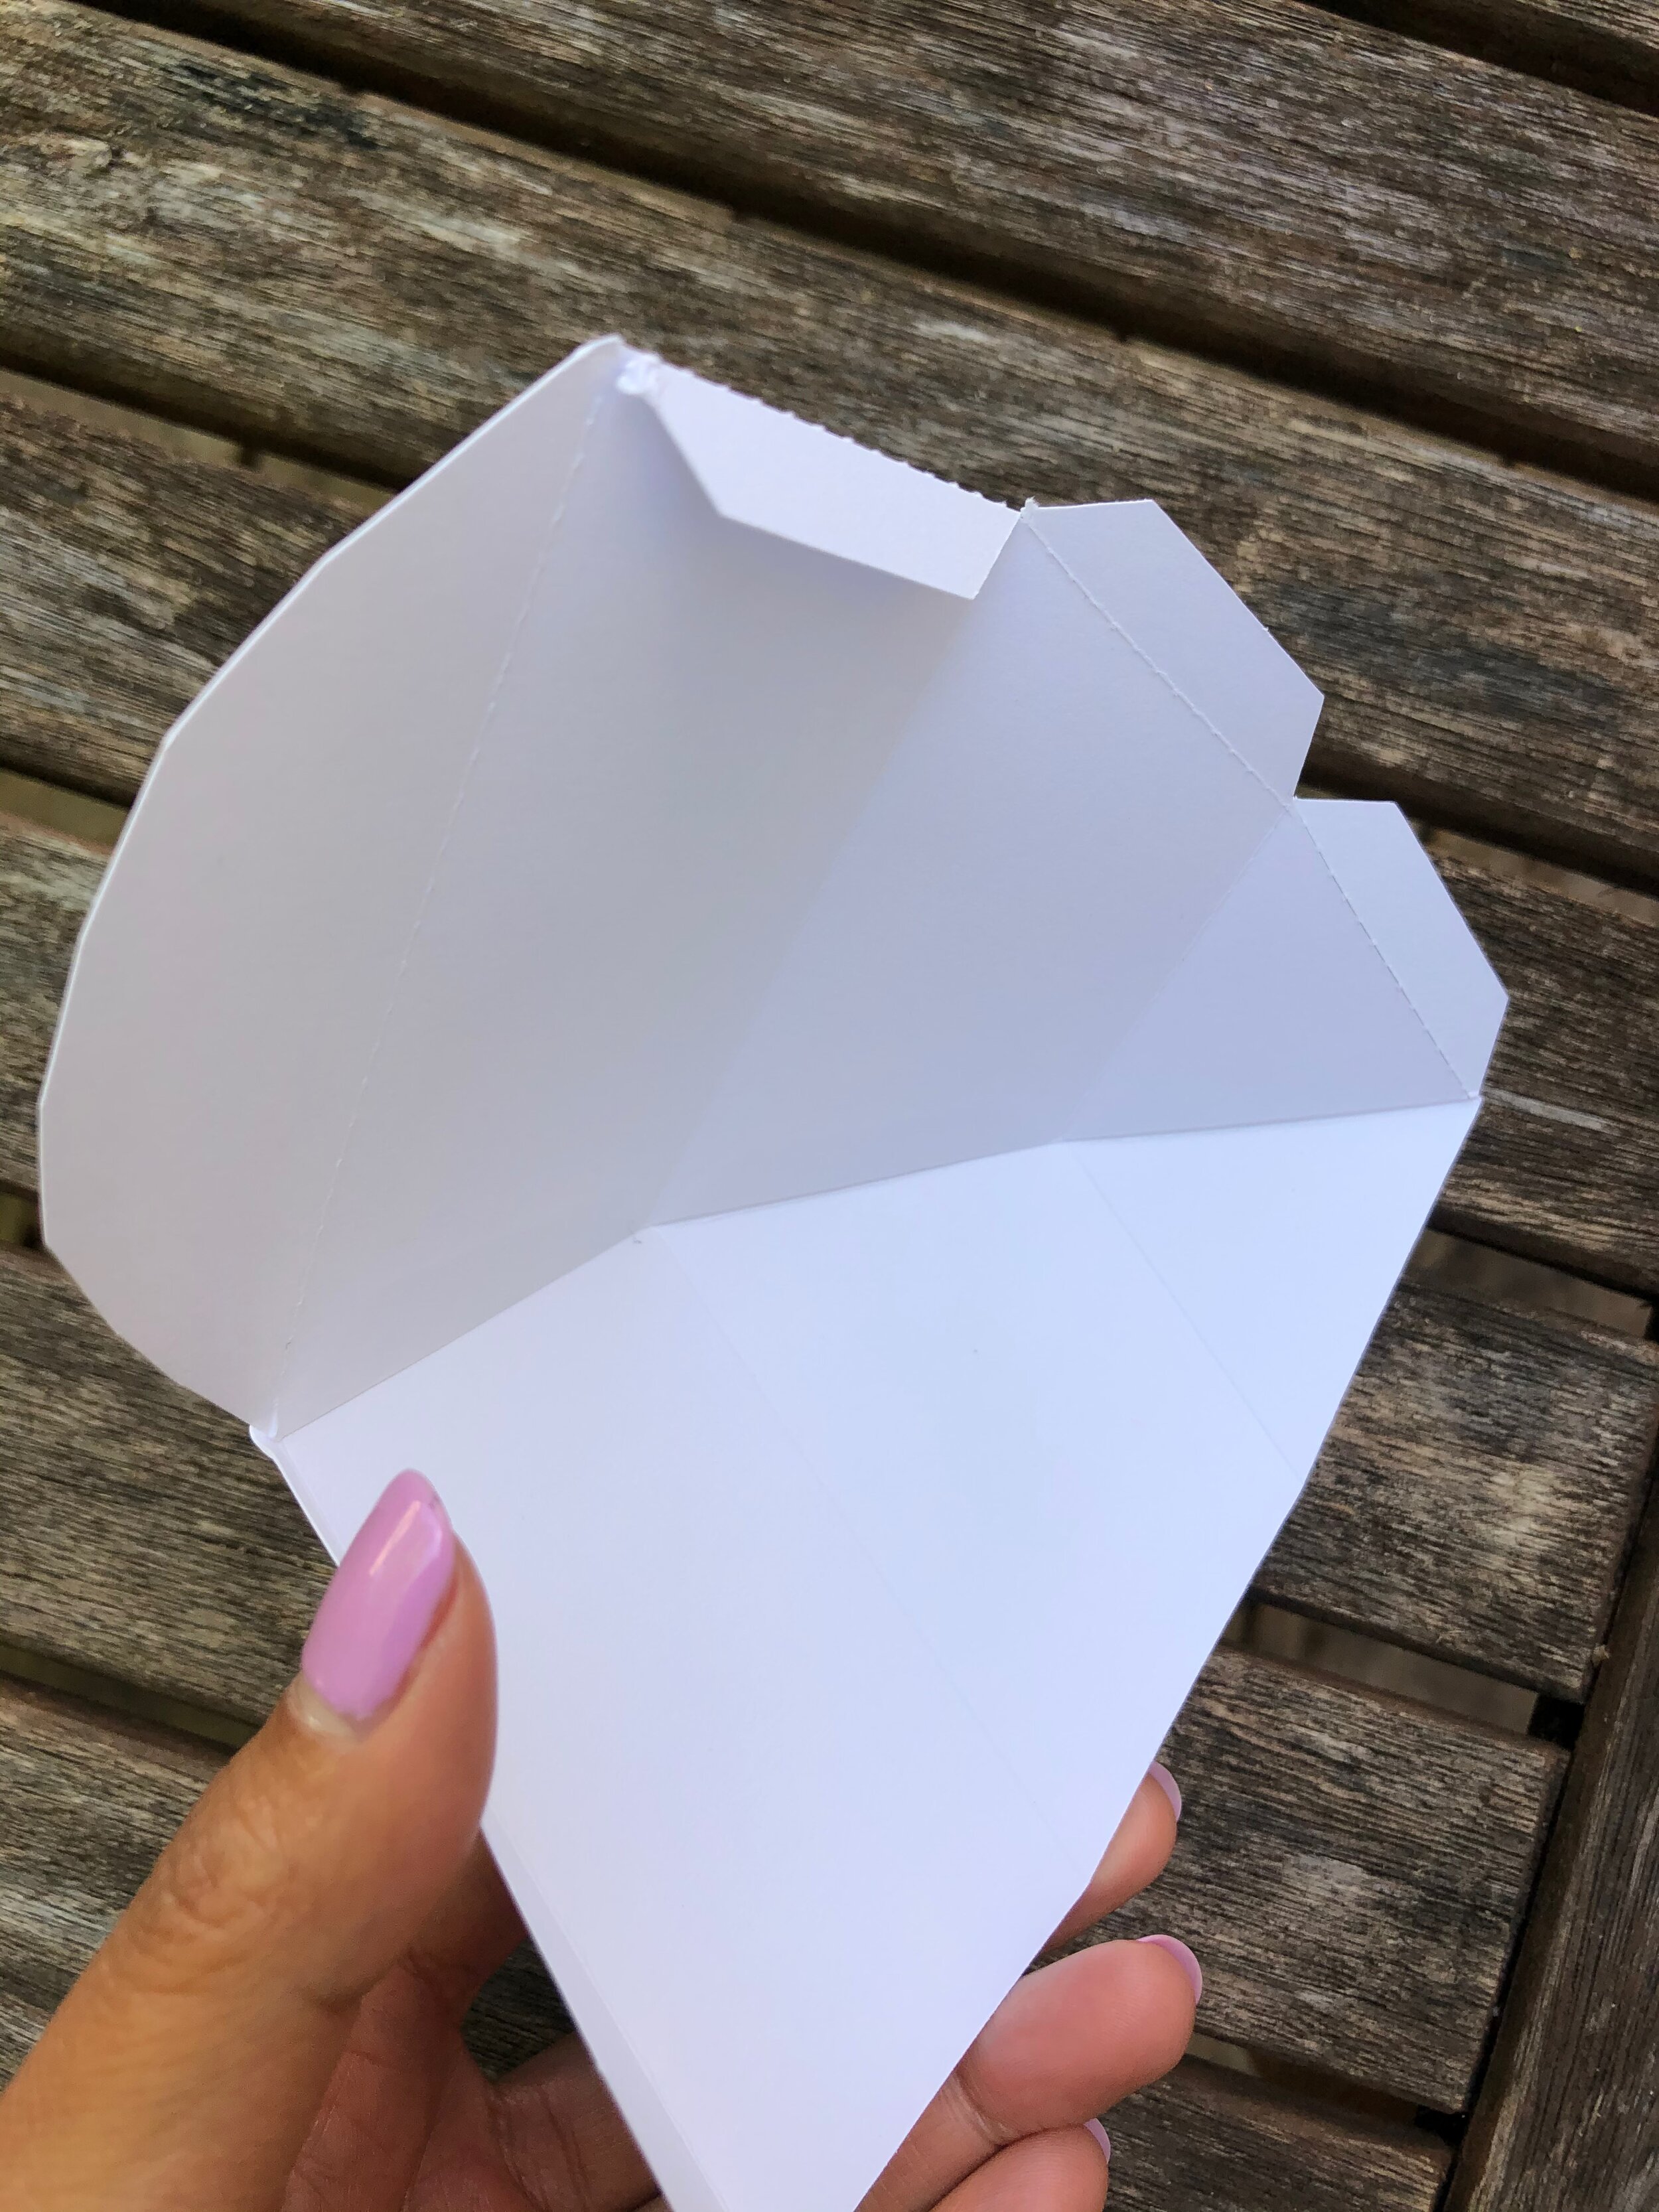
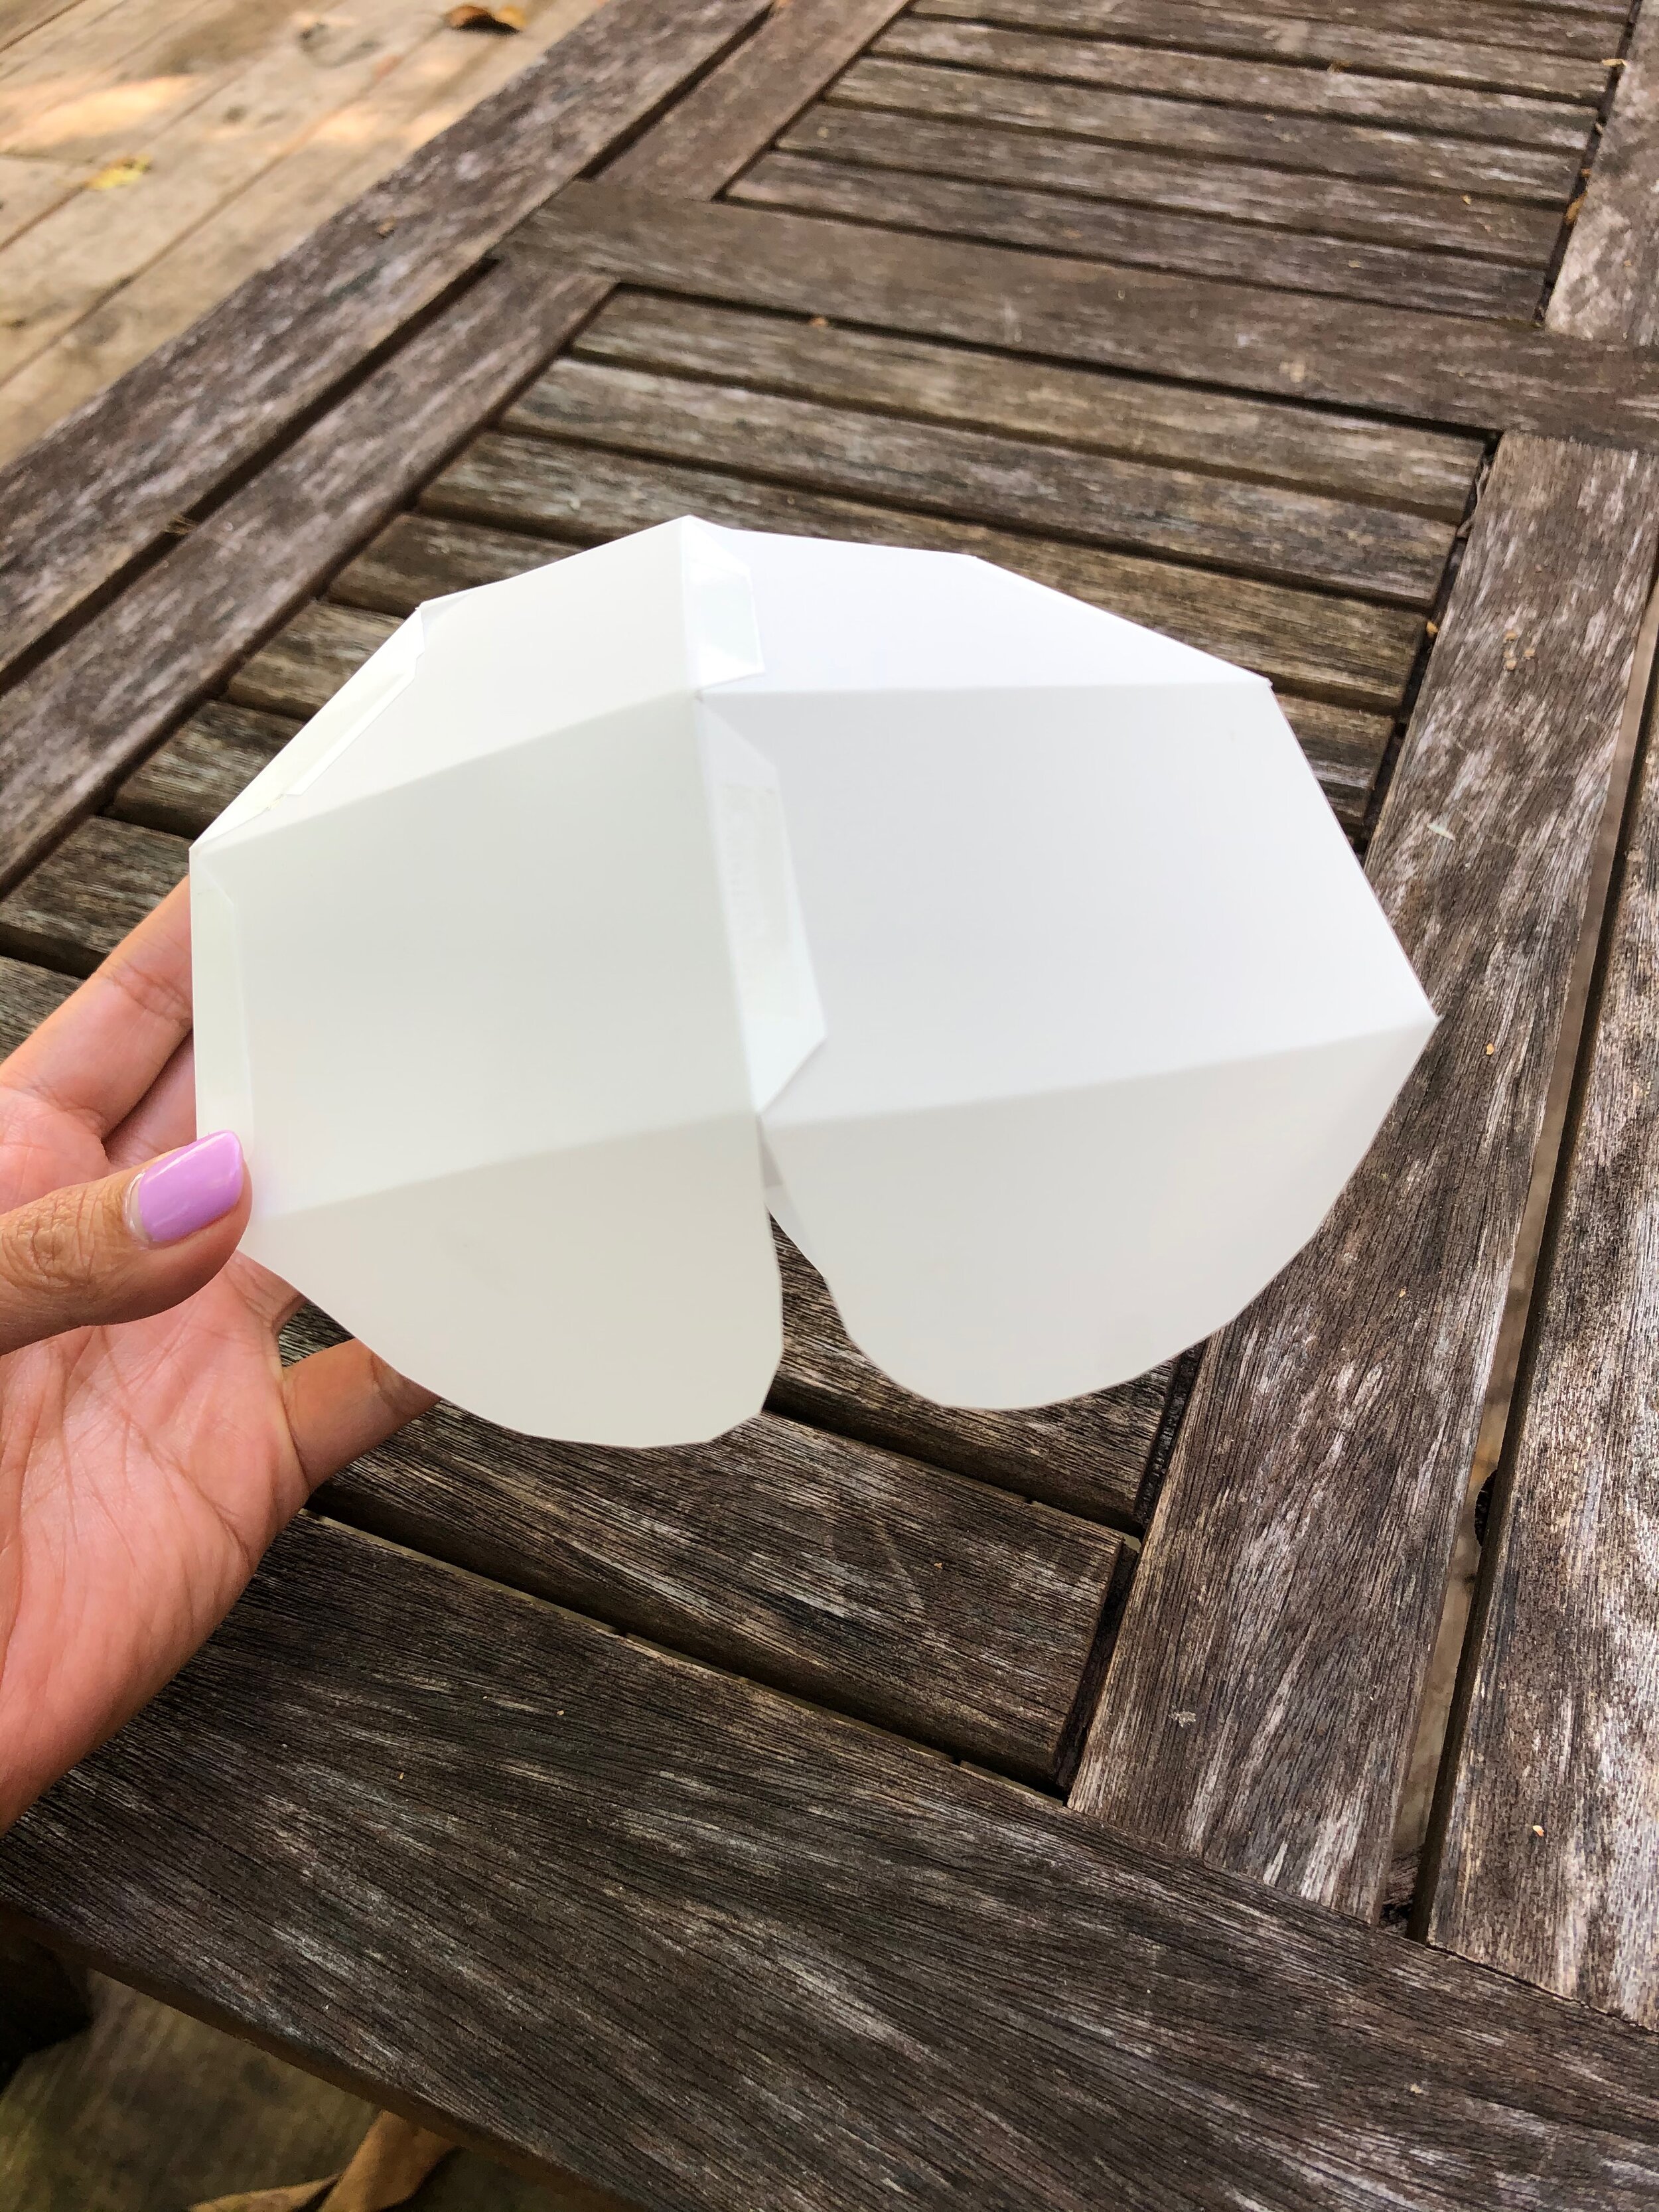
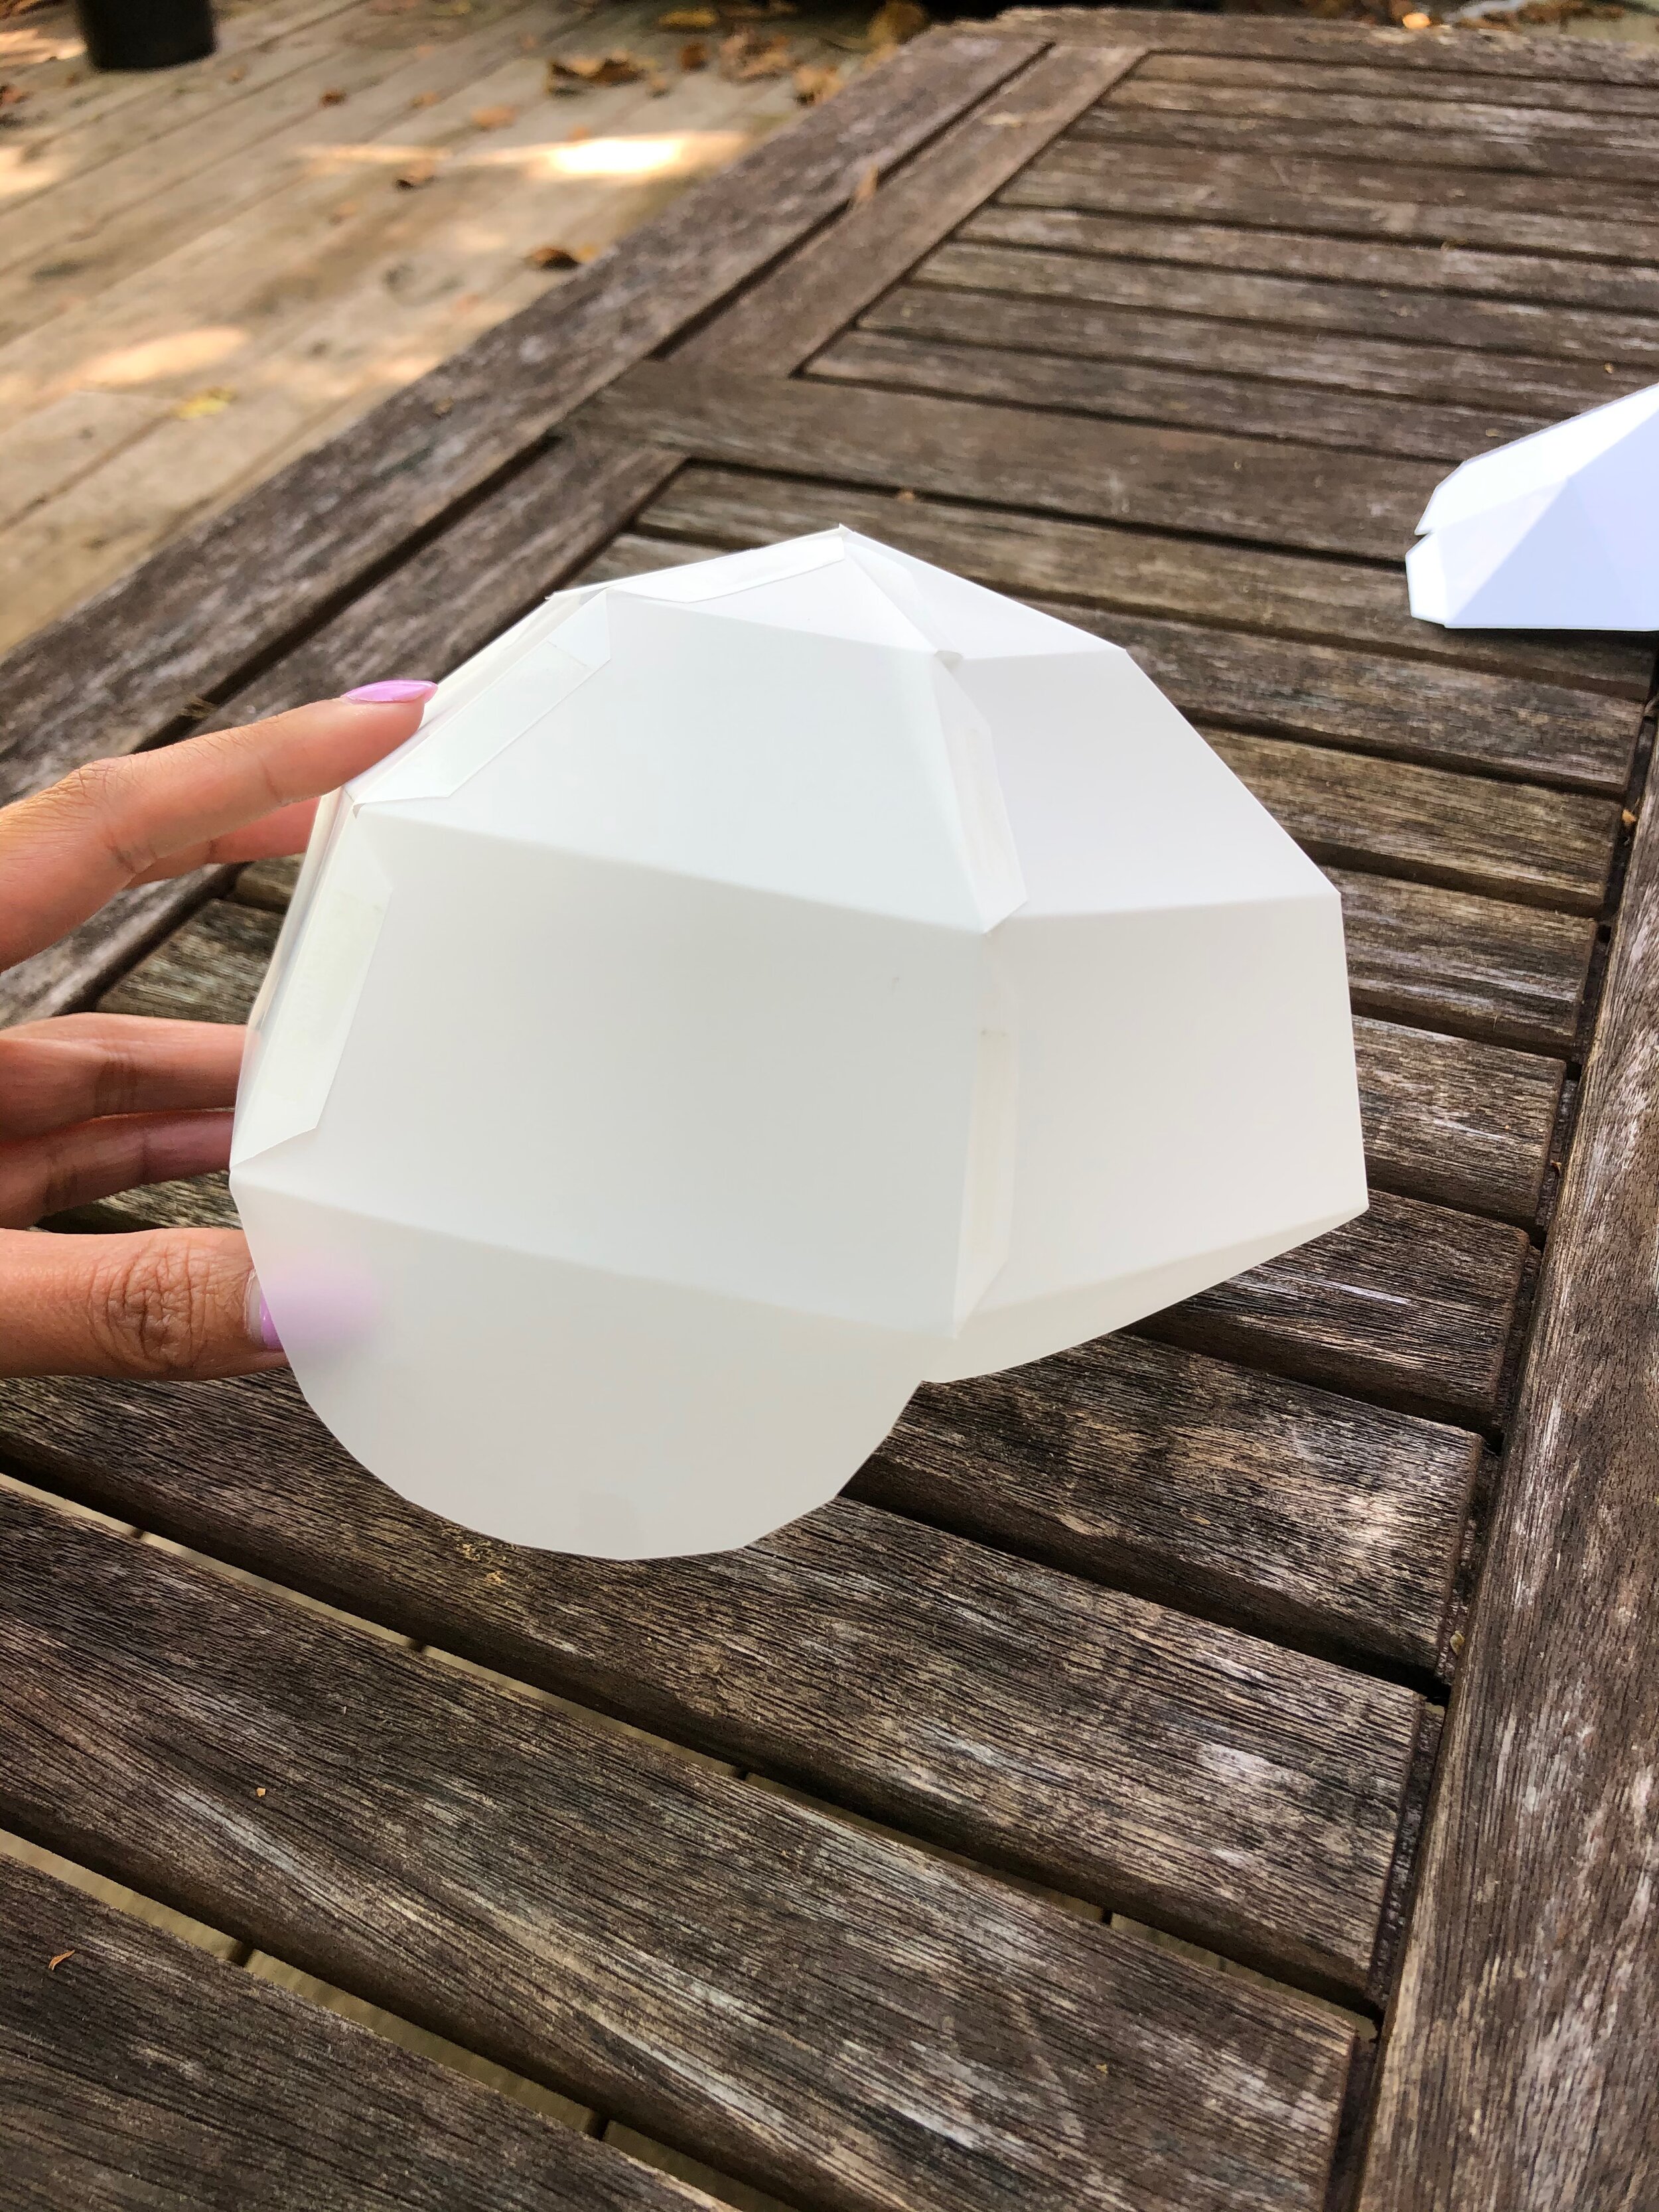

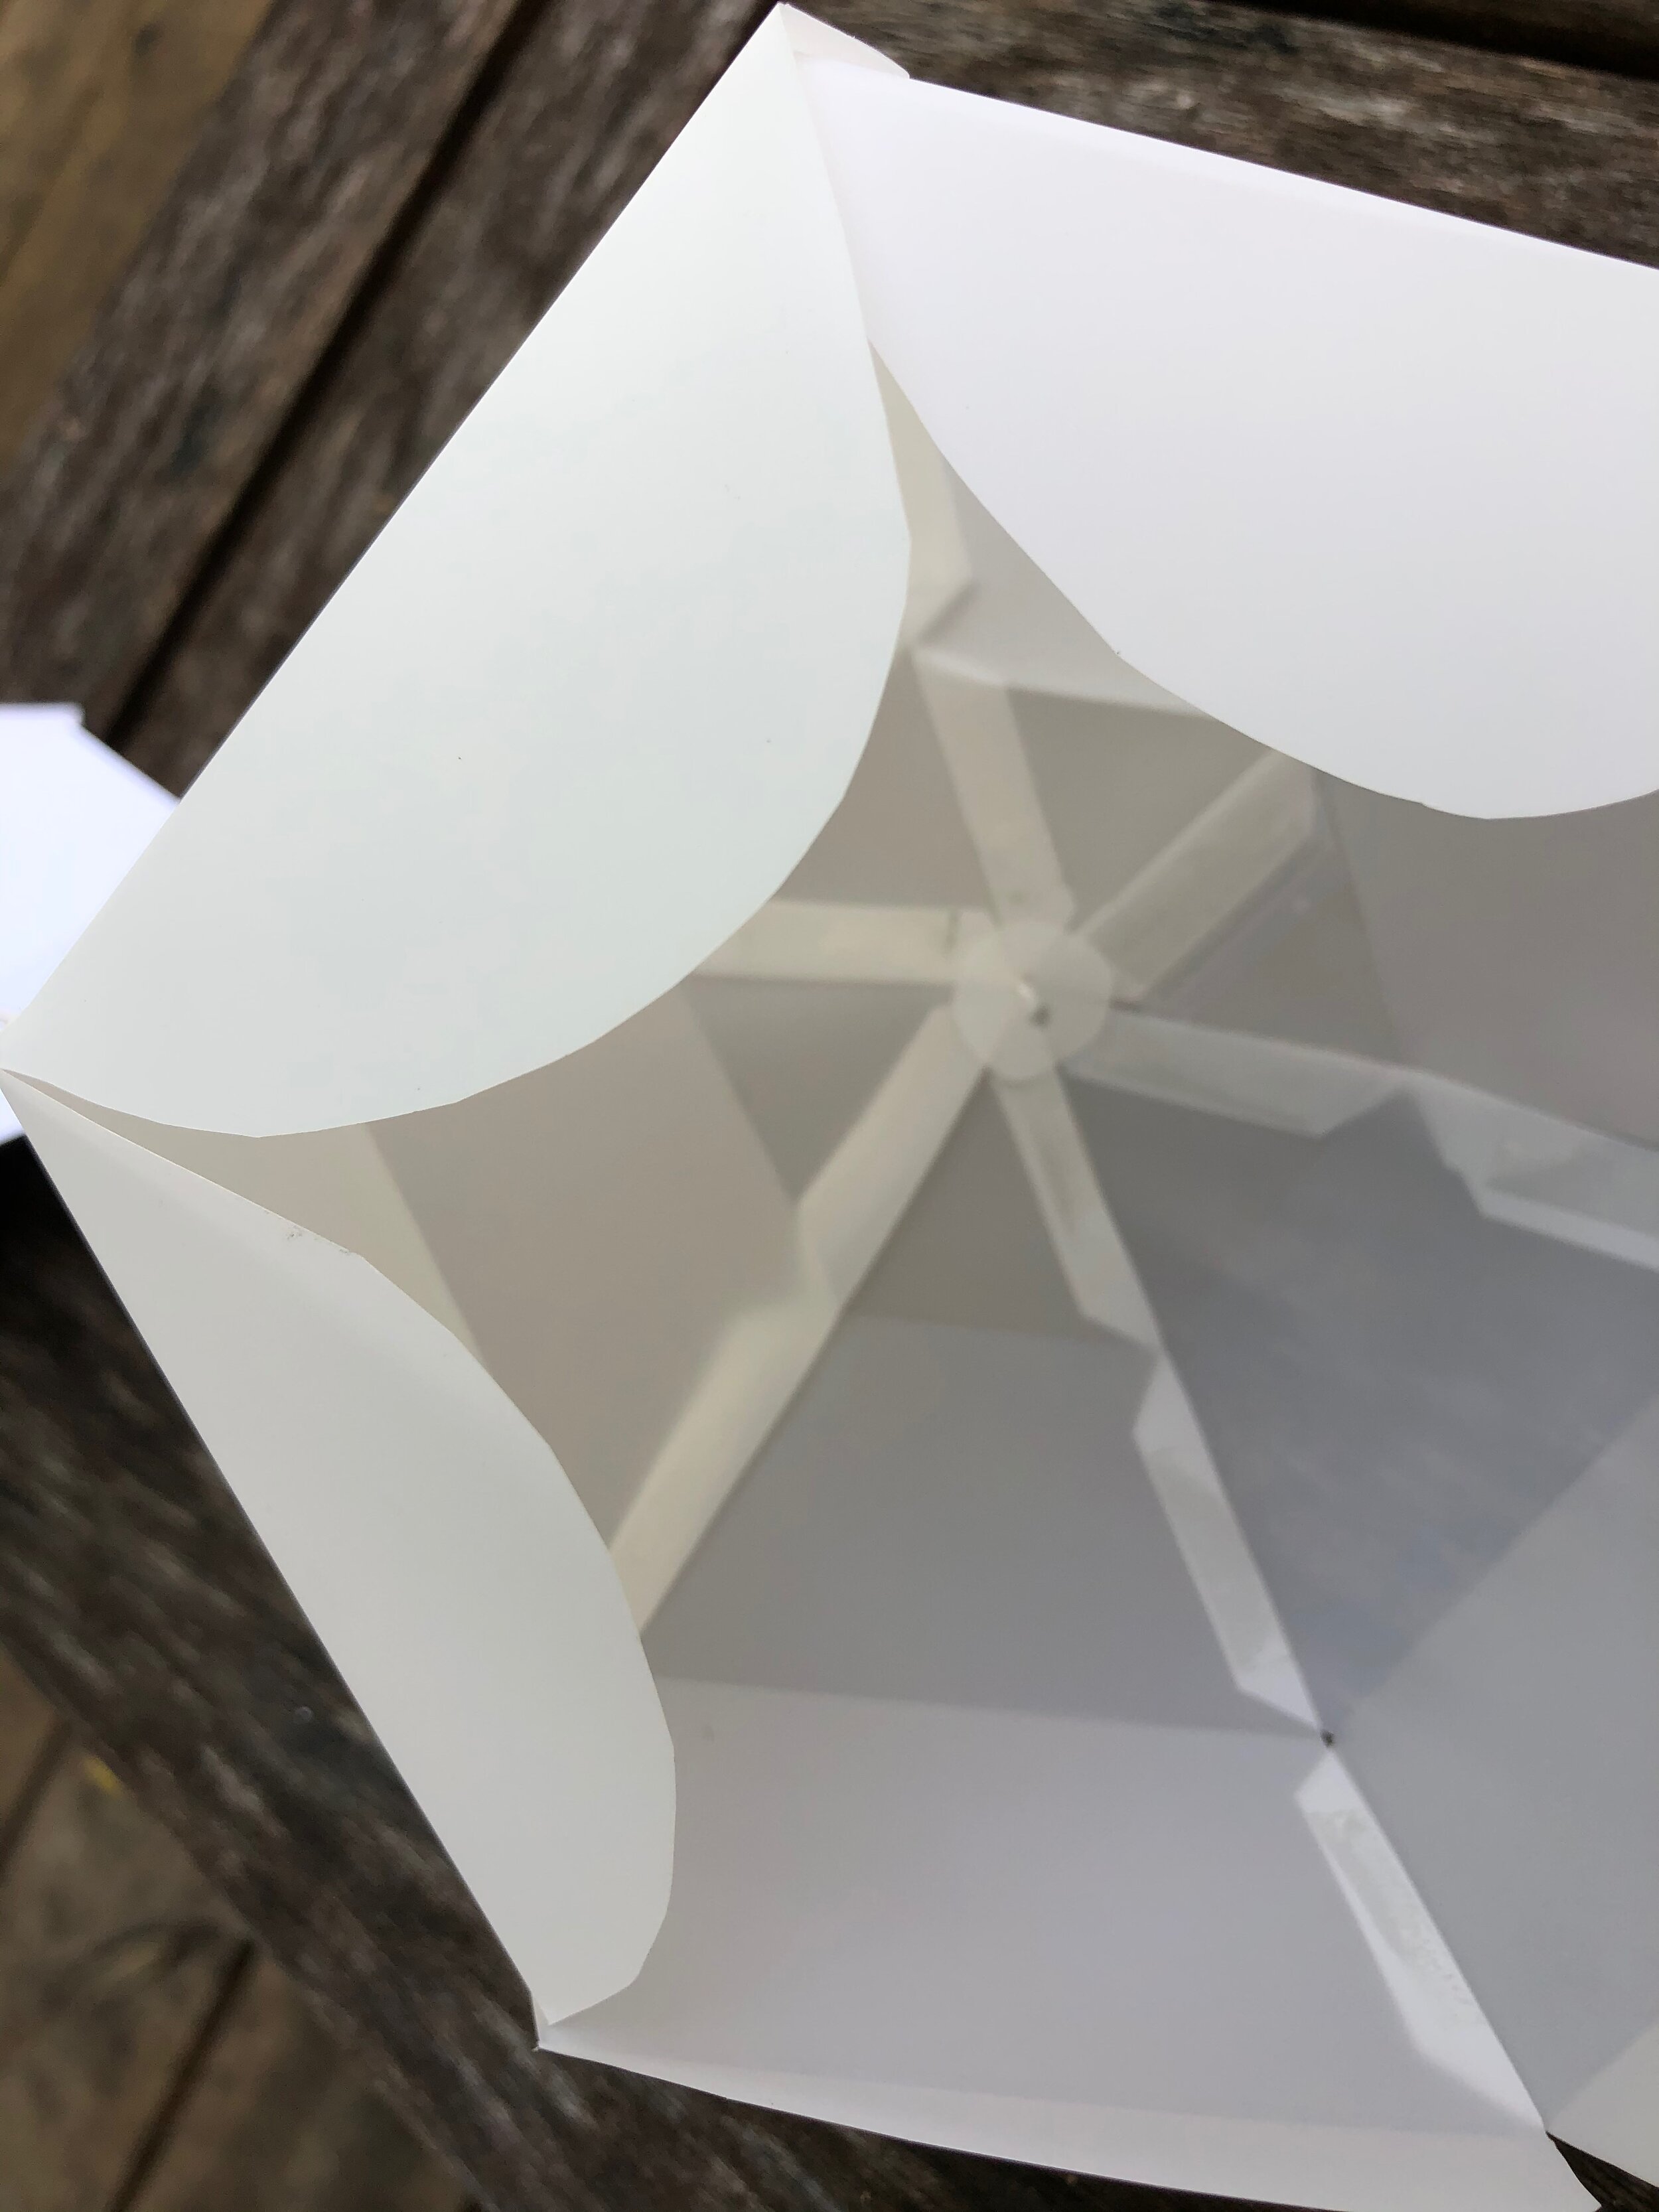
Once I had my sturdy dome shape, I created a small disk out of the polyester film to so that I could pass embroidery thread through it and out of the hole at the top of the dome. This would keep the thread in place and allow the lamp to hold its structure while being hung up.
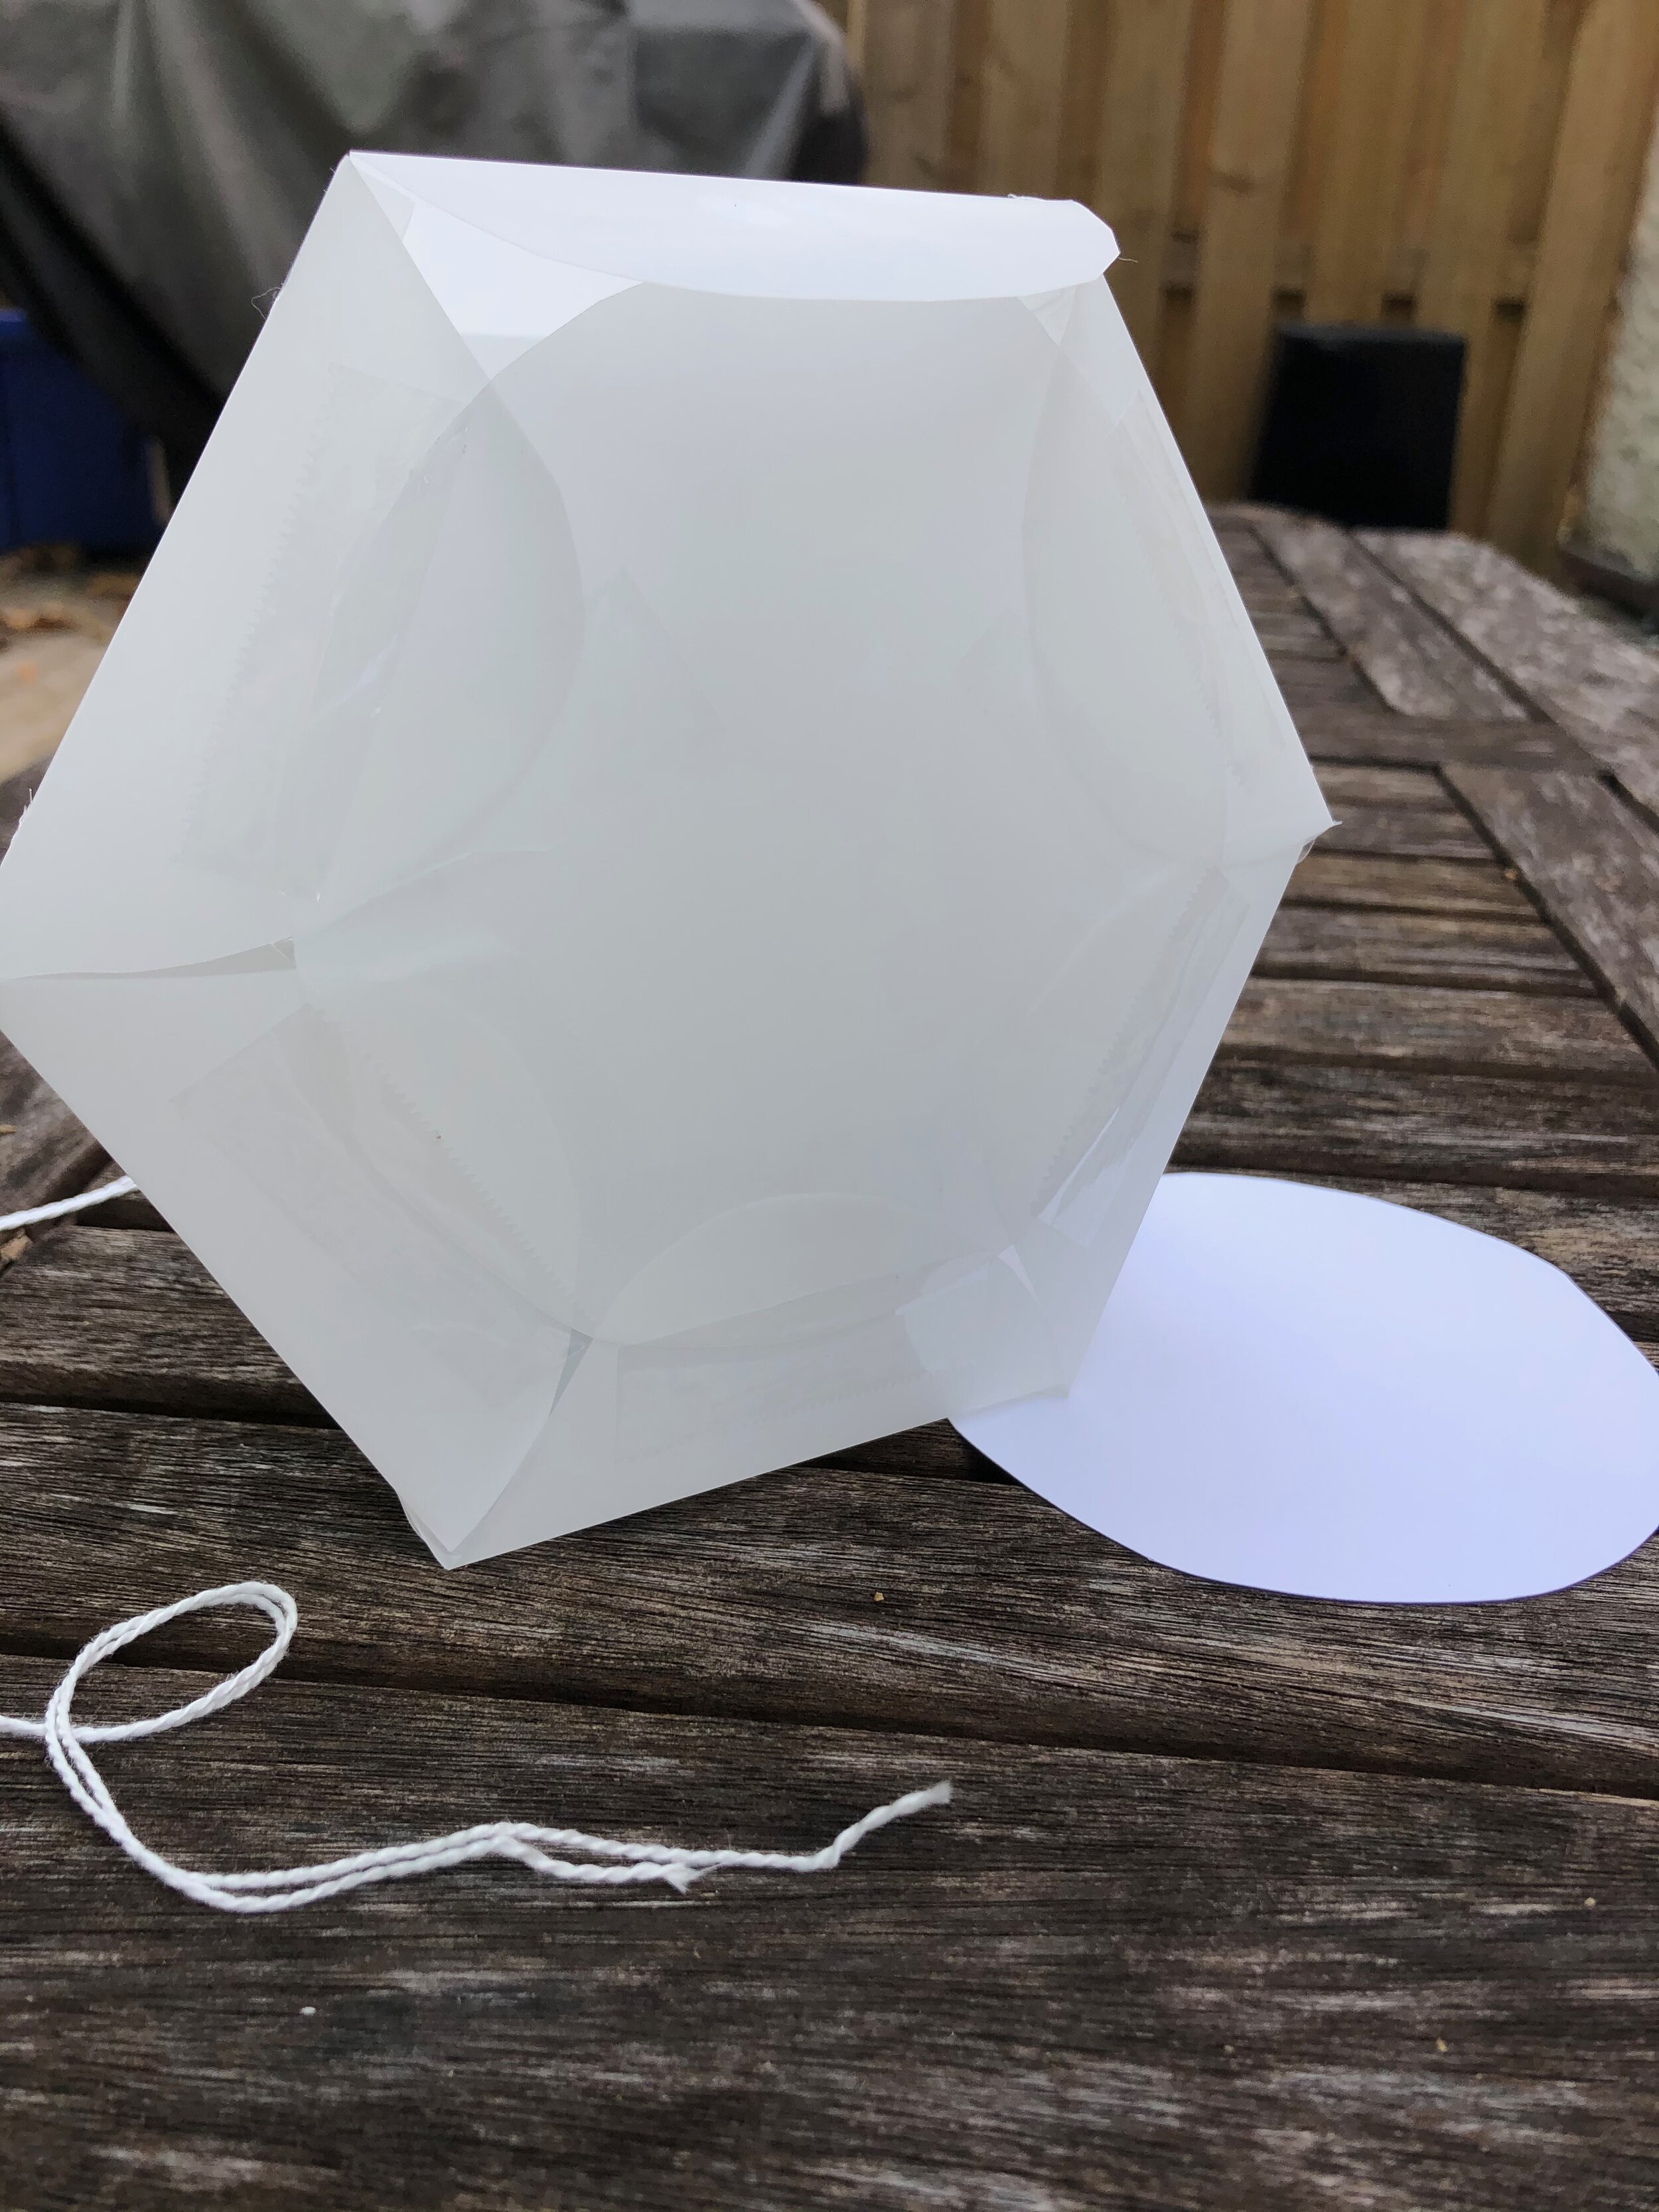
I then attached a larger disk of the polyester film to the bottom of the dome in order to create an enclosure for the microcontroller. I left one segment flap open so that the microcontroller could easily be placed inside.
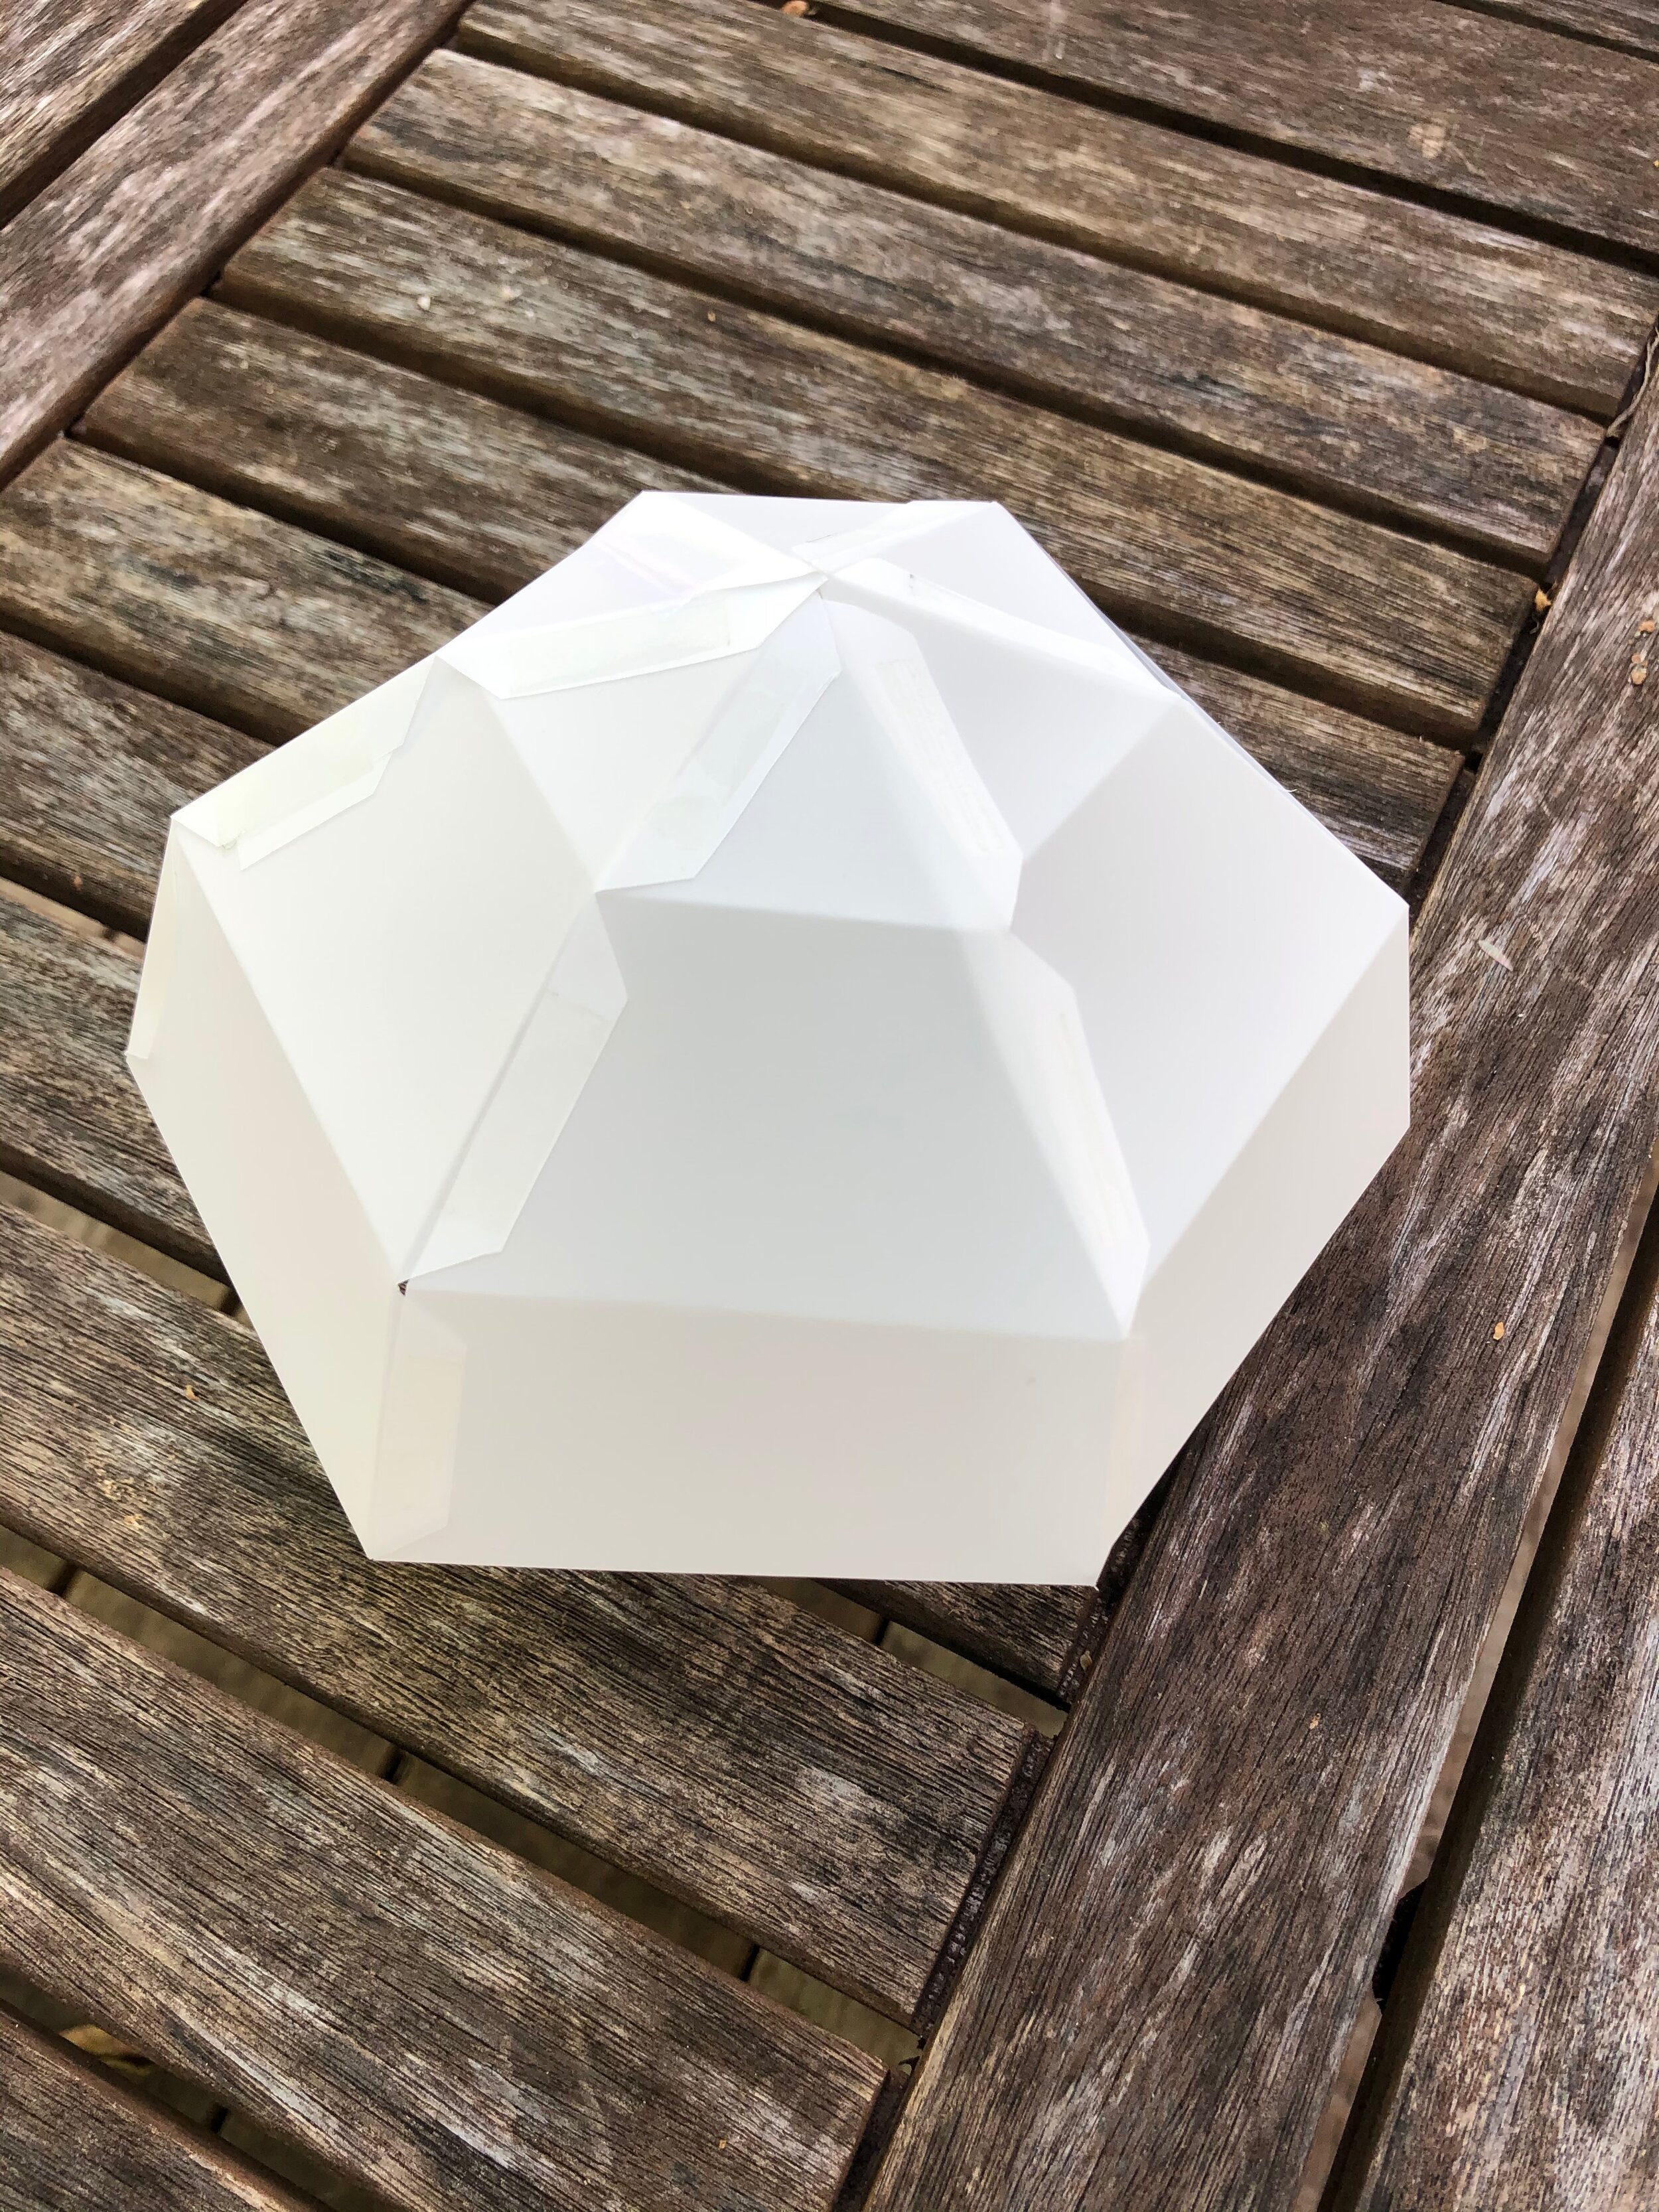
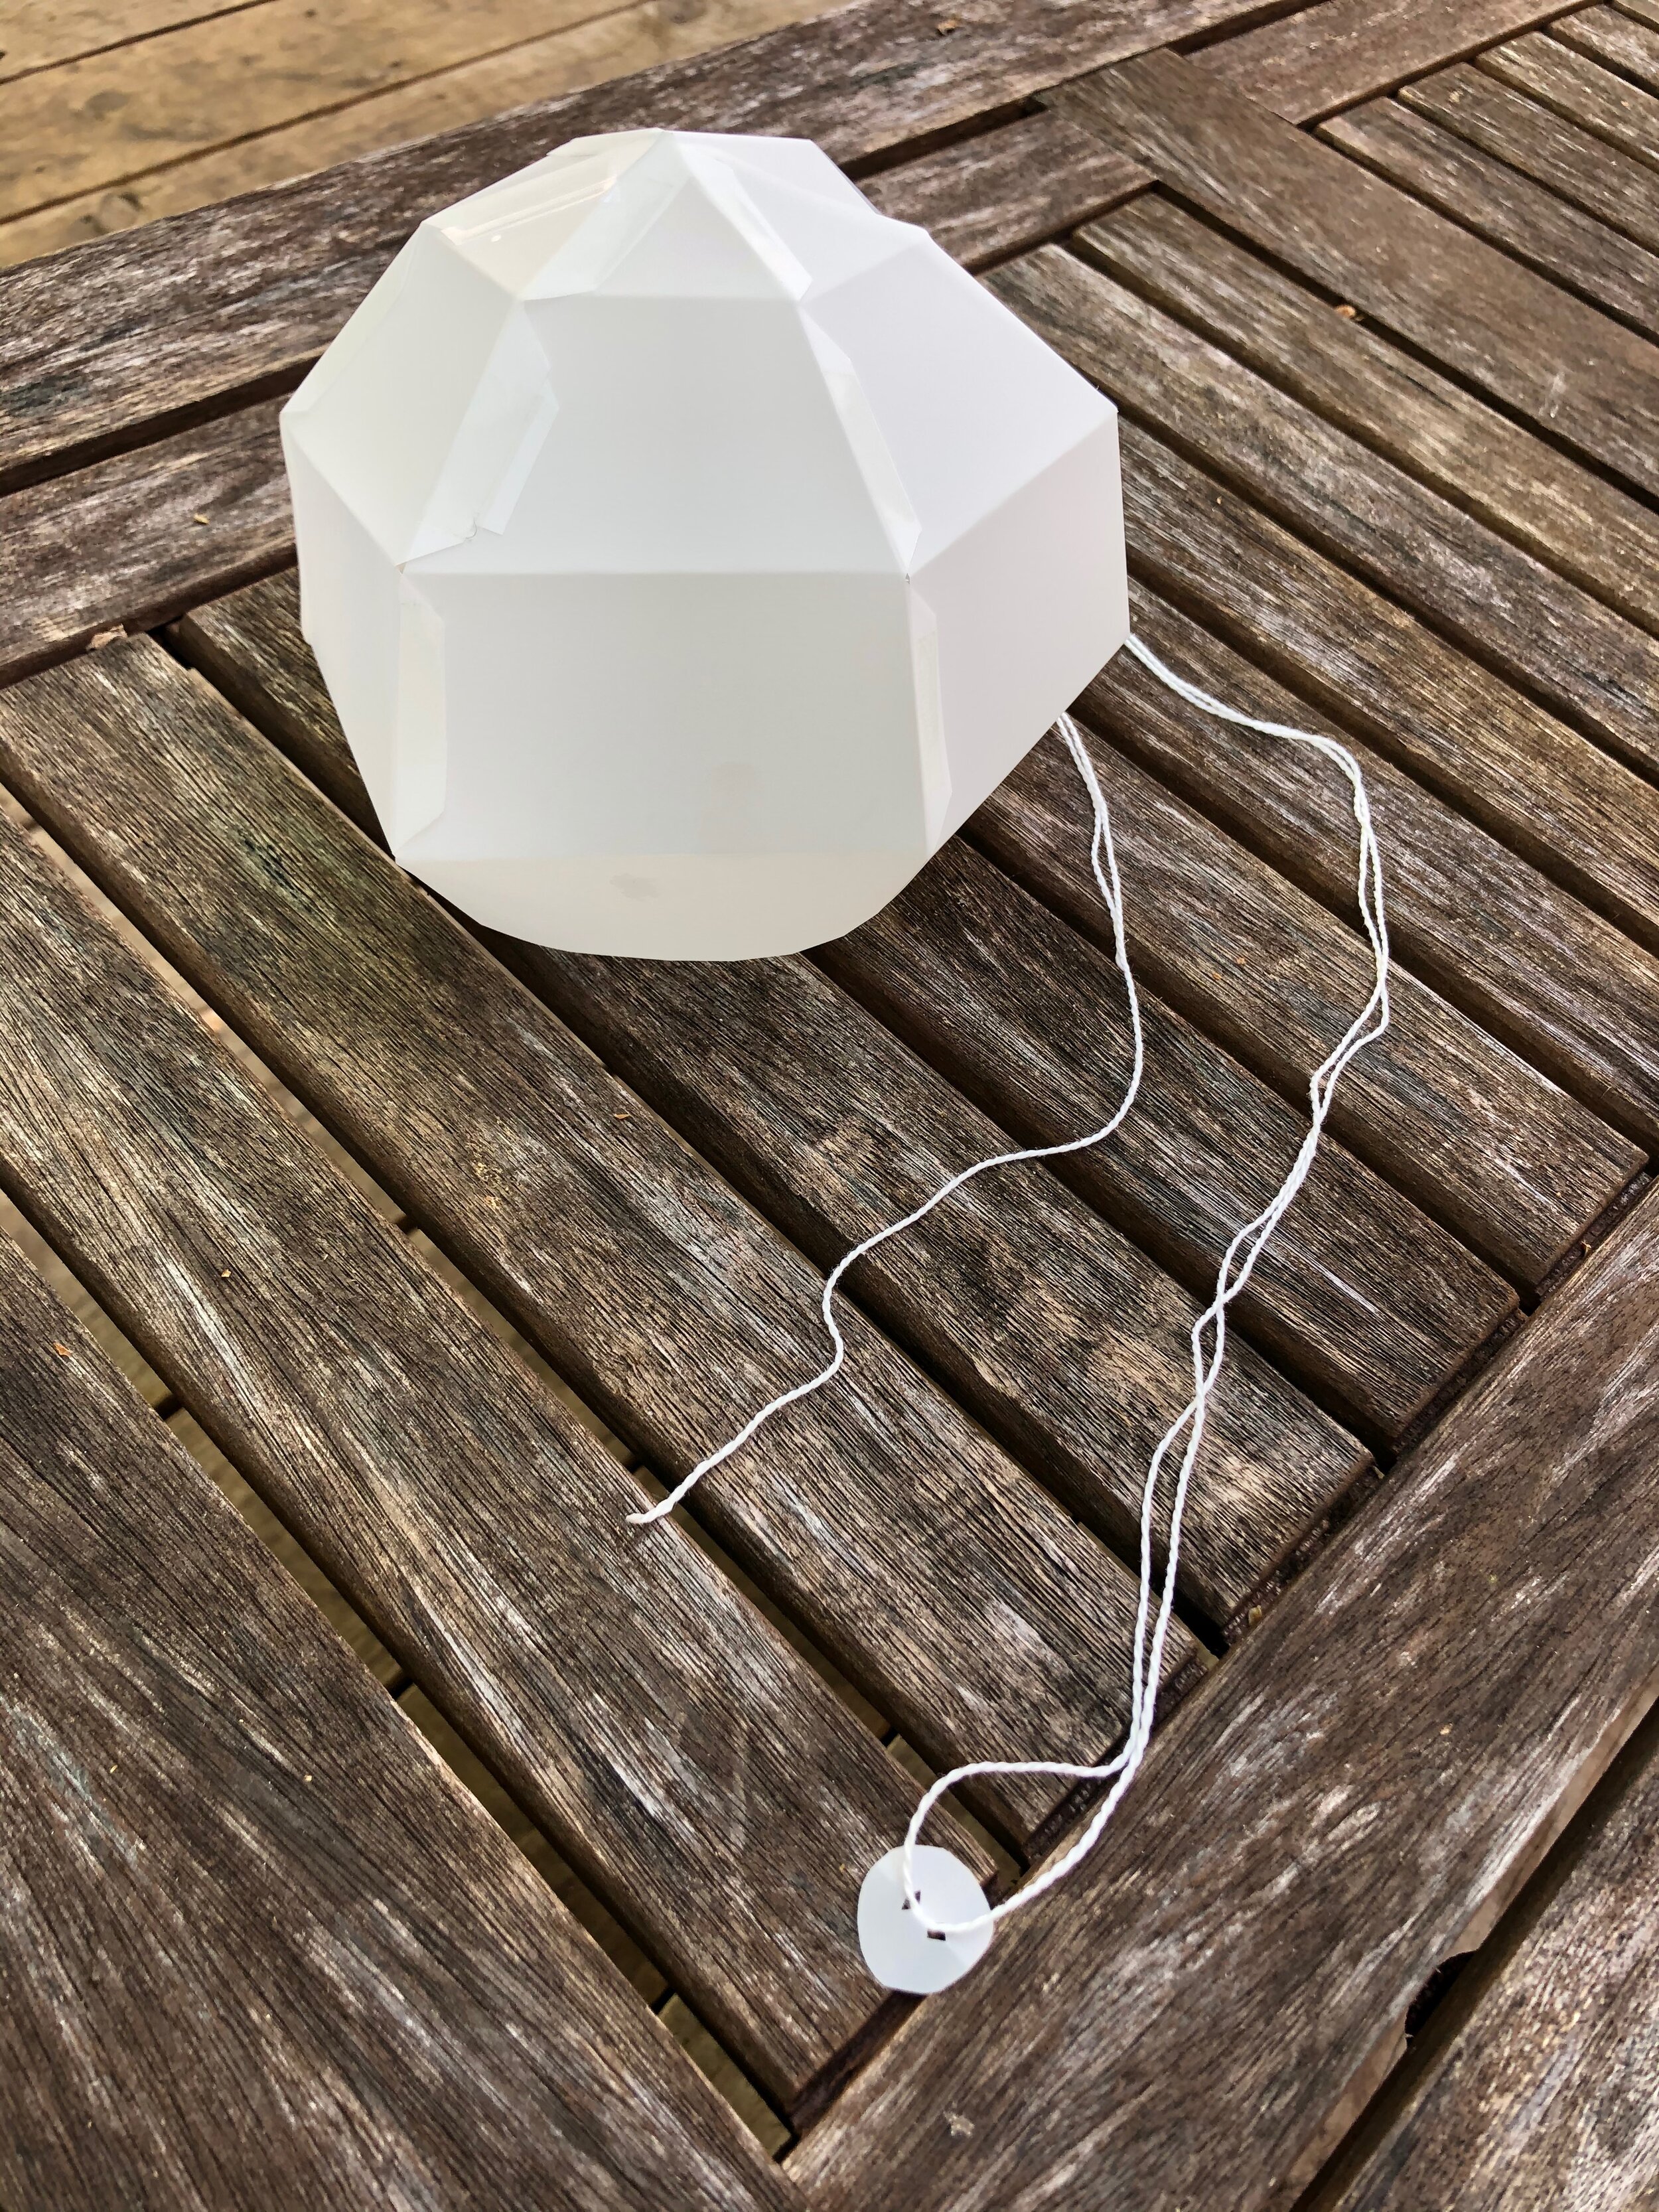

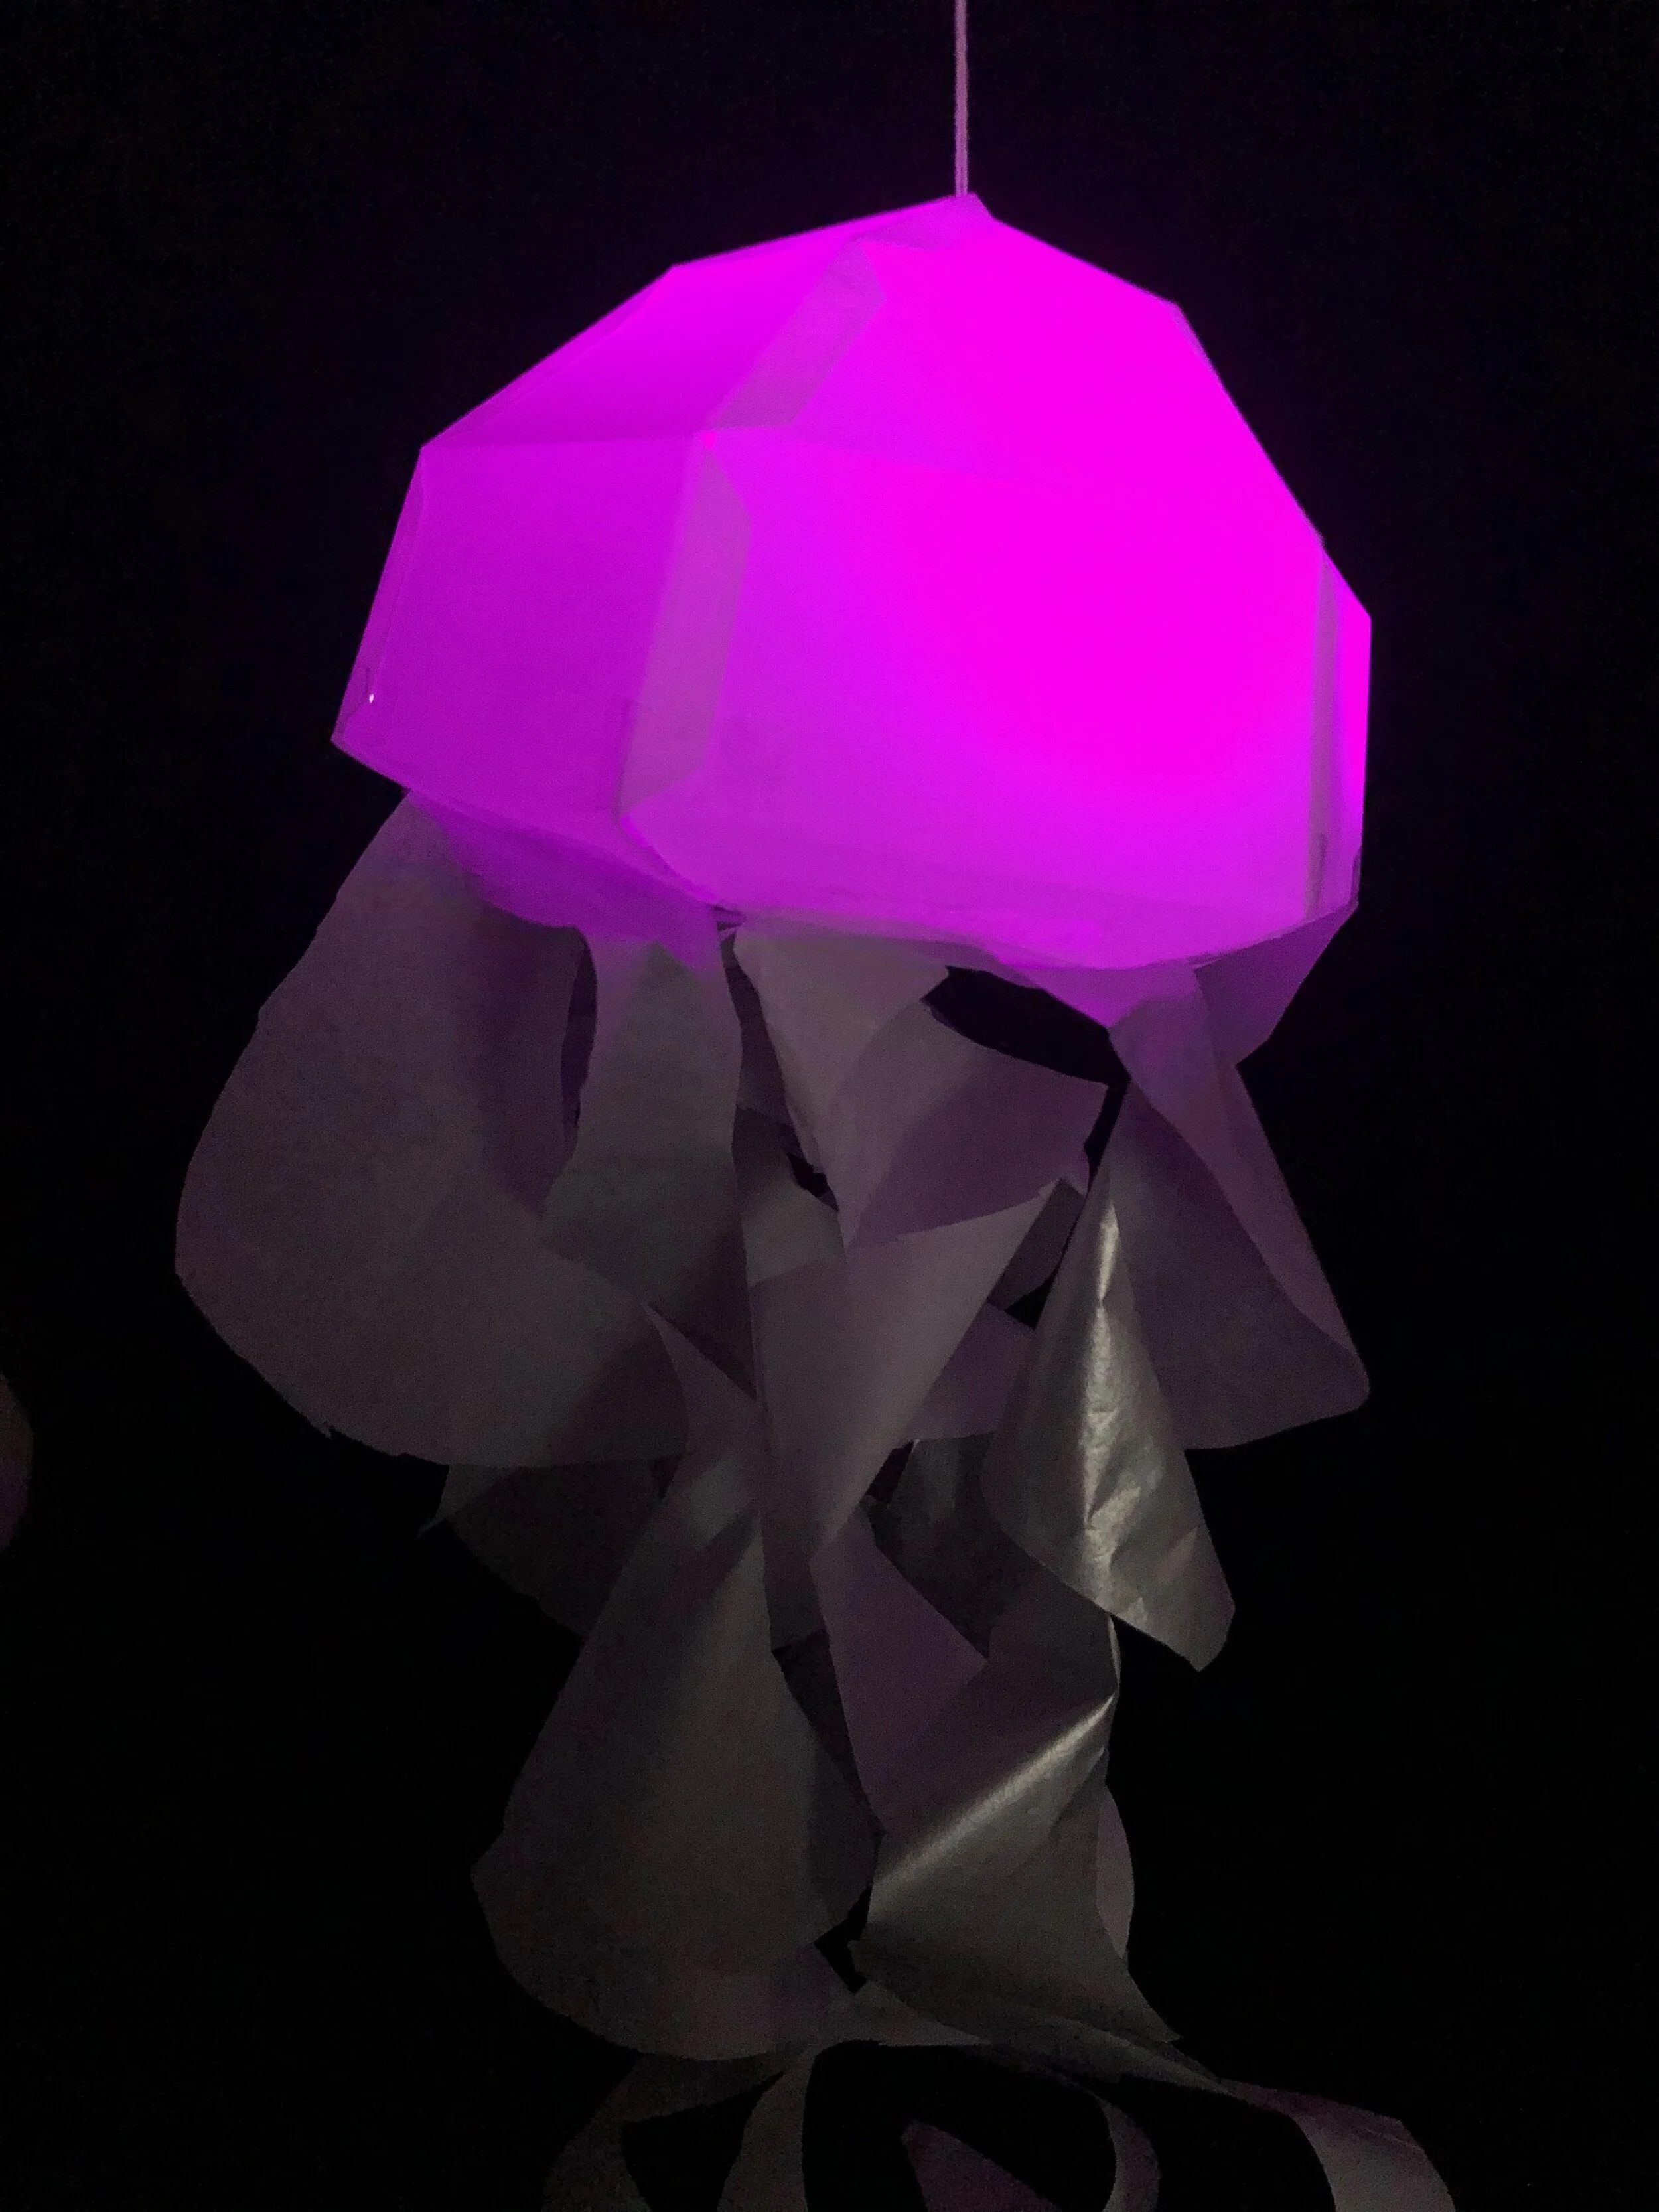
Once I finished the dome, I cut out spirals of white and silver tissue paper to act as the tentacles and oral arms of the jellyfish. I attached the spirals to the bottom of the dome using staples and tape. I then hung the jellyfish outside to watch it float in the air!
PROGRAMMING THE MICROCONTROLLER
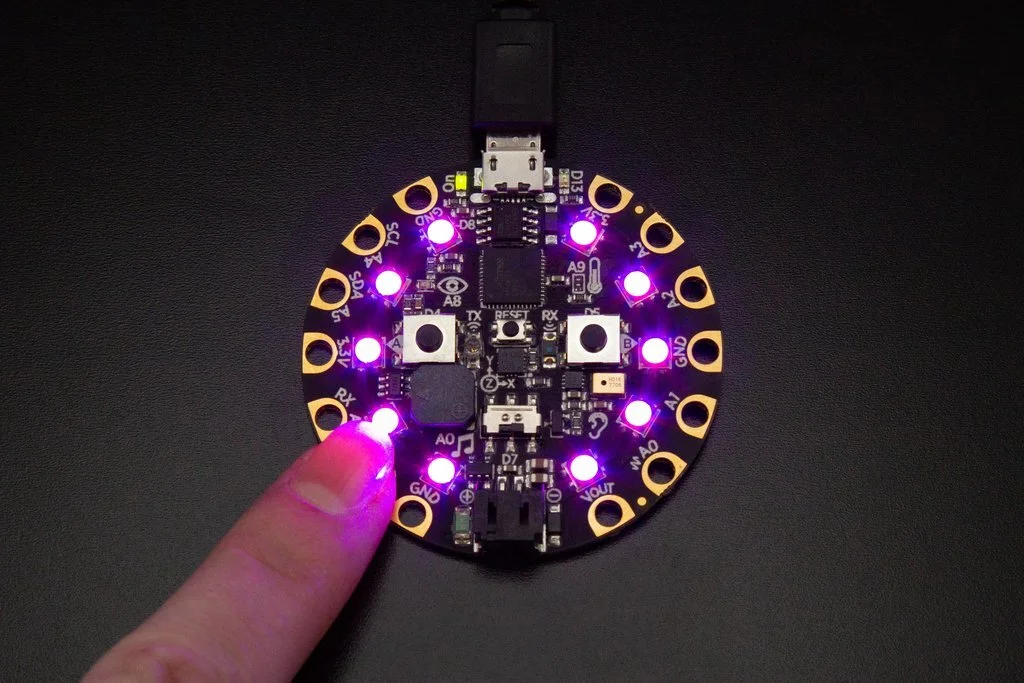
We used Python to program the Adafruit Circuit Playground microcontroller. Because I wanted to show the emotion of fear by mimicking the pulsing of a heart beating faster, I edited a code provided to us that already programmed an LED light on the microcontroller to blink and replaced the LED with purple neopixels.
I then created a variable for intervals which would provide spacing between the “blinks.” Blinking would at first be spaced 3 seconds apart, then 2, then 1, then 0.5, then finally 0.25 for rapid blinking.
I also added a “modes” feature that allows an “off” and “on” mode to occur when clicking the “A” button on the microcontroller.
PUTTING IT ALL TOGETHER
Once the microcontroller was programmed, the last thing to do was to insert it into the jellyfish dome, fold over the flap, and watch the blinking light mimic a heart beating faster and faster.
LEARNINGS
Don’t be afraid! At first I was scared of committing to a “harder” project that would require me to think outside of the box and create a 3D sculpture. I wanted to stick to a simple cutout that the light would just sit behind. However, the more I researched and sat on potential ideas, the more excited I became to try things out.
Cricut is a fun and useful tool. I was really amazed at the kinds of models my classmates and I were able to come up with using the Cricut. It’s awesome that templates are available for free online and that there are a lot of ideas on Pintrest.
Nothing will always go perfectly, and that’s ok. Even though I was using the Cricut to cut my template segments out on polyester film, I couldn’t figure out the right setting so that the segments would actually get cut out. Instead the Cricut blade just made a faint indentation on the thick polyester material. I ended up having to cut out the shapes with scissors by following the indentations, but in the end all the segments fit together and functioned well.


