A Helpful (or helpless?) Robot
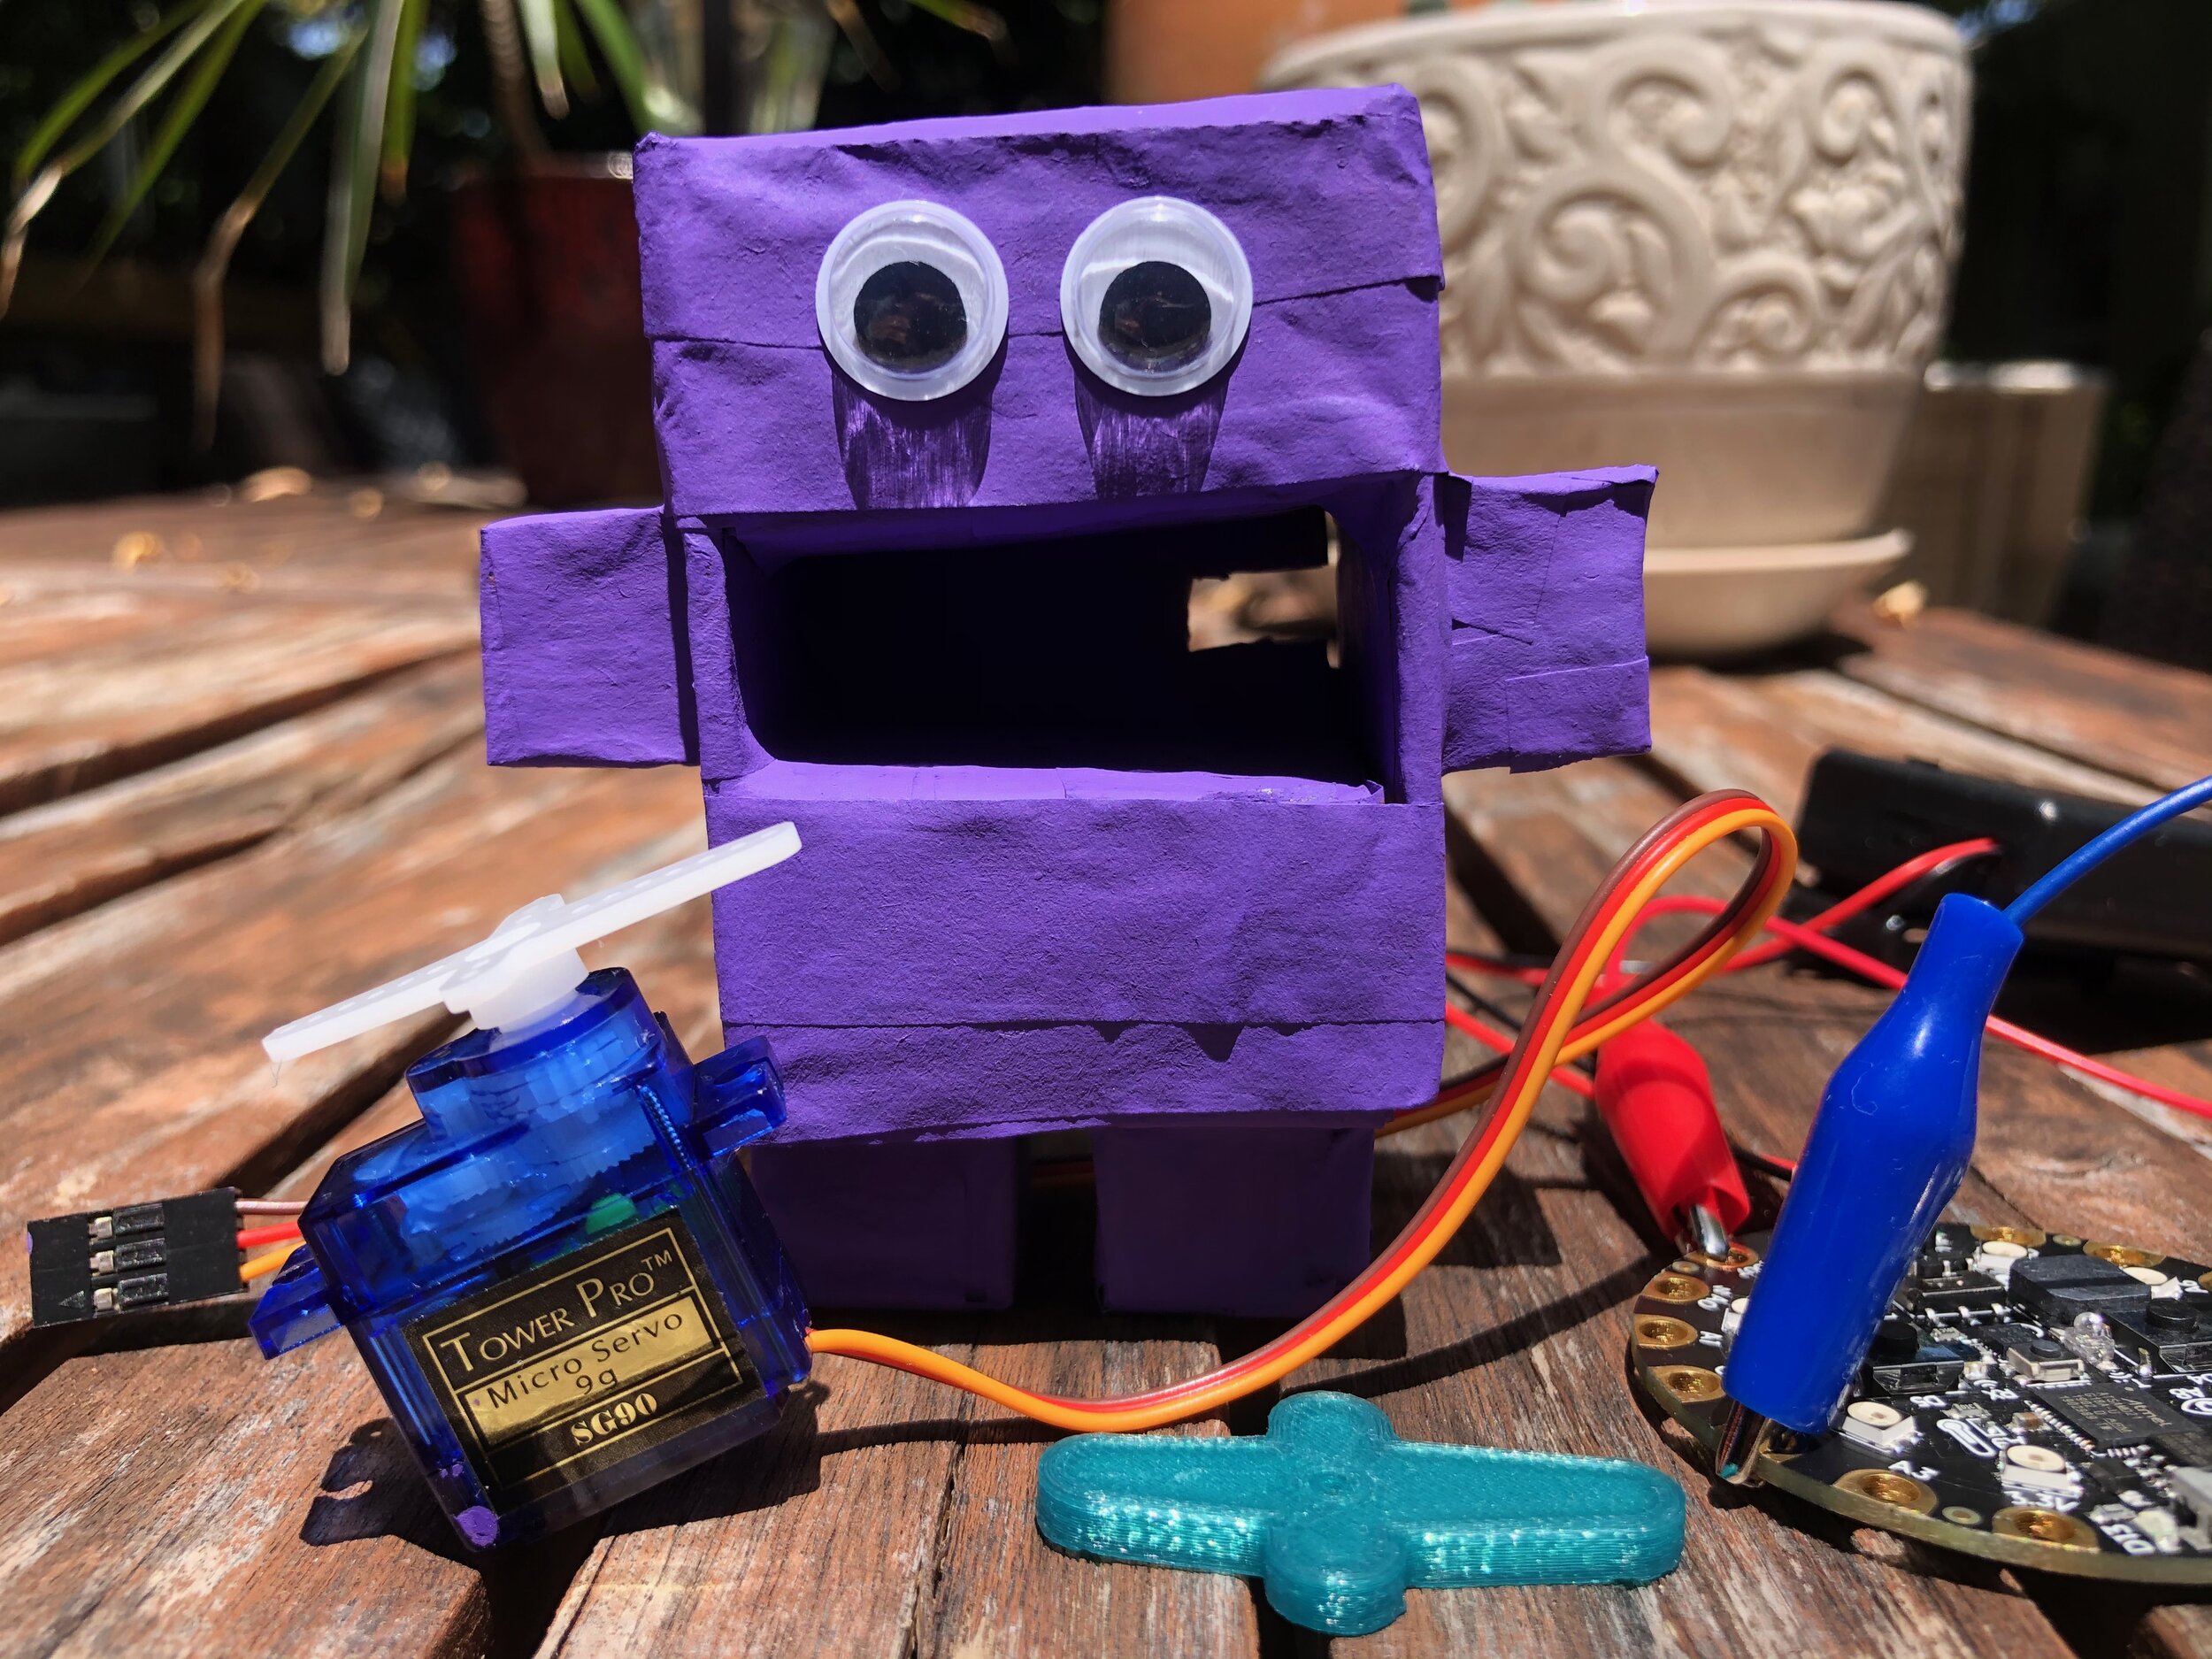
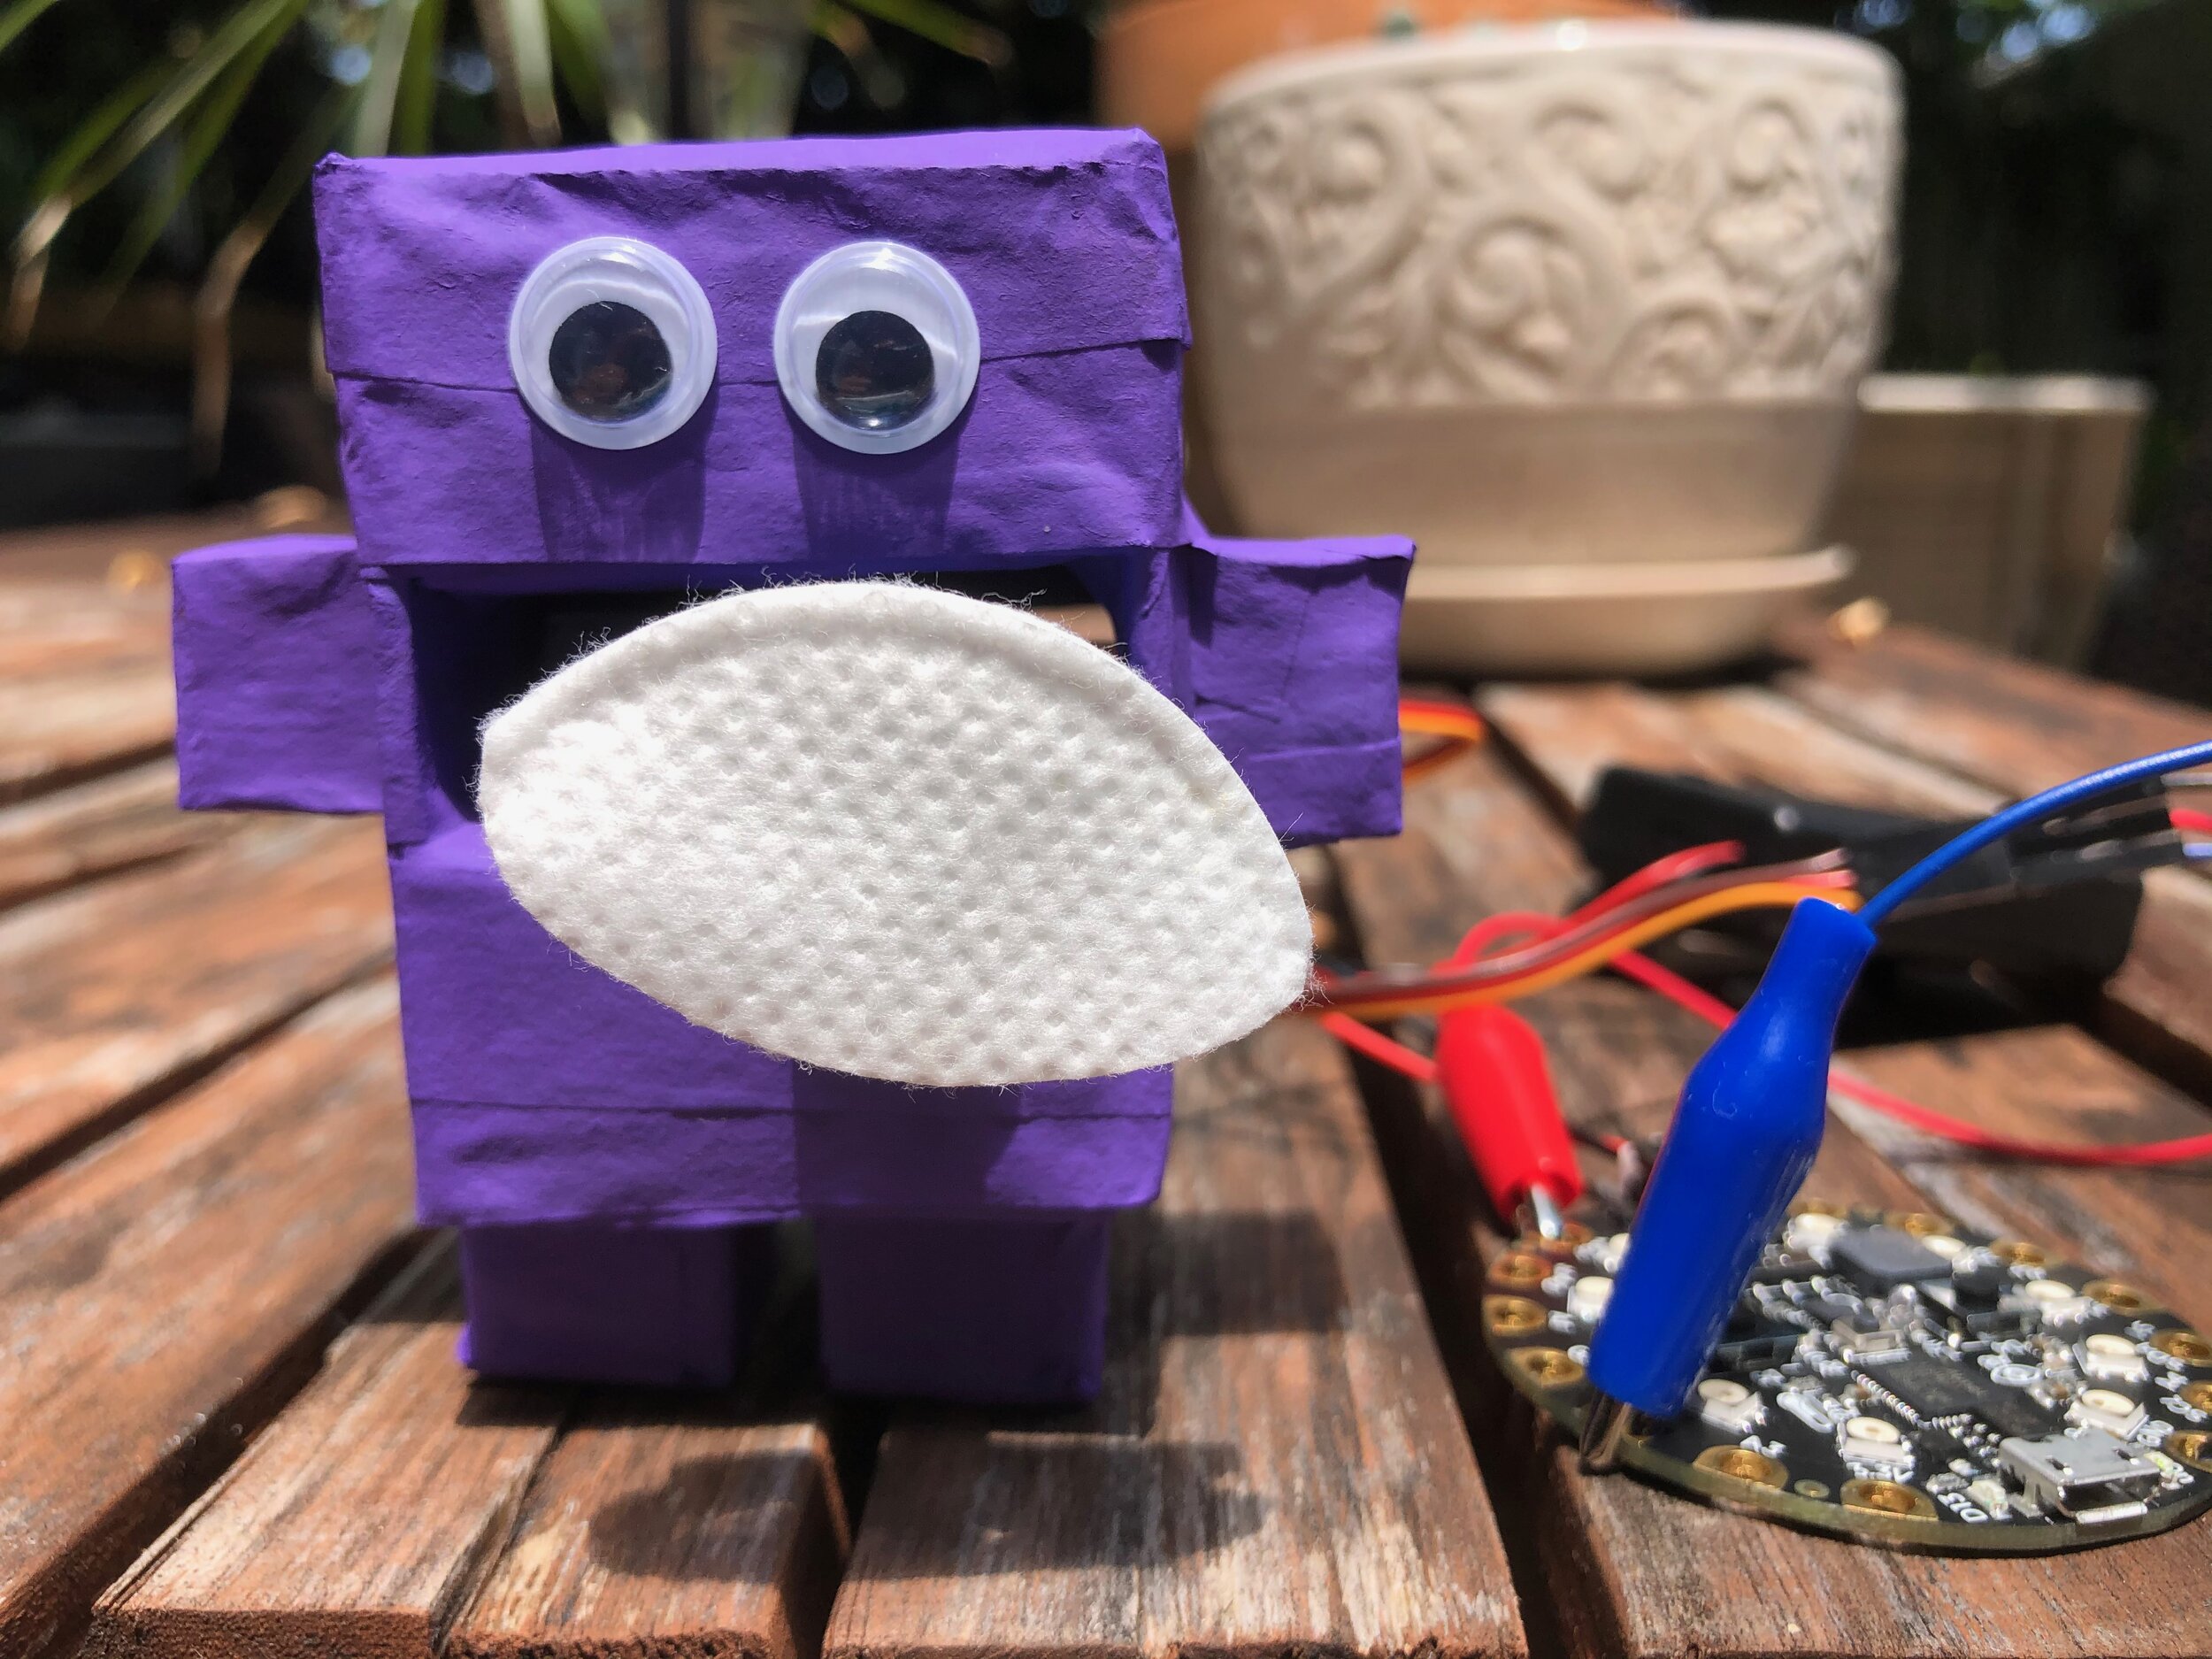
A cute purple robot to help you clean your cell phone screen.
BRIEF
“Create a helpful or not helpful robot that would help you with a day to day task.” This assignment was inspired by Simone Giertz’s “shitty robots.” Our robot was required to have one input, one output, a sensor, and a 3D printed part.
INSPIRATION
To get started, I watched a few of Simone Giertz’s robot videos, and was particularly fascinated by this brain paper shredder. I then asked a friend, “If you had a robot, what would you want it to be able to do?” She listed a slew of cleaning tasks: “ I would want it to do the laundry, wash the dishes, clean the floor, etc.” And cited Rosie the Robot from the cartoon series, The Jetsons.
Image from: https://www.cavalierassociates.com/
After thinking through plausible robotic motions that could be accomplished with the sensors in my electronics kit, I thought, “What about a tiny window cleaner? Or a cell phone cleaner?”
One of the sensors in the kit, called a servo motor, is able to be programed to move propeller-like arms back and forth or in a circular motion. I thought this would be ideal for cell phone screen cleaning motion.
Image from: https://www.electronicwings.com/
The servo motor is tiny — the dimensions of the blue box are about 4cm wide by 2.5 cm deep. I knew that I wanted to create a robot-esque body for it, and that it would be a tiny robot. Having a plethora of cardboard Amazon boxes at my house, I decided that I would make the robot body out of cardboard boxes and paper mâché.
SKETCHES
In planning out my design, I started to sketch what the robot would look like and what the necessary components would be to accommodate the servo in the middle of its body. I realized that the wiring needed to be able to exit out of the body and accounted for a hole in the back of the robot. I also wanted to keep it simple, with square parts and give it a tad bit of personality with googly eyes.
A cotton round would be attached to the spinning arms of the servo in order to do the “cleaning.”
MATERIALS AND CONSTRUCTION
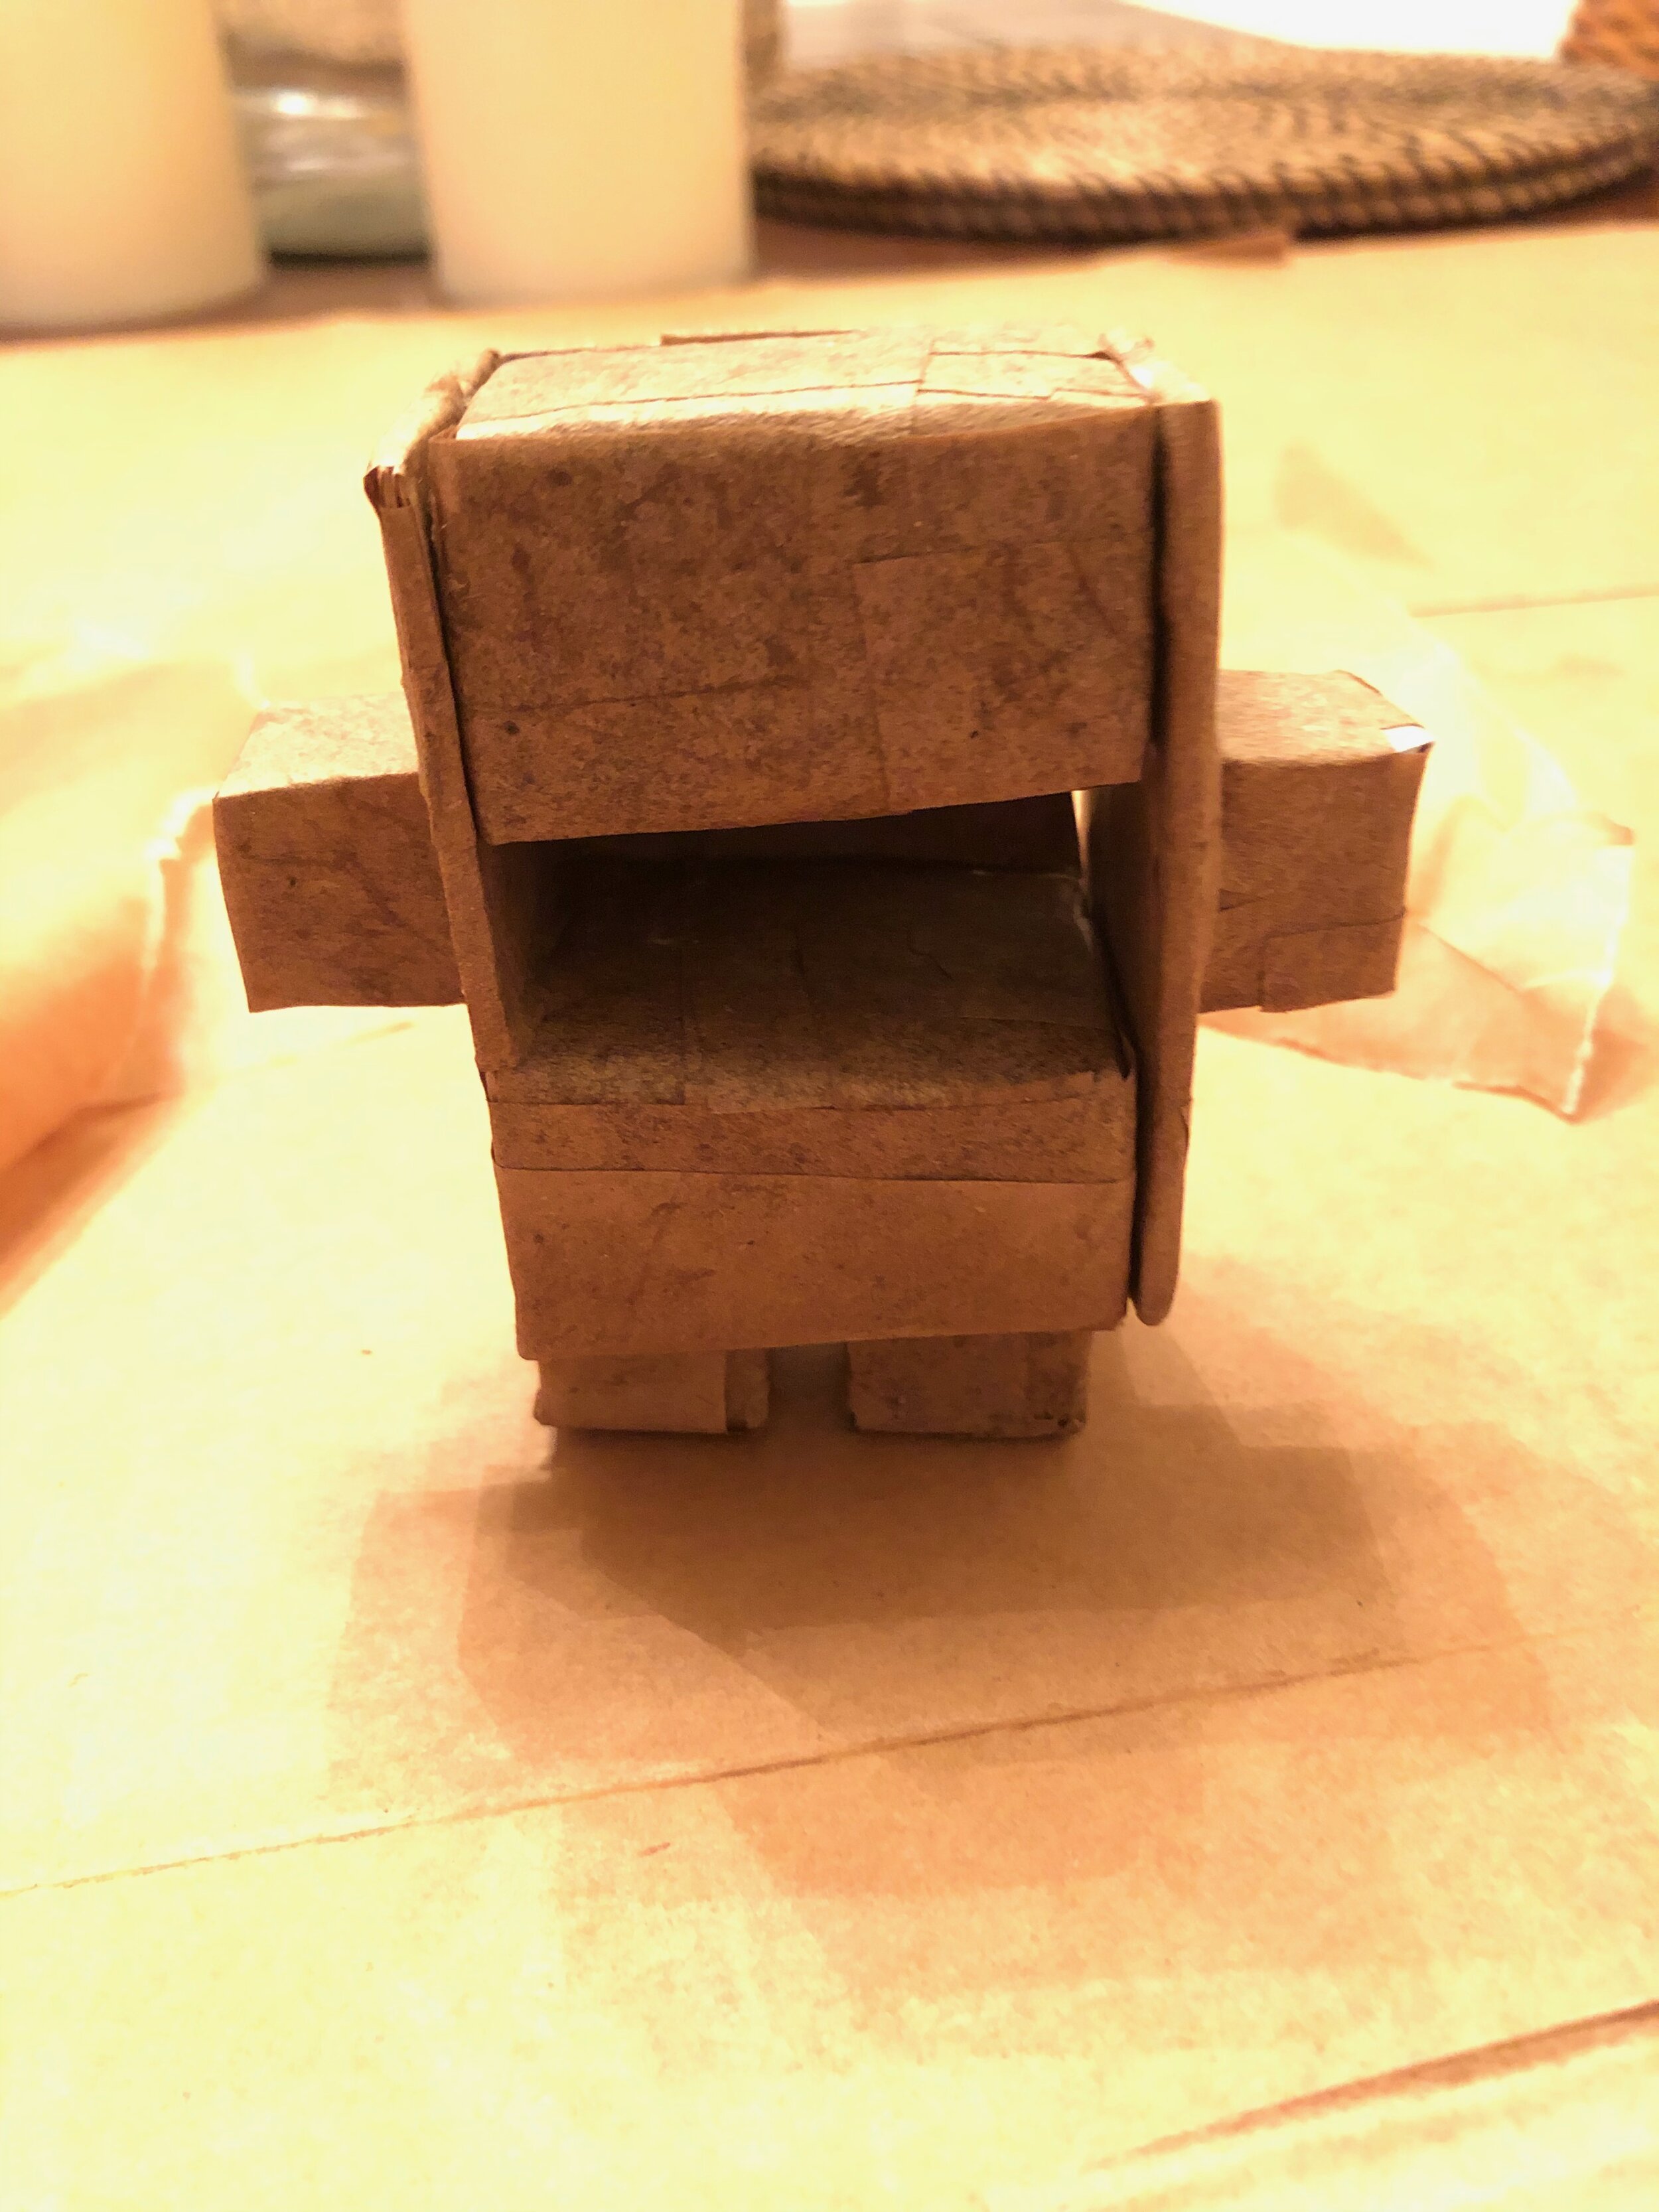
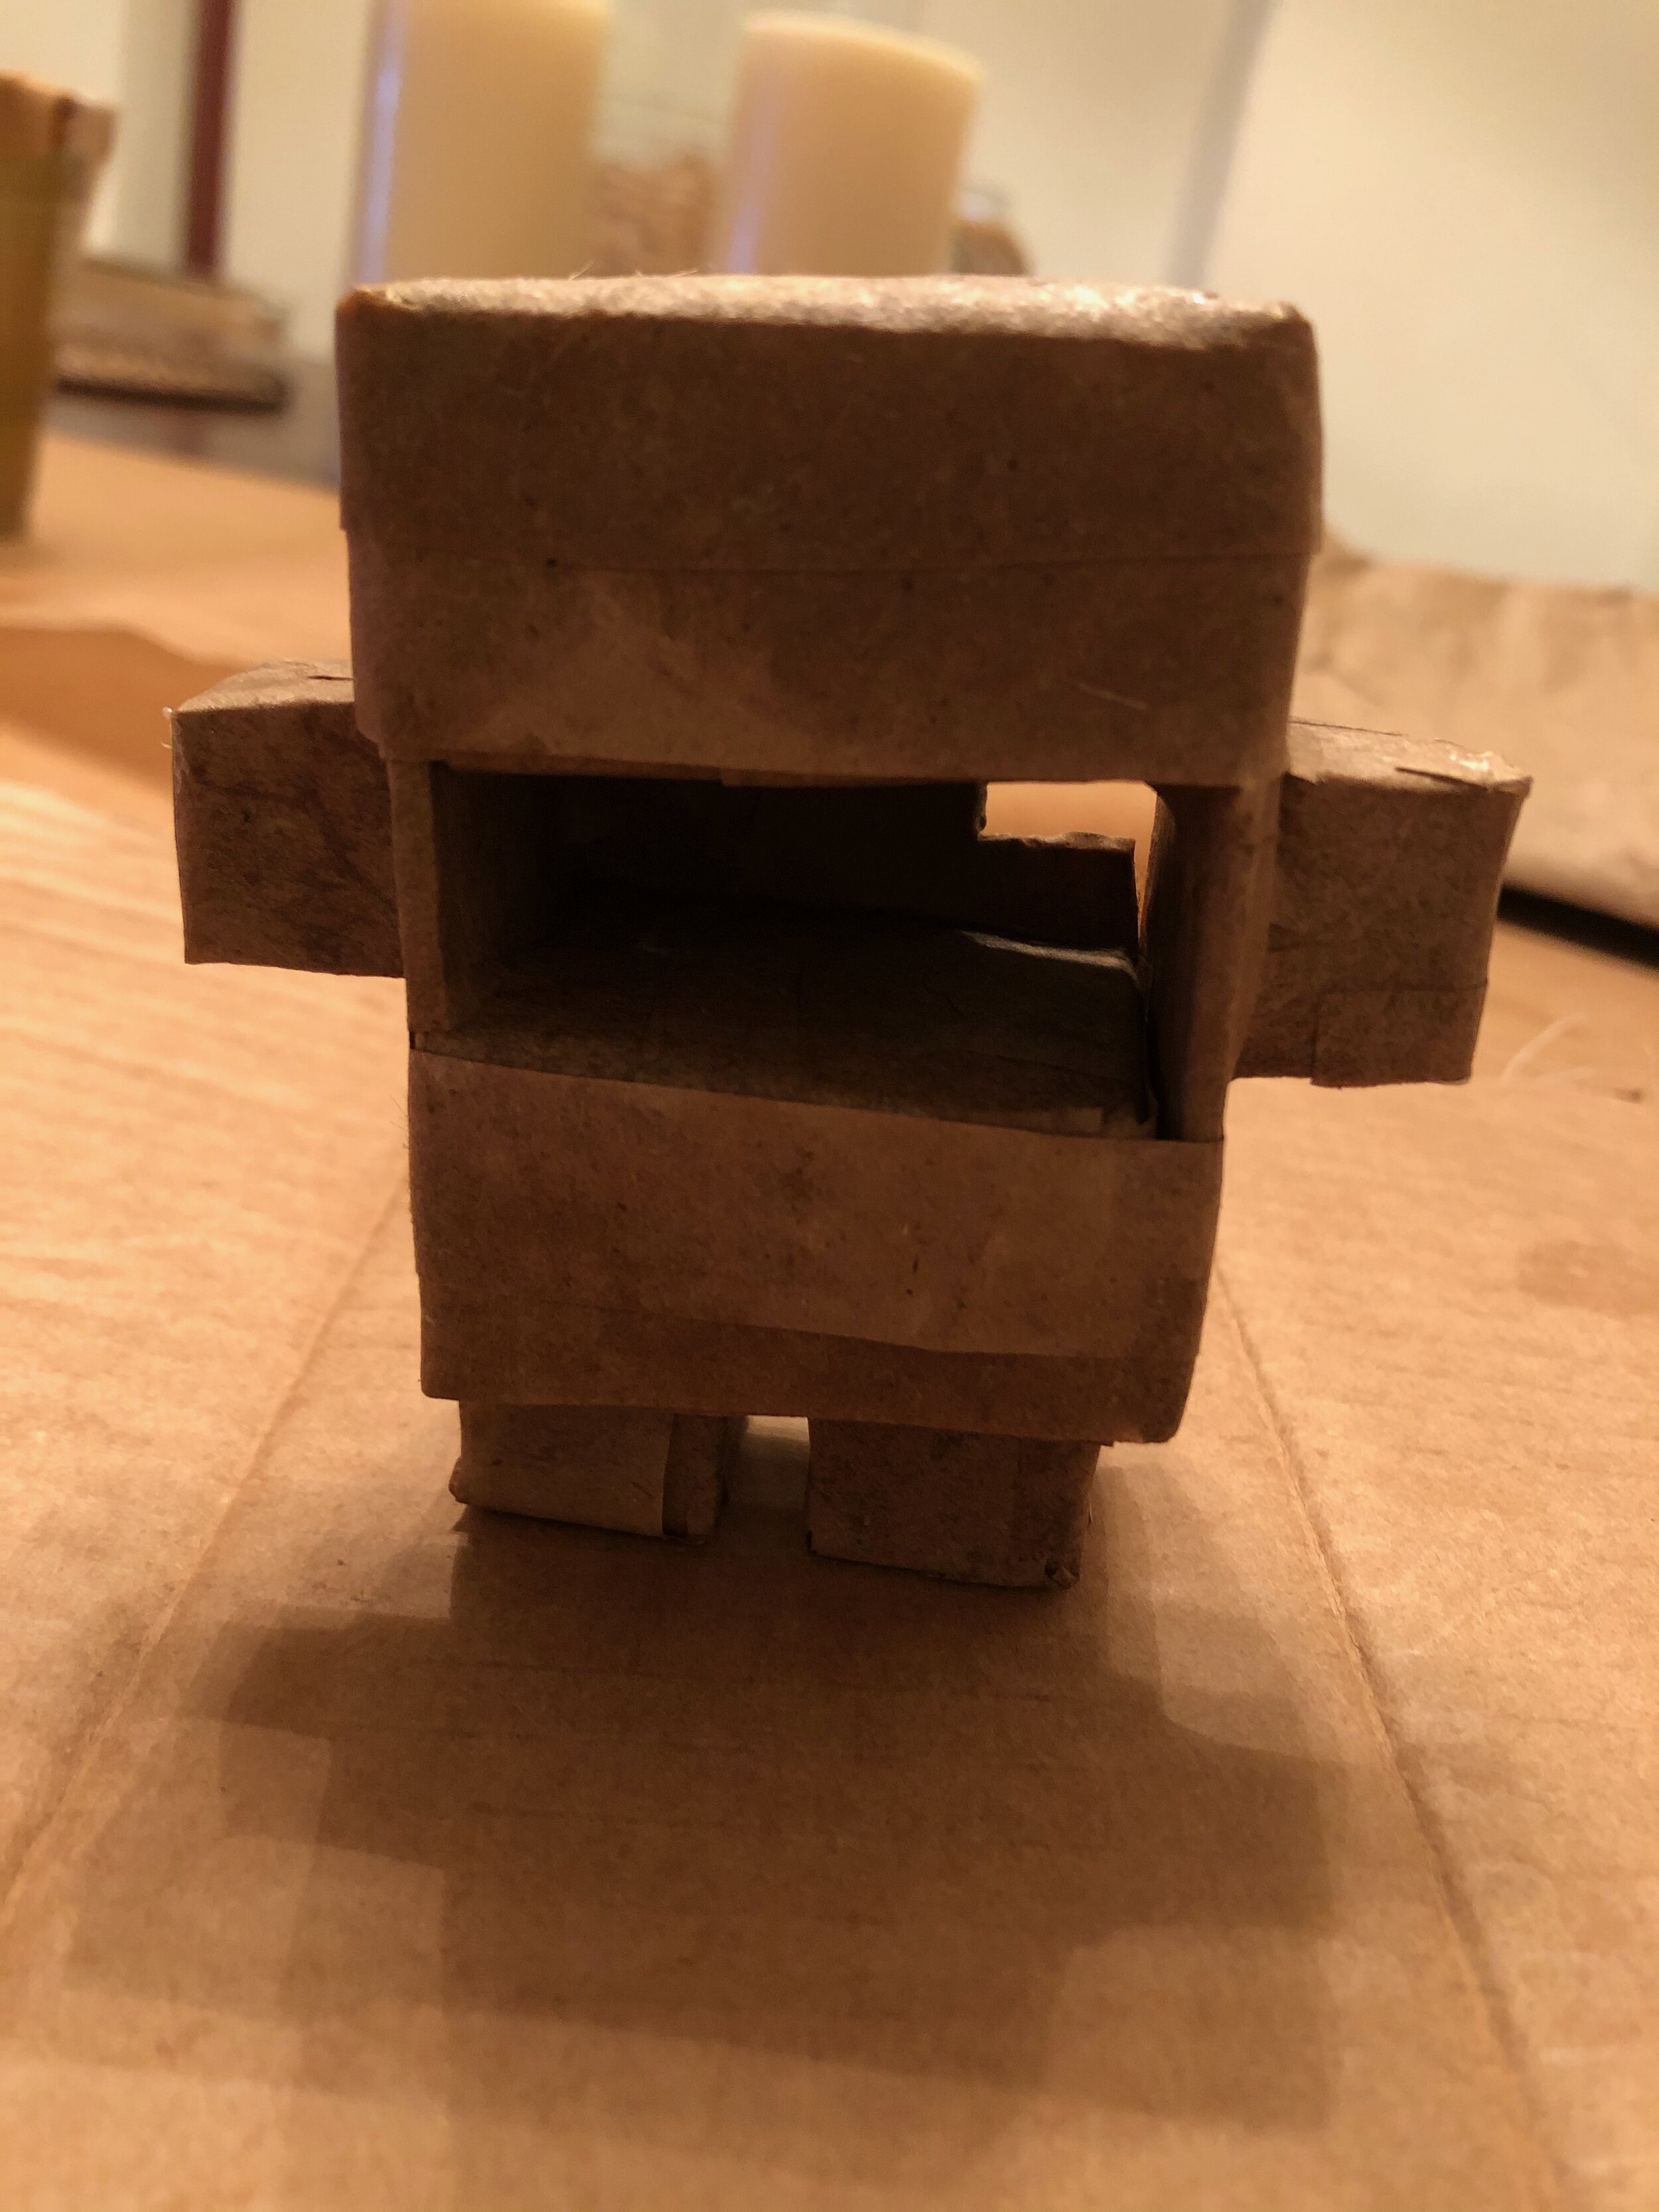
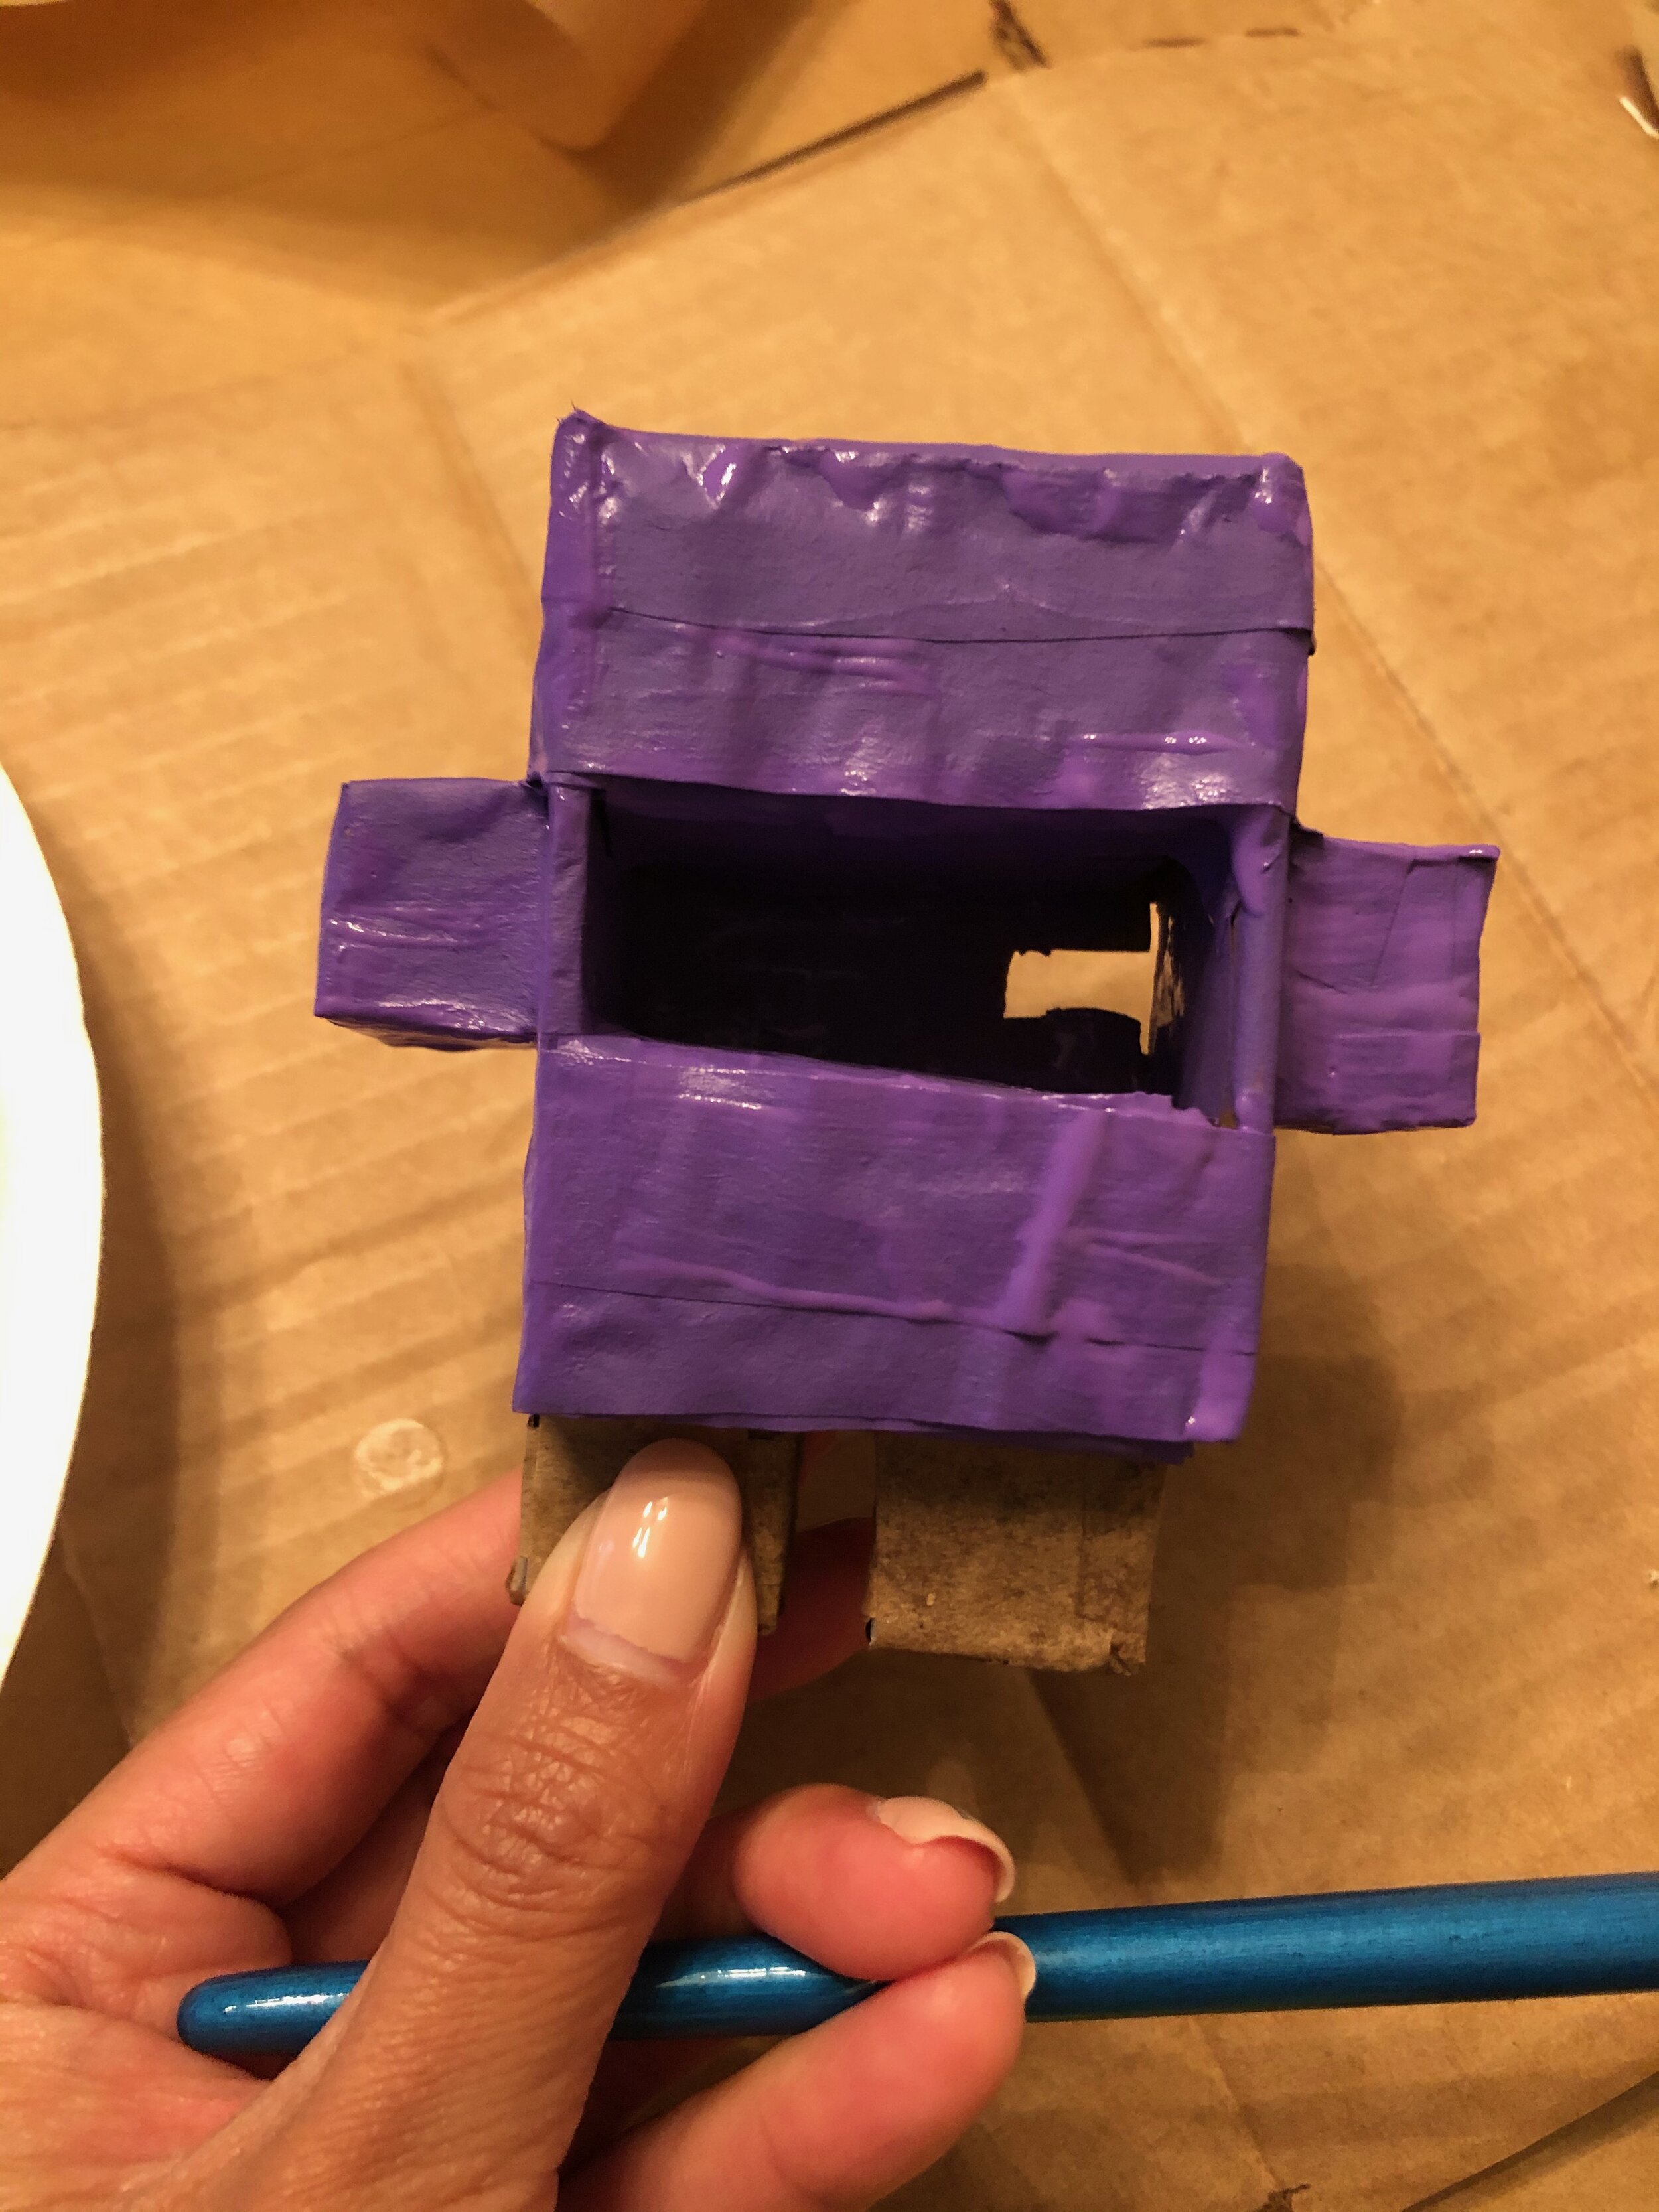
In order to make the body of the robot, I started by measuring the dimensions of the servo and drawing out what it would look like to create a hole in the middle of a body. I decided that I would make two boxes that would make up the top and bottom of the body with the servo sandwiched in between. The boxes would be held together by cardboard rectangles and tape.
Once I had the shape of my robot made of boxes and taped together, I used paper mâché (Elmer’s glue diluted in water and thin paper strips) to reinforce the structure and create a smooth body that I would be able to paint.
3D PRINTING AND PROGRAMMING THE SERVO
Next, my plan to was to attach a cotton pad to the servo arms so that the pad could “clean” as the arms moved back and forth. To ensure that the servo arms don’t get any tape or glue on them, as well as to reinforce their strength, I 3D printed a “cap” for the servo arms to protect them. We used the program Onshape.com to create the 3D print file and then an Ultimaker S3 3D printer to produce the print.
Next, I needed to program the microcontroller that would power the servo and make the arms rotate. I wanted to make sure there was an “on button” function for the servo’s arms to start rotating so that they would not be rotating constantly. I used the following code to program the servo and ensure there were 3 different “modes” for the button. The first button “click” turns the microcontroller and servo on, the second button “click” starts the rotating arms, and the third button “click” turns them off.
I then used alligator clips to attach the servo to the microcontroller. The black alligator clip is attached to “ground,” the blue clip is attached to “A2” and the red clip is attached to “V-out.” The servo connects to the corresponding clips.
PUTTING IT ALL TOGETHER
When the robot paint dried and all the parts were ready, I threaded the servo wires trough the hole in the back of my robot and set the servo right inside the body. I pressed the button on the microcontroller, and voila! A tiny robot that can clean your cell phone screen.
LEARNINGS
3D printing is fascinating and useful, but one print takes a long time. It takes about 5 minutes to print the small servo cap and larger pieces take hours. I wasn’t quite sure what the applications were for 3D prints before this project, but now I see how useful 3D prints can be in the making world, where you need sturdy parts made out of plastic that you may not be able to actually purchase anywhere because, well, you are making something from scratch.
Be patient with construction and measuring. It took me a while to figure out how I would build a robot body with a gap for the servo and what the dimensions needed to be in order for the servo to fit snugly and not tip the robot over. Even though the robot was tiny and I used cardboard to create the parts, this process gave me an appreciation for making and even architecture! When I messed up cutting a piece it was low stakes and I could just easily cut another piece of cardboard. However, it made me realize in a high stakes situation, cutting a new piece would not be easy and planning and precision are even more important.
The world of making is huge and there are so many different kinds of sensors and motors. While experimenting with code to prepare for this project, we learned about color sensors and light sensors that we could attach to our microcontroller. It’s so cool that these tiny gadgets come with making kits and that by understanding power and electricity, you can create projects that respond to a finger blocking light from a sensor.

